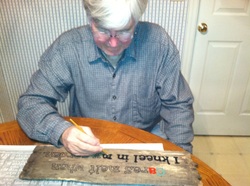
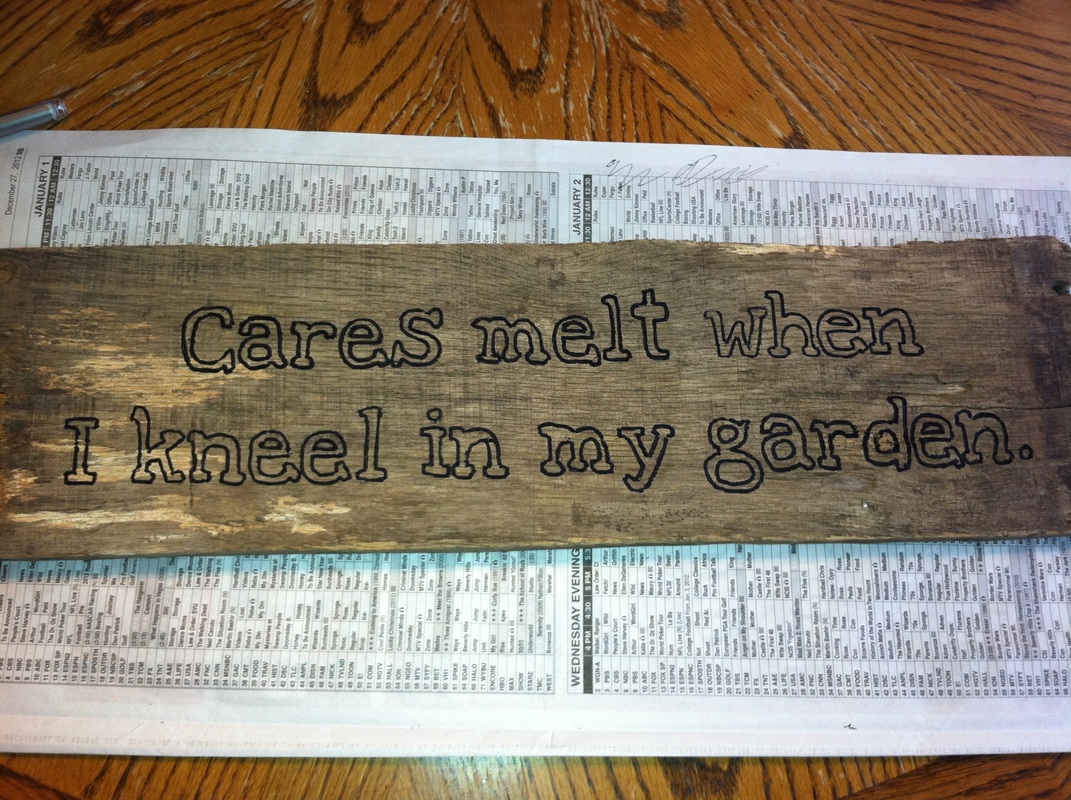
I've always loved words...especially witty, comforting, encouraging, or inspiring written words. So it's not surprising that I enjoy placing words in my garden. I was super-excited when I found detailed instructions for creating our own signs. I shared the information with Phil, knowing he enjoys a good project. He jumped right in and created the sign below.

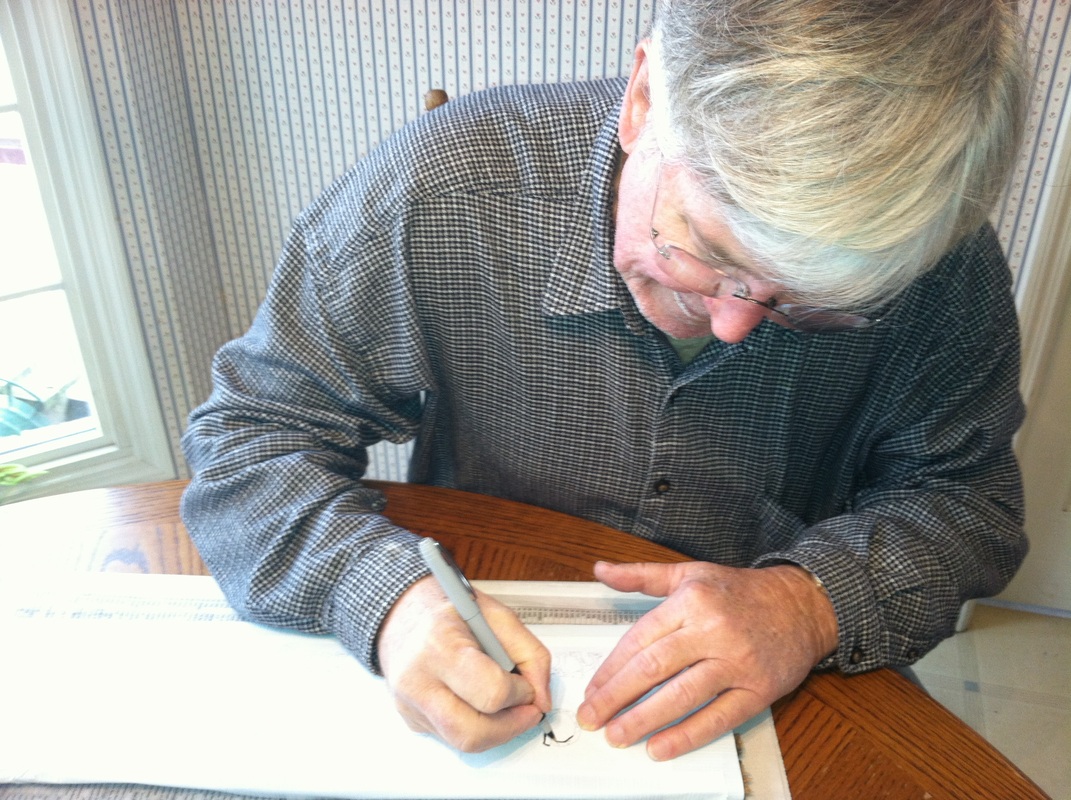
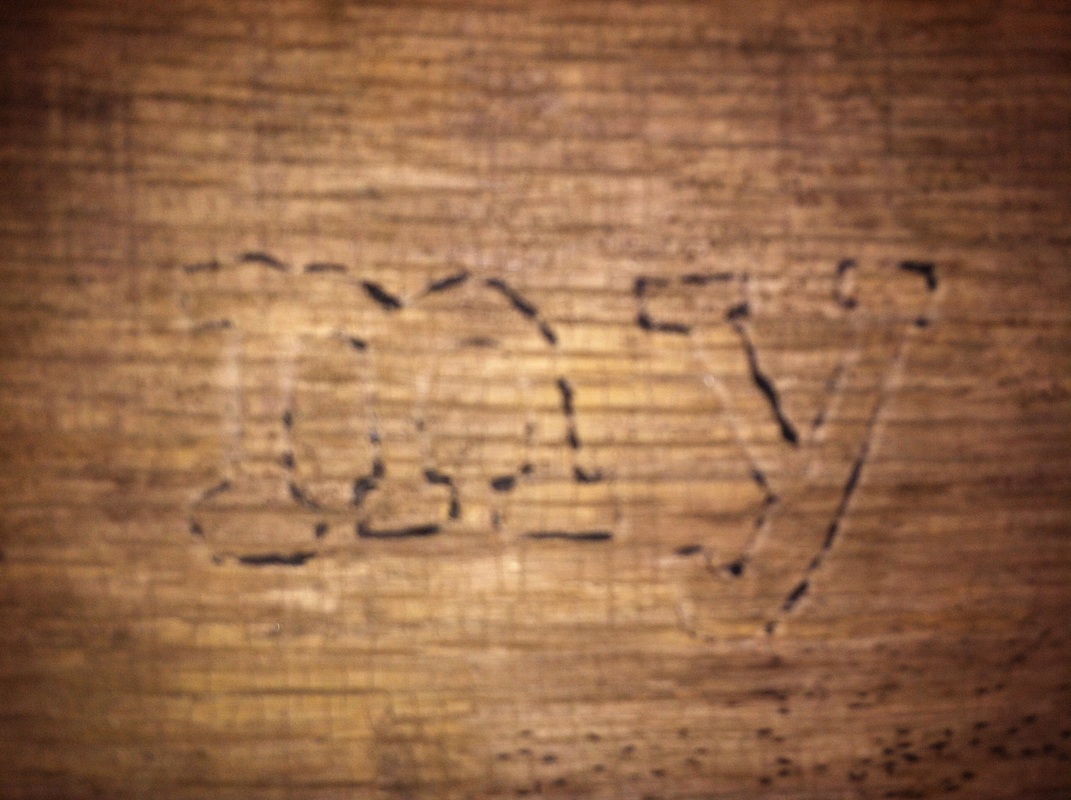
Here's how we did it. We had some old pallets and thought the distressed wood was perfect for our project. I created a banner in Microsoft Publisher and printed it out. After taping the paper banner together, Phil positioned and then secured it on top of the wood. Phil used a pen to trace over the outline of the letters. The pressure from the pen made a soft impression on the wood beneath...enough that it could be seen when the paper was removed. Phil traced over this faint impression in the wood with a Sharpie marker so that he could paint it later and not worry that the impression in the wood would fade. He painted the letters and a sign was created! (For the sign pictured above, I found a simple graphic of the Carolina wrens on the Internet and printed those out for Phil to trace just as he had done the letters. He then painted the letters and the birds.)

| 
|
As Phil finished up his last sign, I found a really cute wood pattern for an outdoor Easter decoration. Phil was willing to have a go at it and quickly cut out and painted the three pieces below. This will be mounted on a tree at the bottom of our driveway. The Easter Bunny will be up the tree. The beagle will be on the ground with front paws on the tree. The basket will be on the ground at the base of the tree. I'll be sure to take a photograph when we put it up in March.
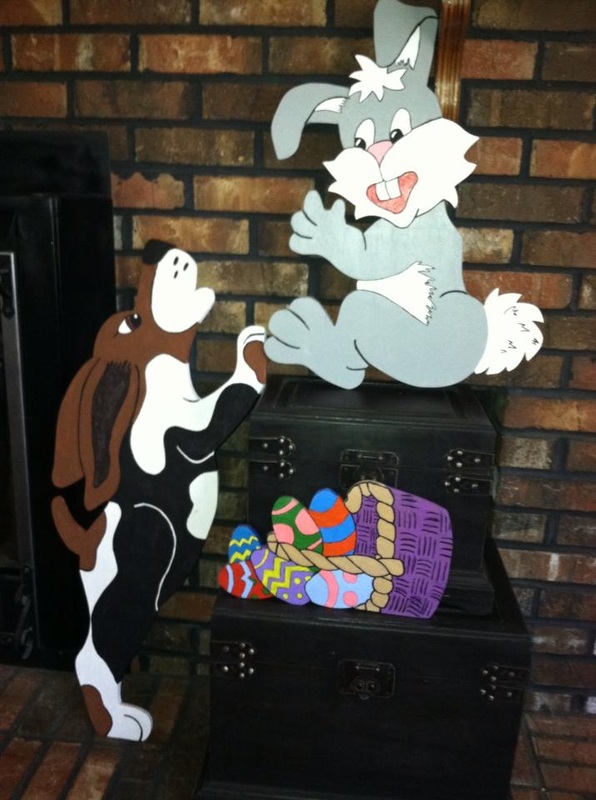
Thank you, Phil! I love my signs and Easter decorations!
 RSS Feed
