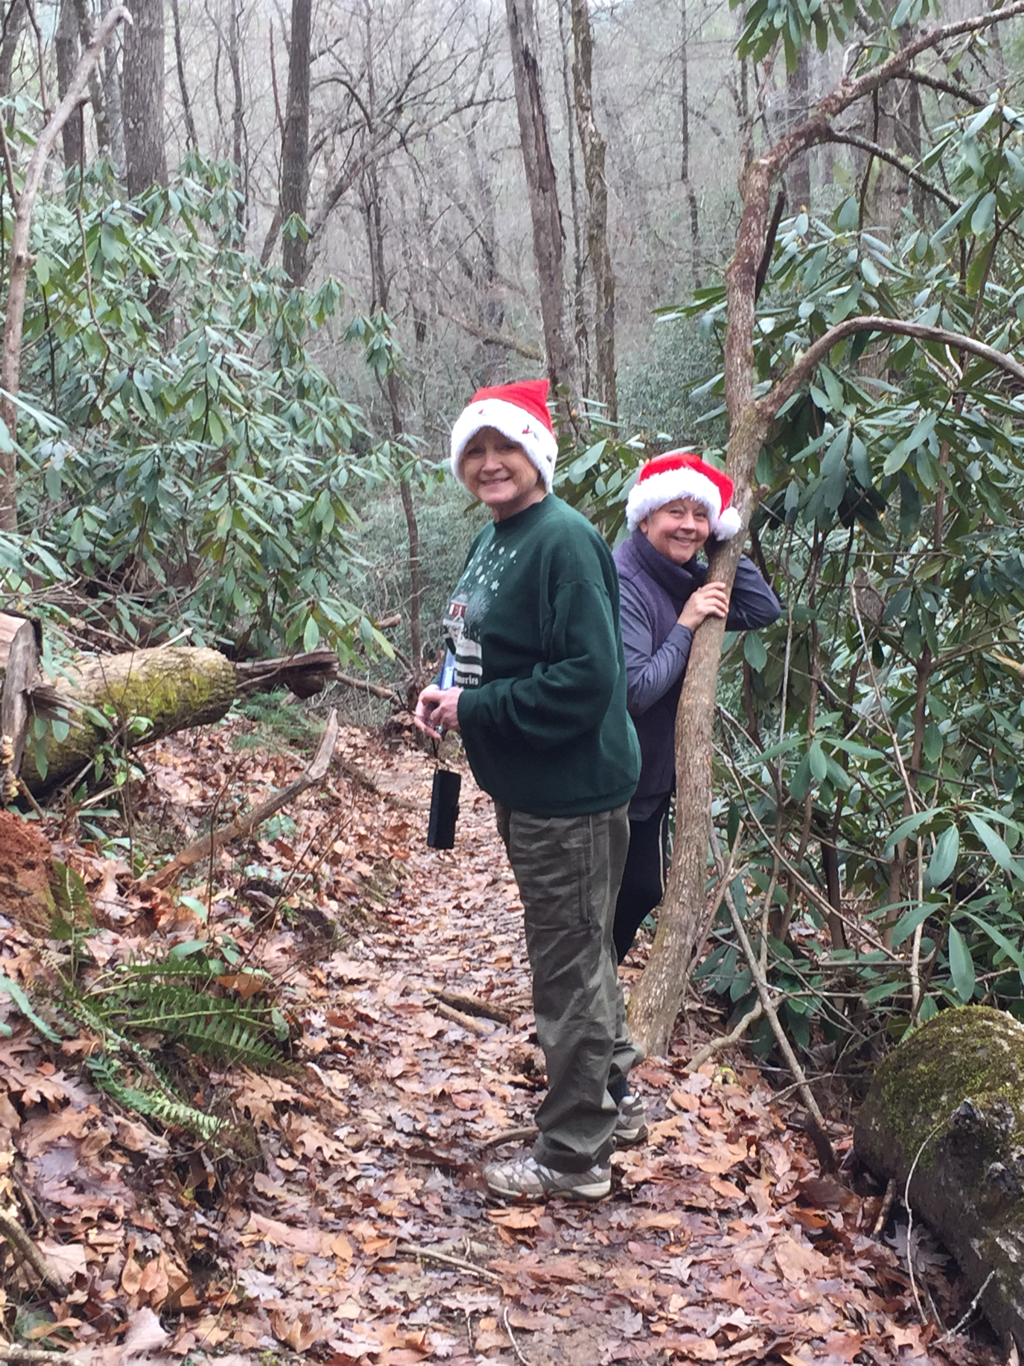
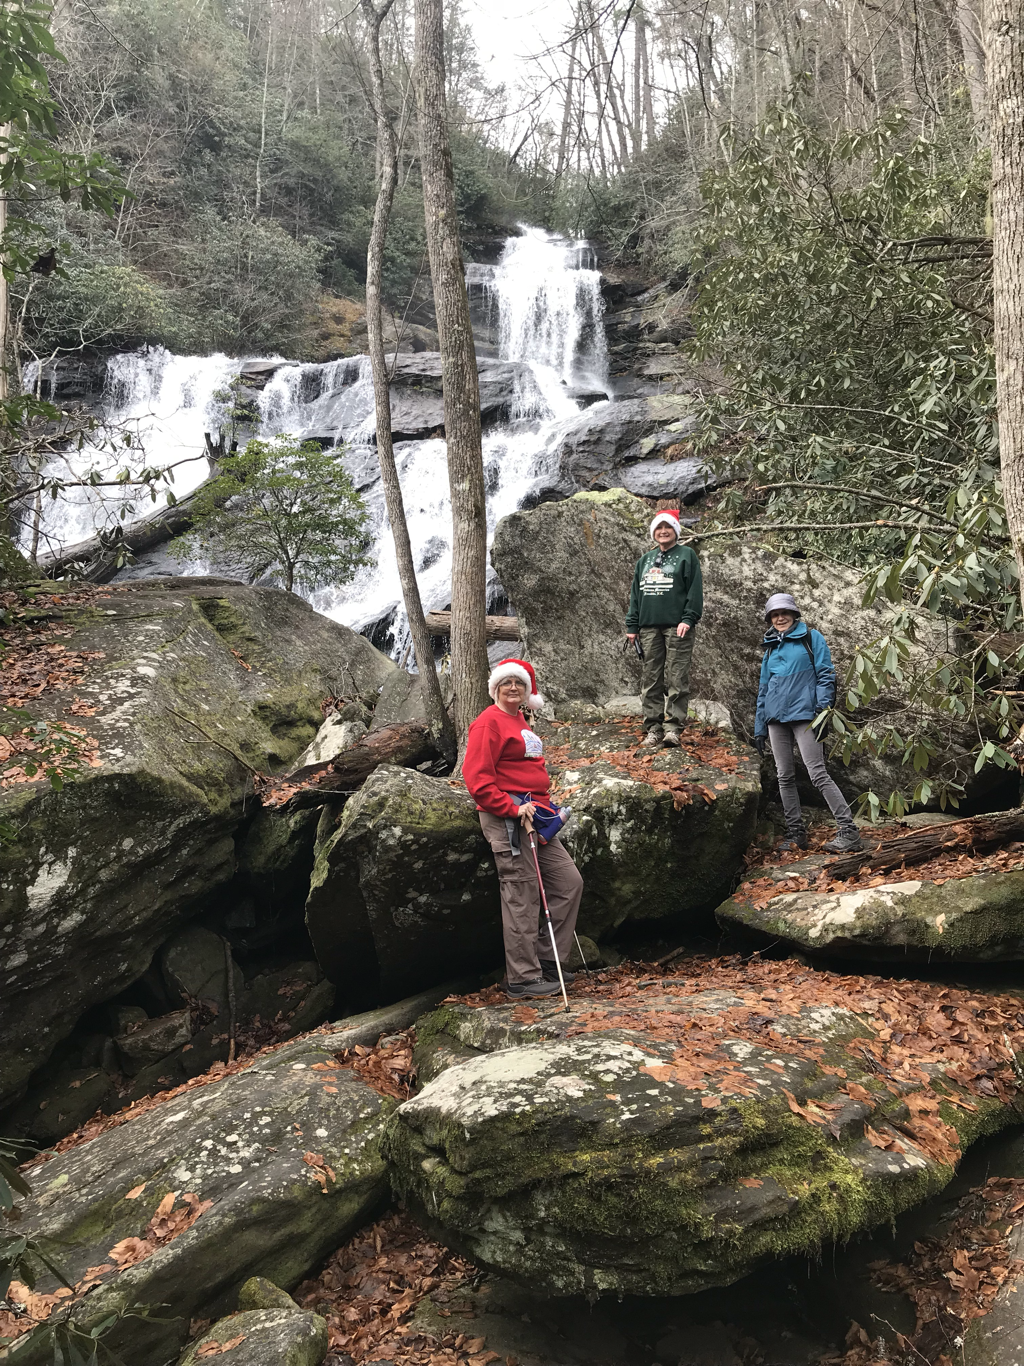
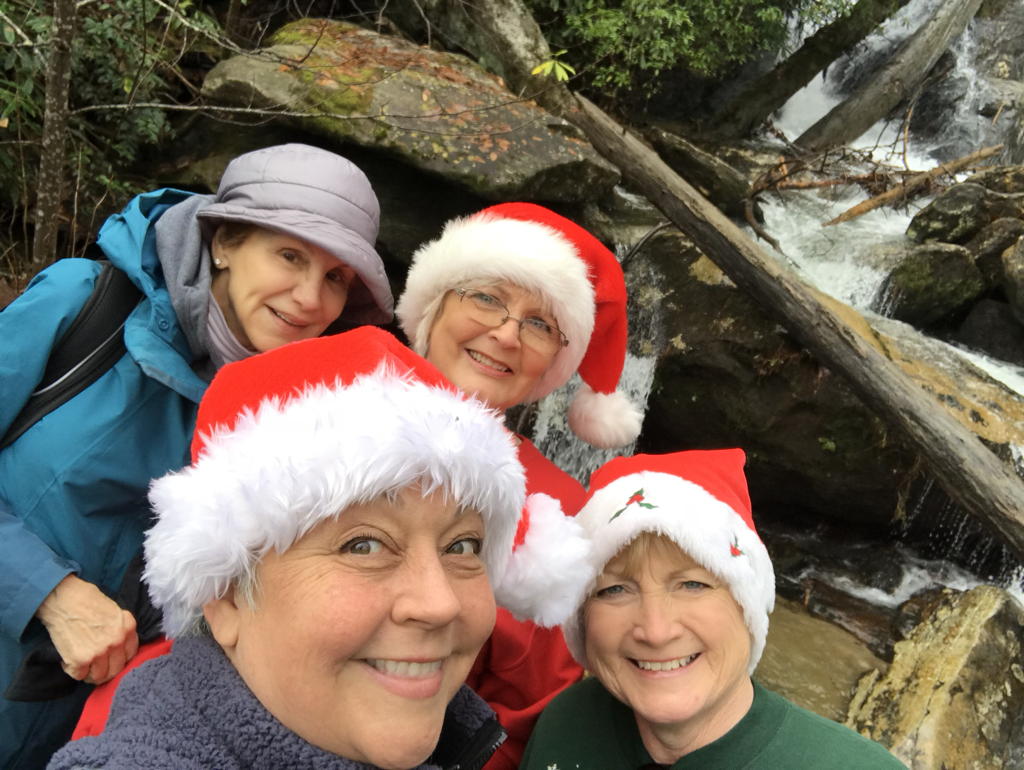
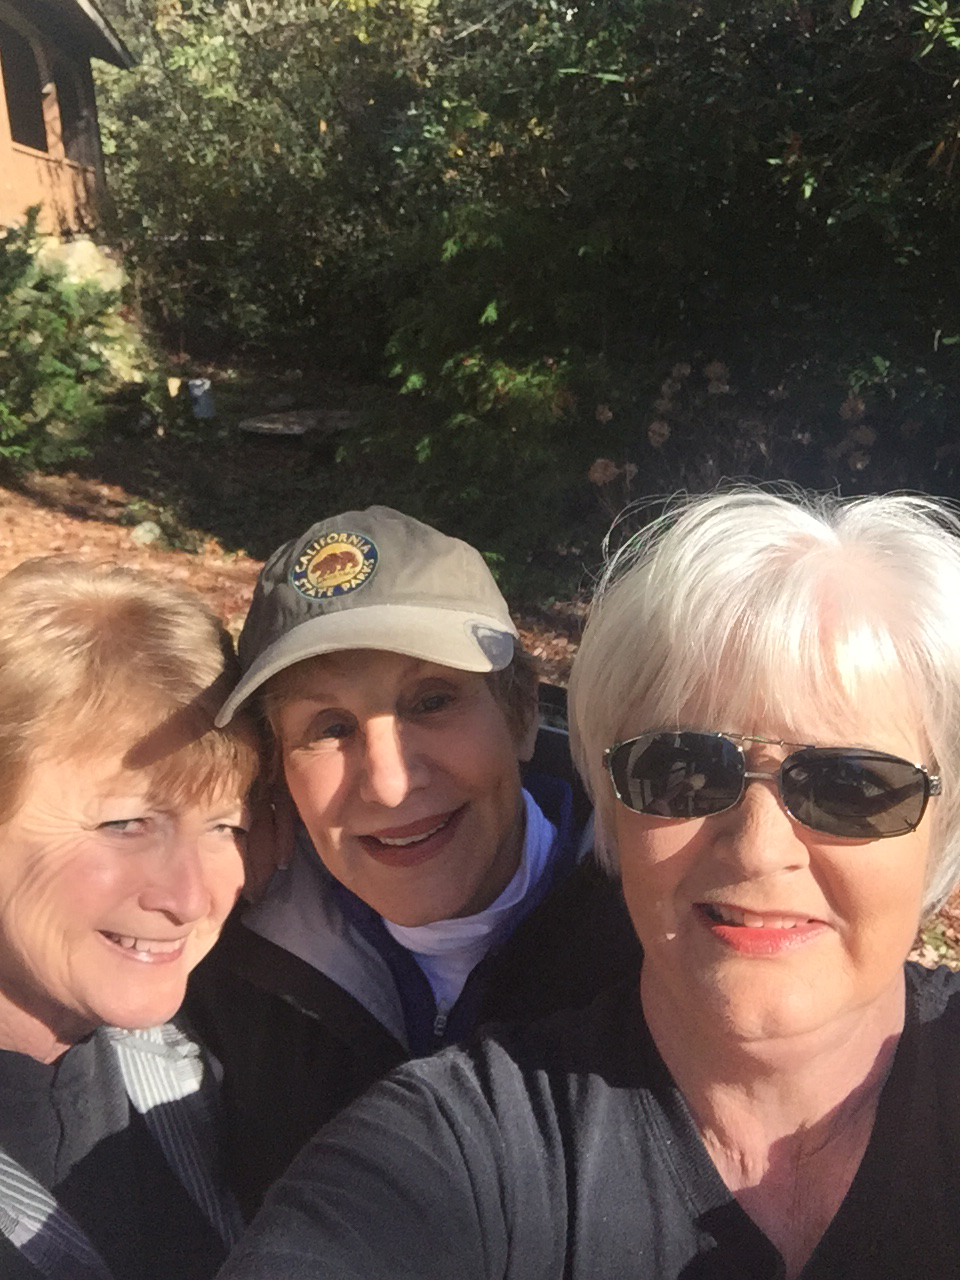
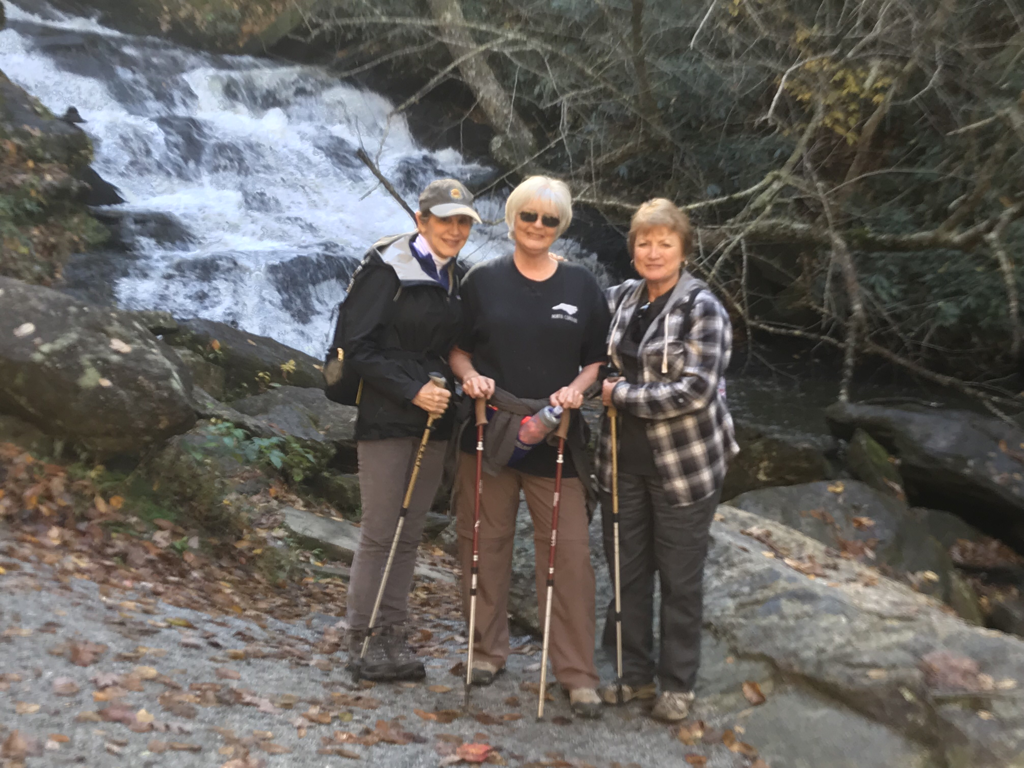
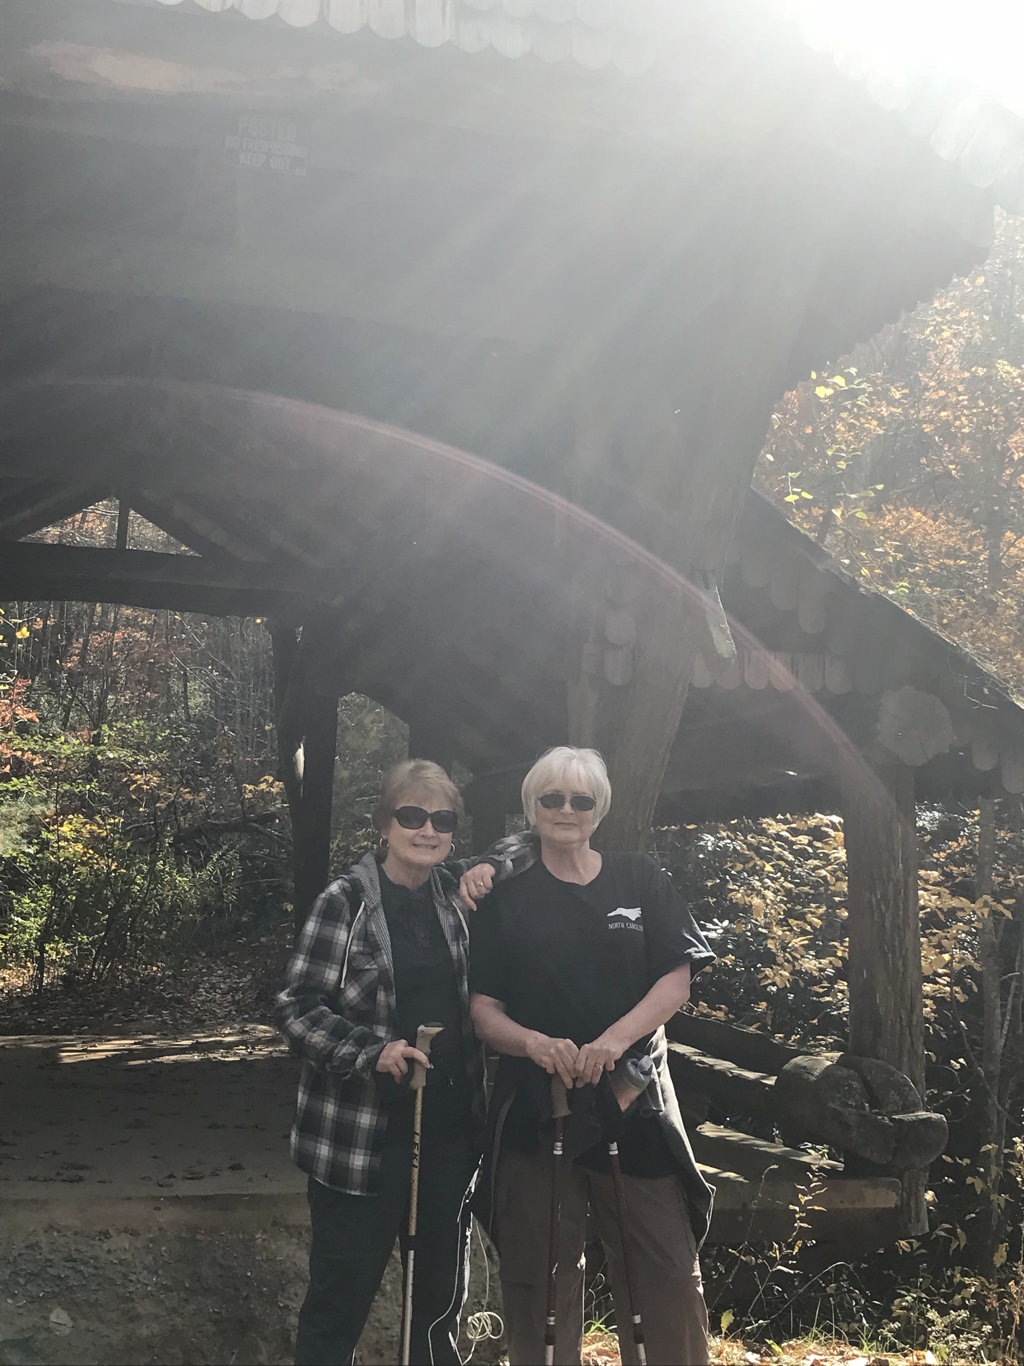
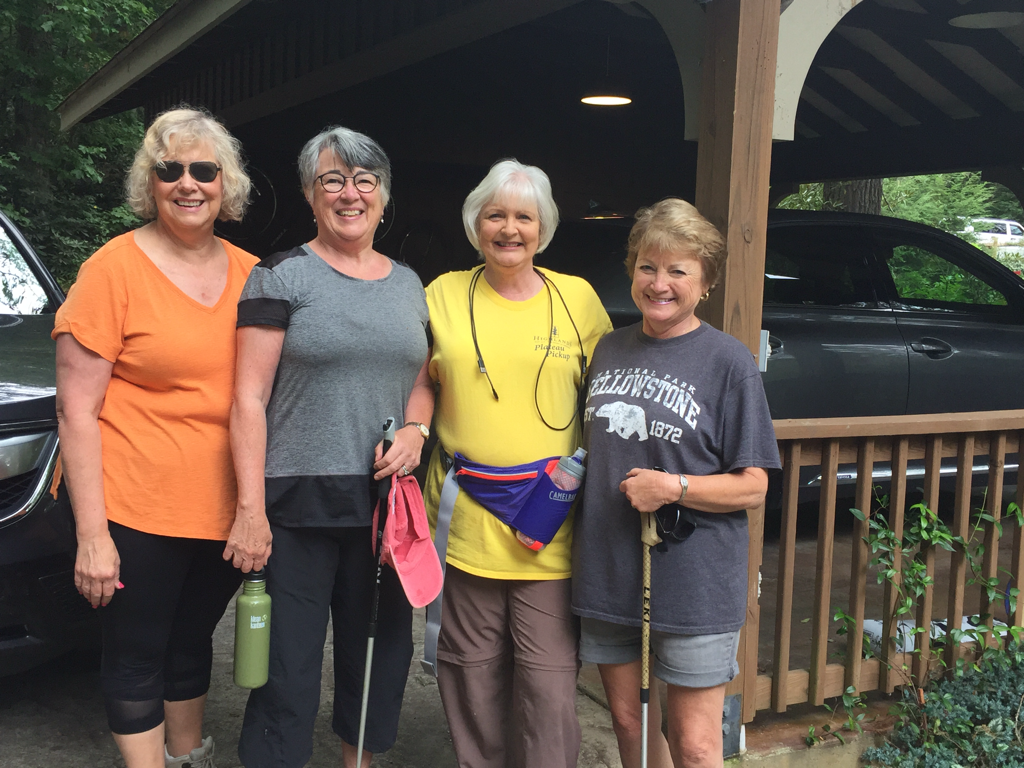
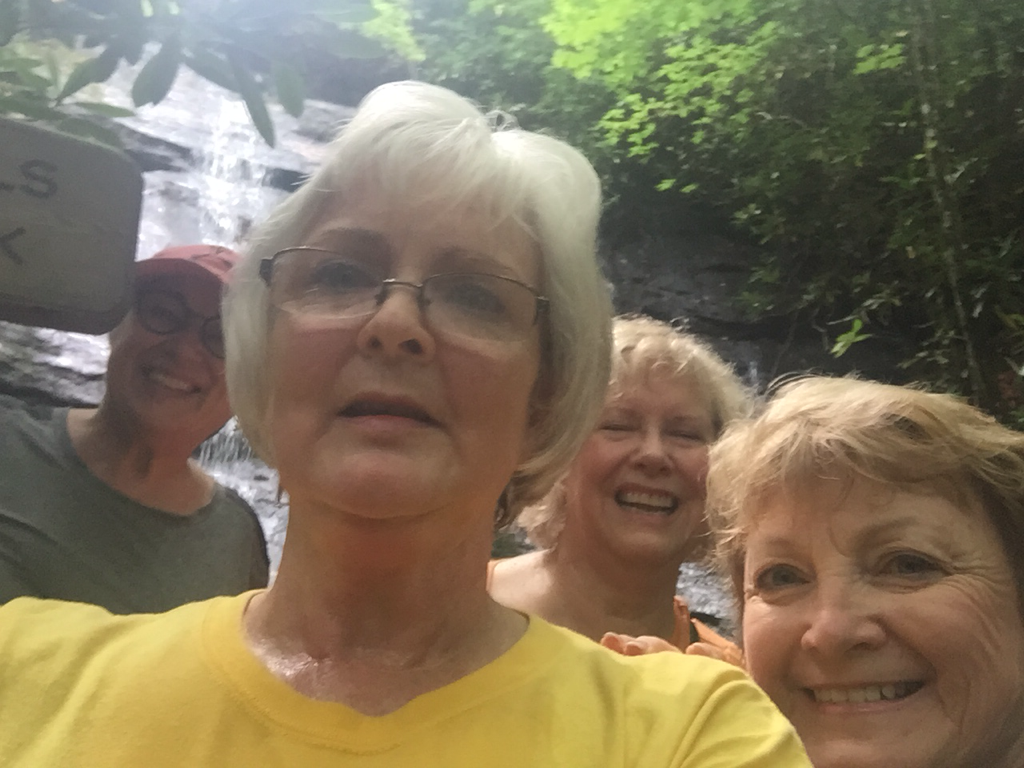
The Mirror Lake ladies were at it again as we decided to take a hike to explore two new waterfalls (new to our group anyways). Christmas is less than a week away so we called this our Christmas hike. And a Christmas hike must have hiking Santas, right? So here’s our traditional beginning of the hike selfie...

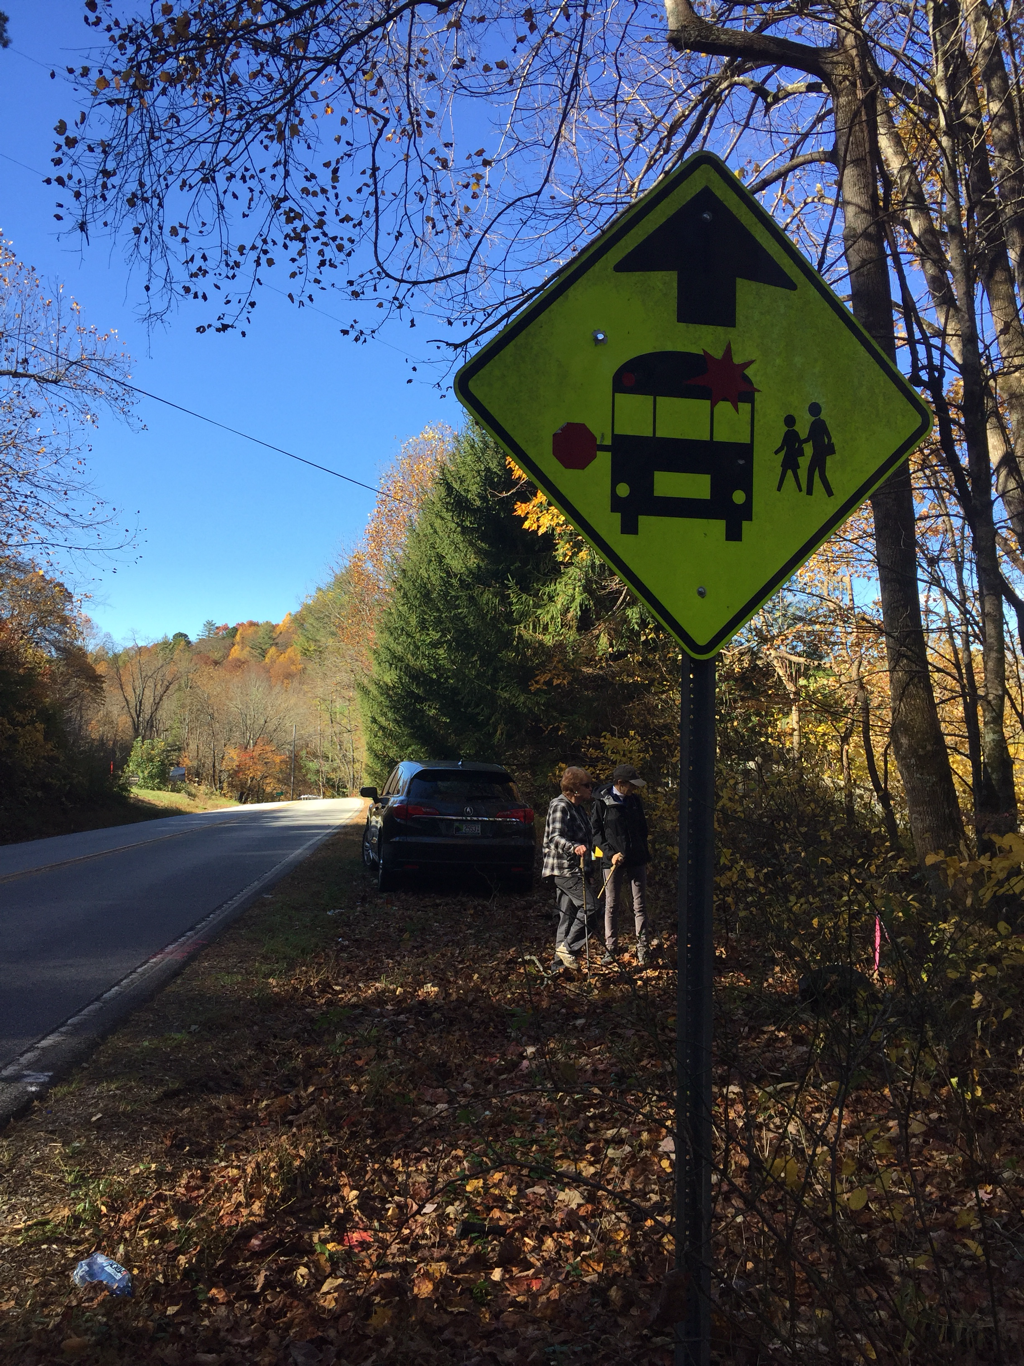
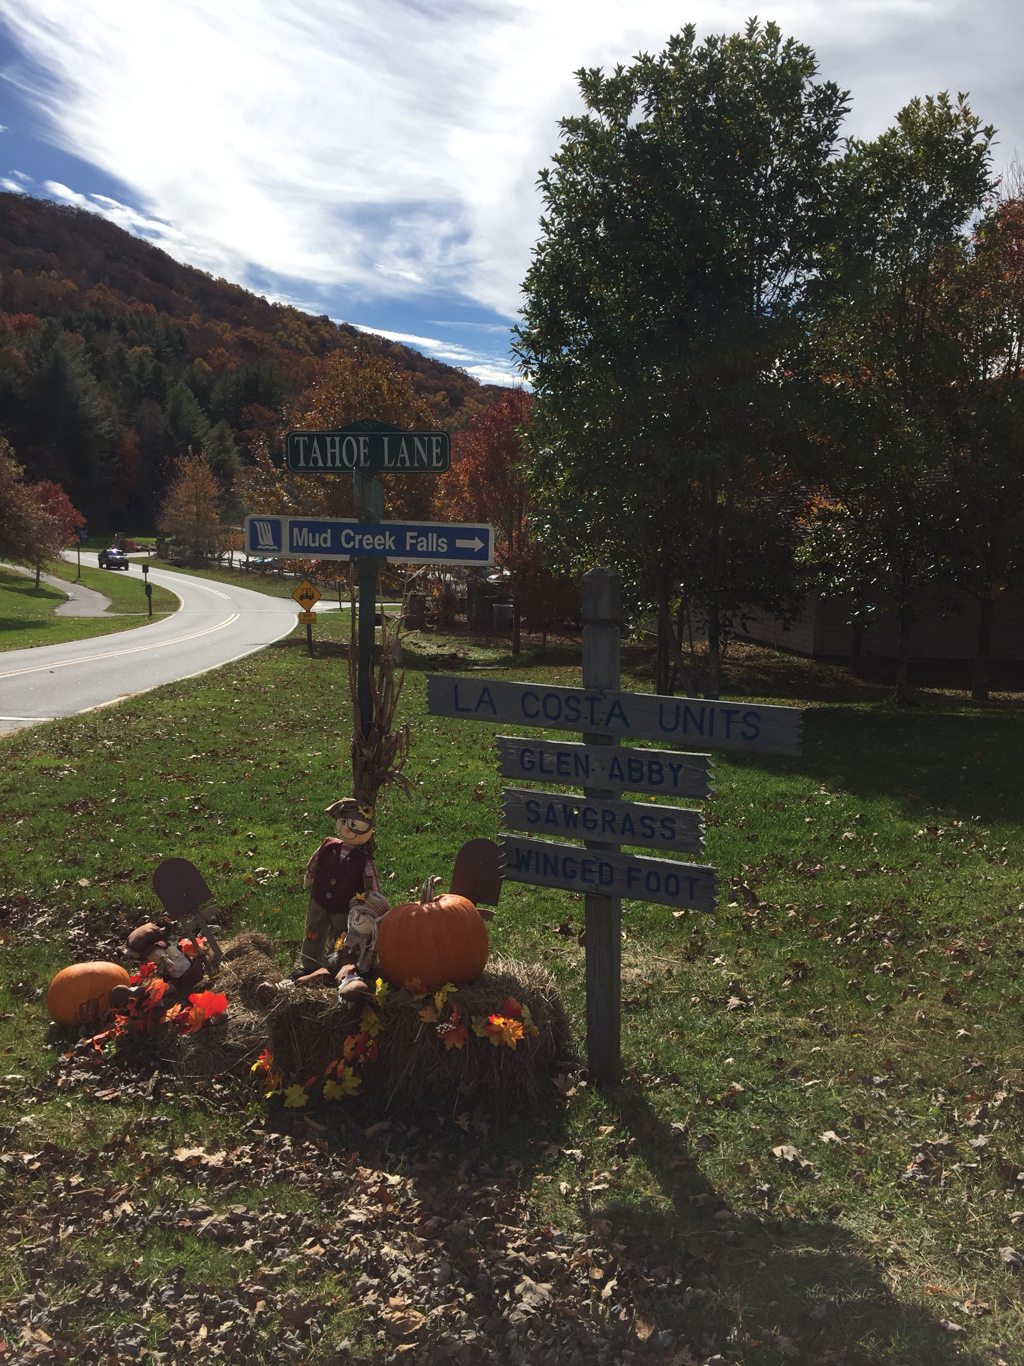
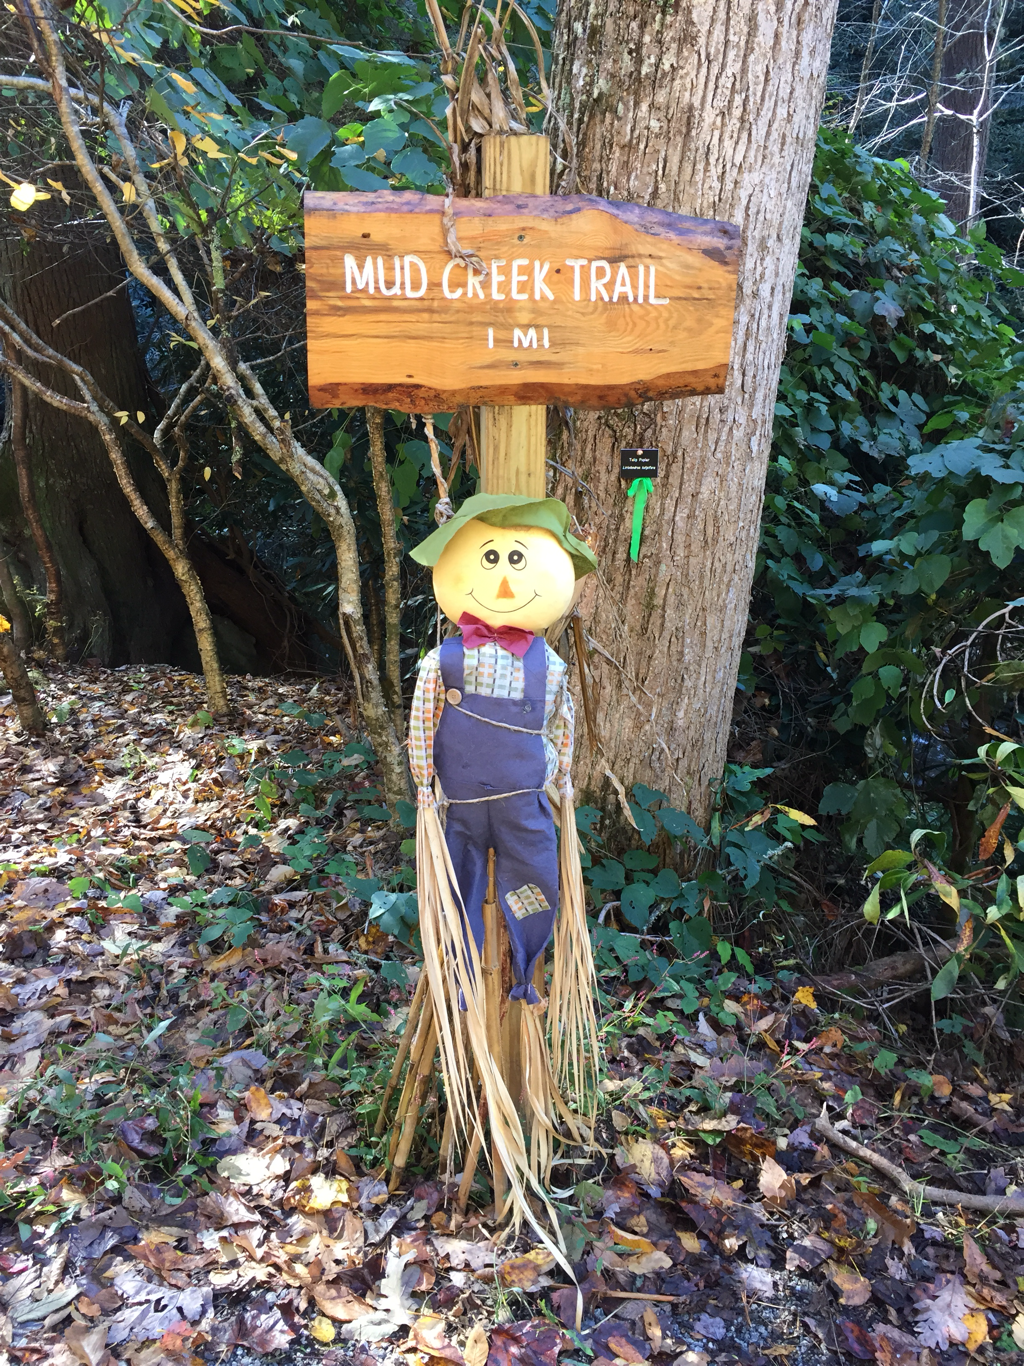
We drove down the Dillard Road until we arrived at the Scaly Mountain Community. We turned left on Hale Ridge Road which eventually takes a sharp left turn. Be sure to take note of this sign so you don’t wind up driving all over the area looking for the trail head! Yep, that was us. We talked to a few hunters along the way and I was glad we had on lots of red though I secretly worried that the white Pom-Pom on the end of our Santa hats might look like a deer tail to some eager hunter in the woods.
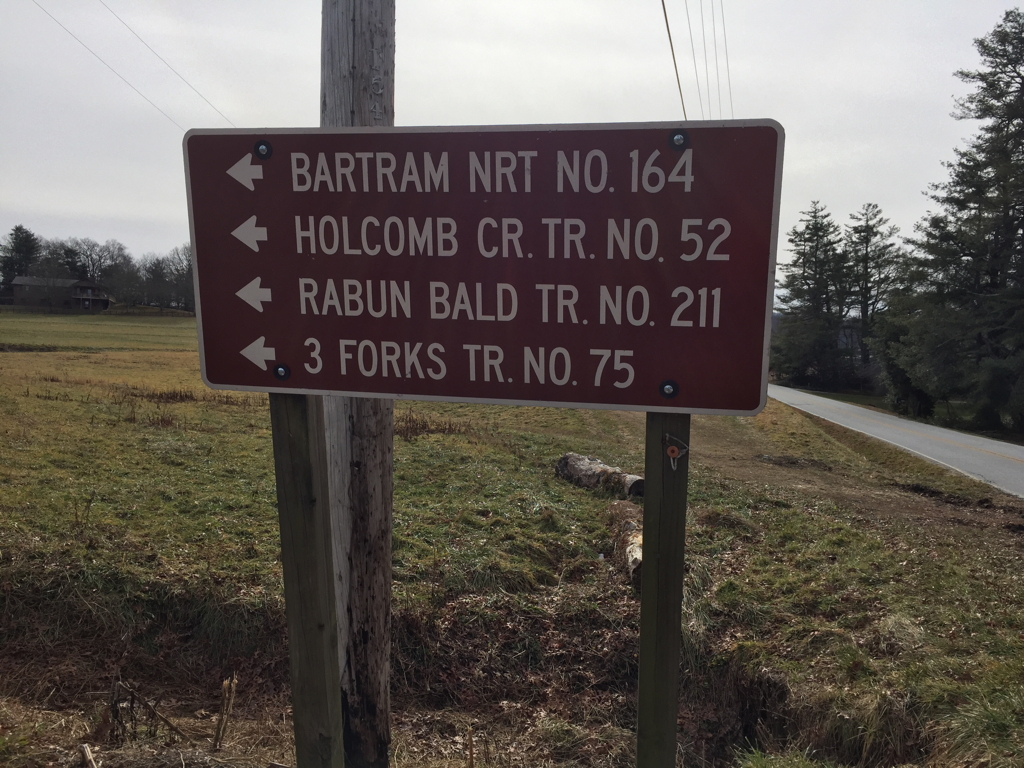
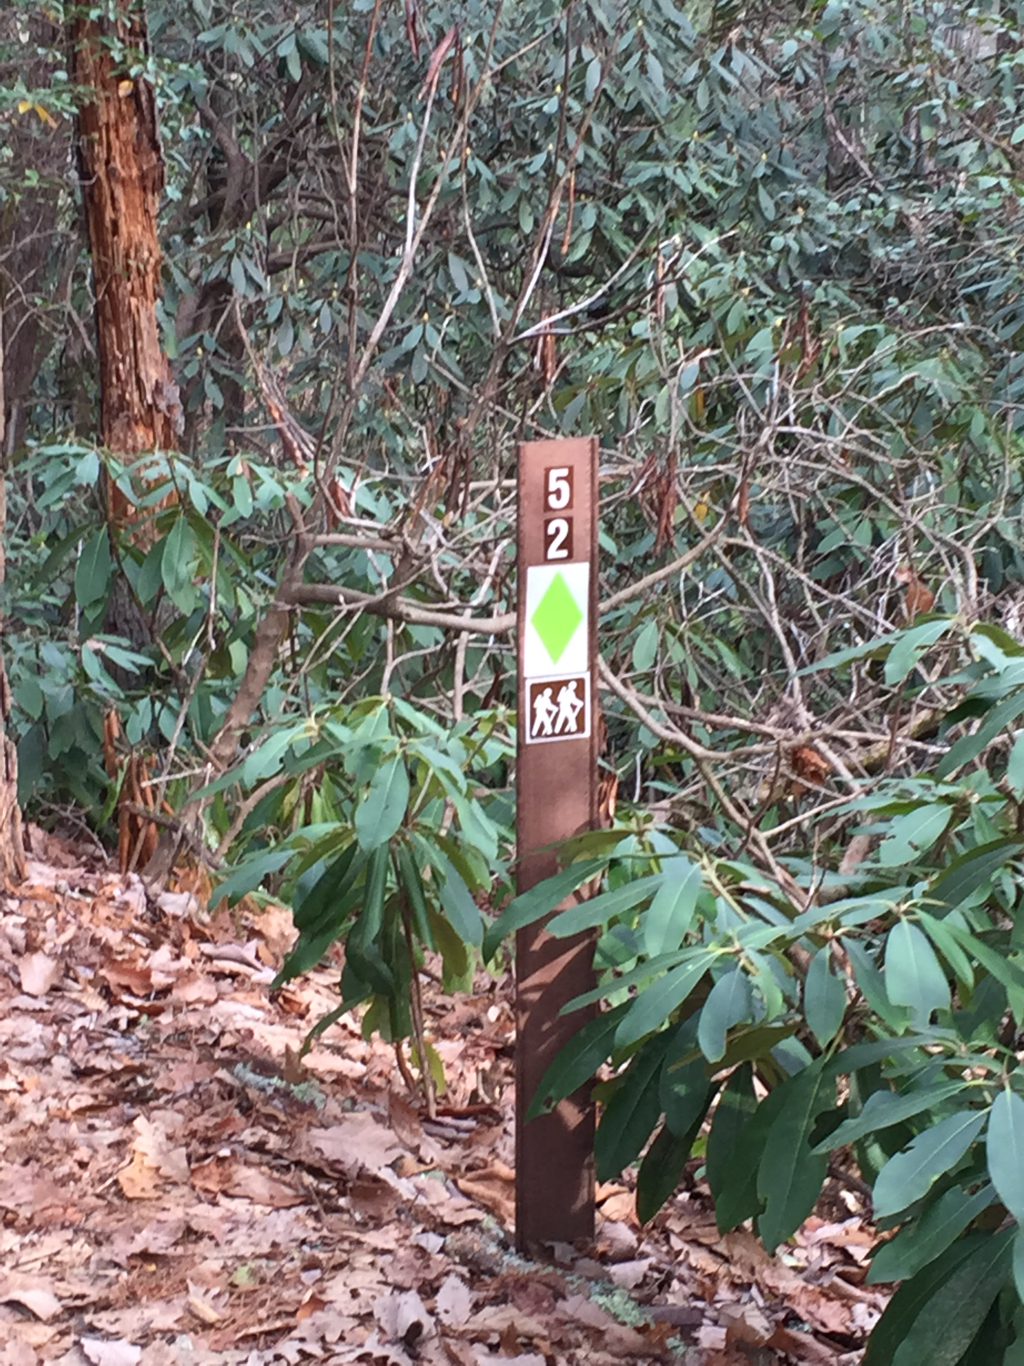
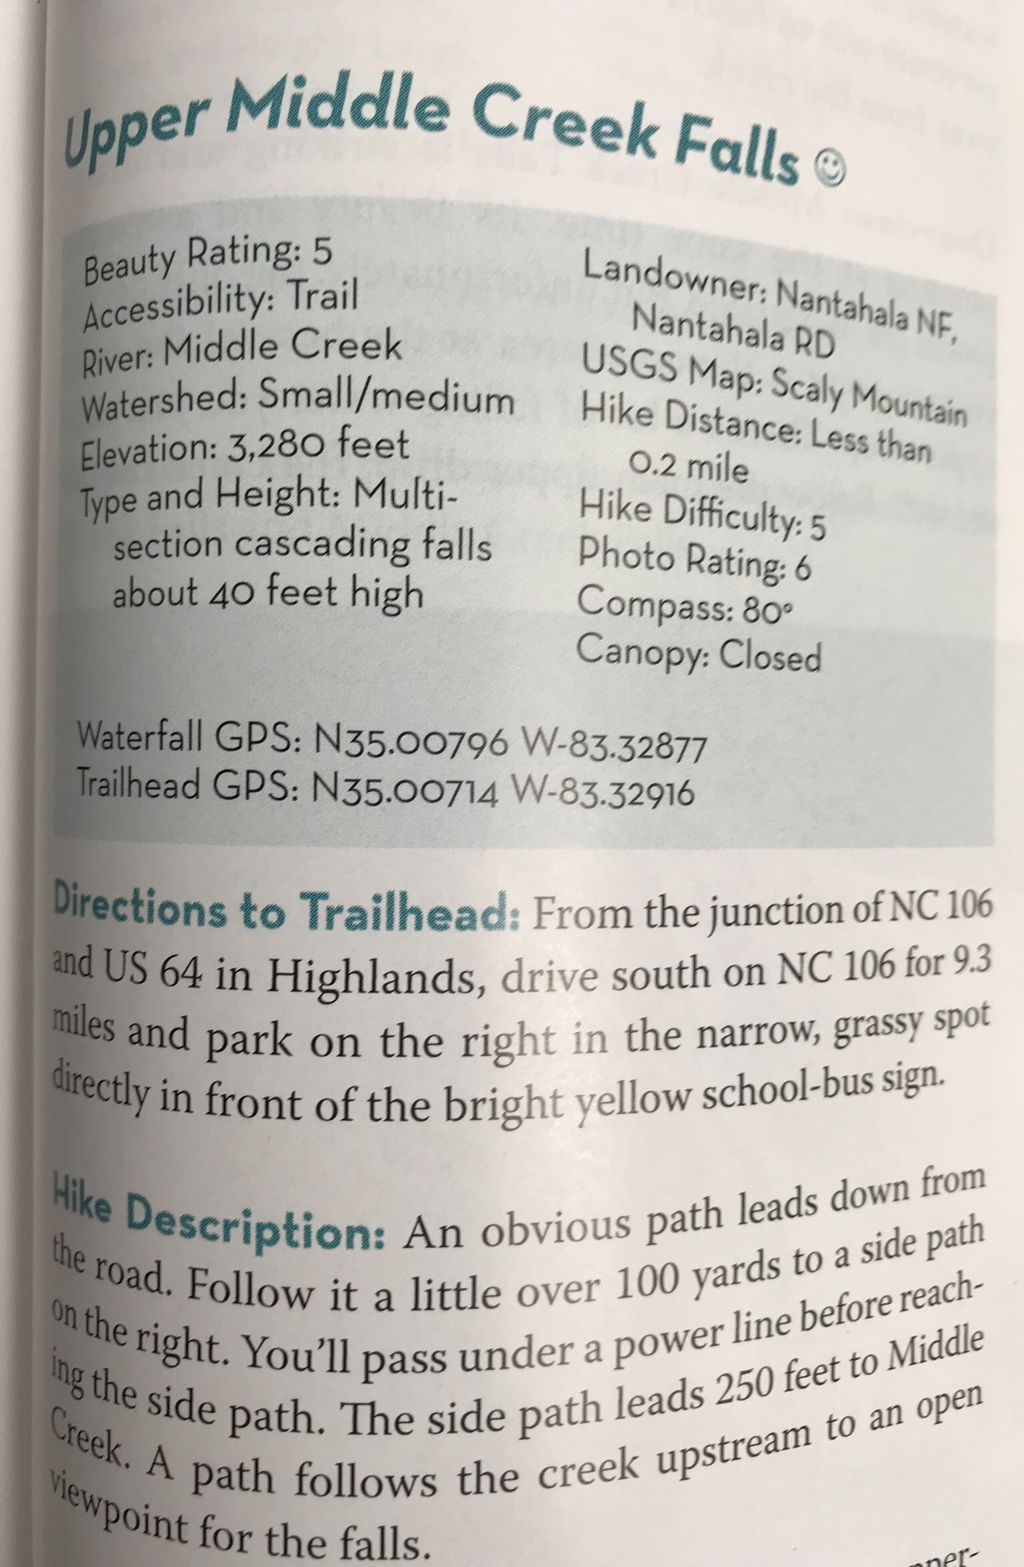
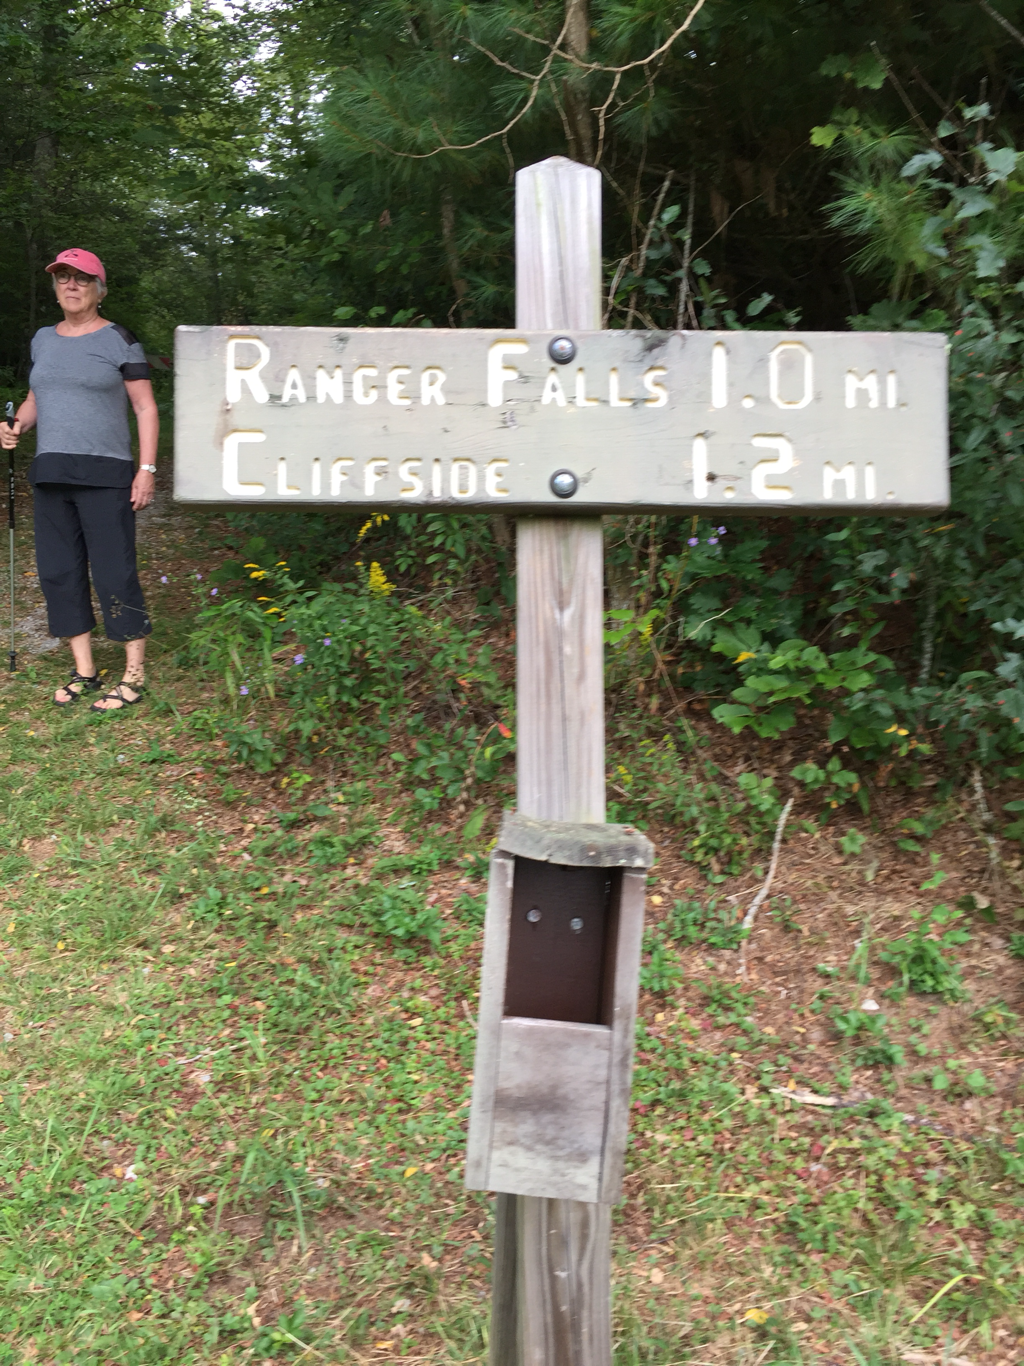
Trails are numbered so take note!
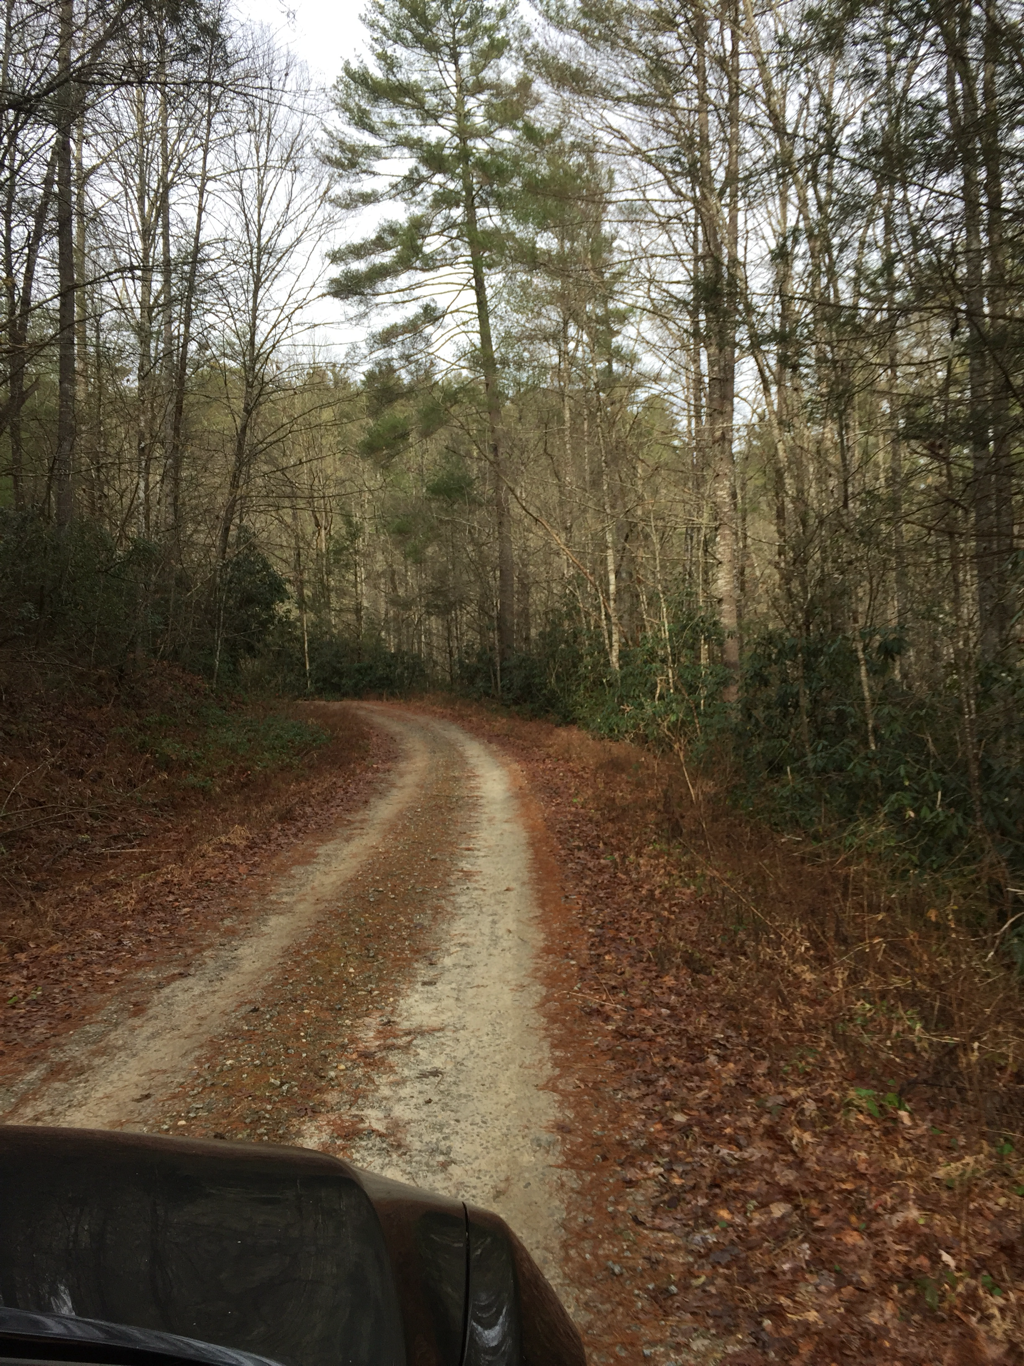
Riding the roads looking for the trail head.
After turning around and driving back the way we’d come, we found the trail head.

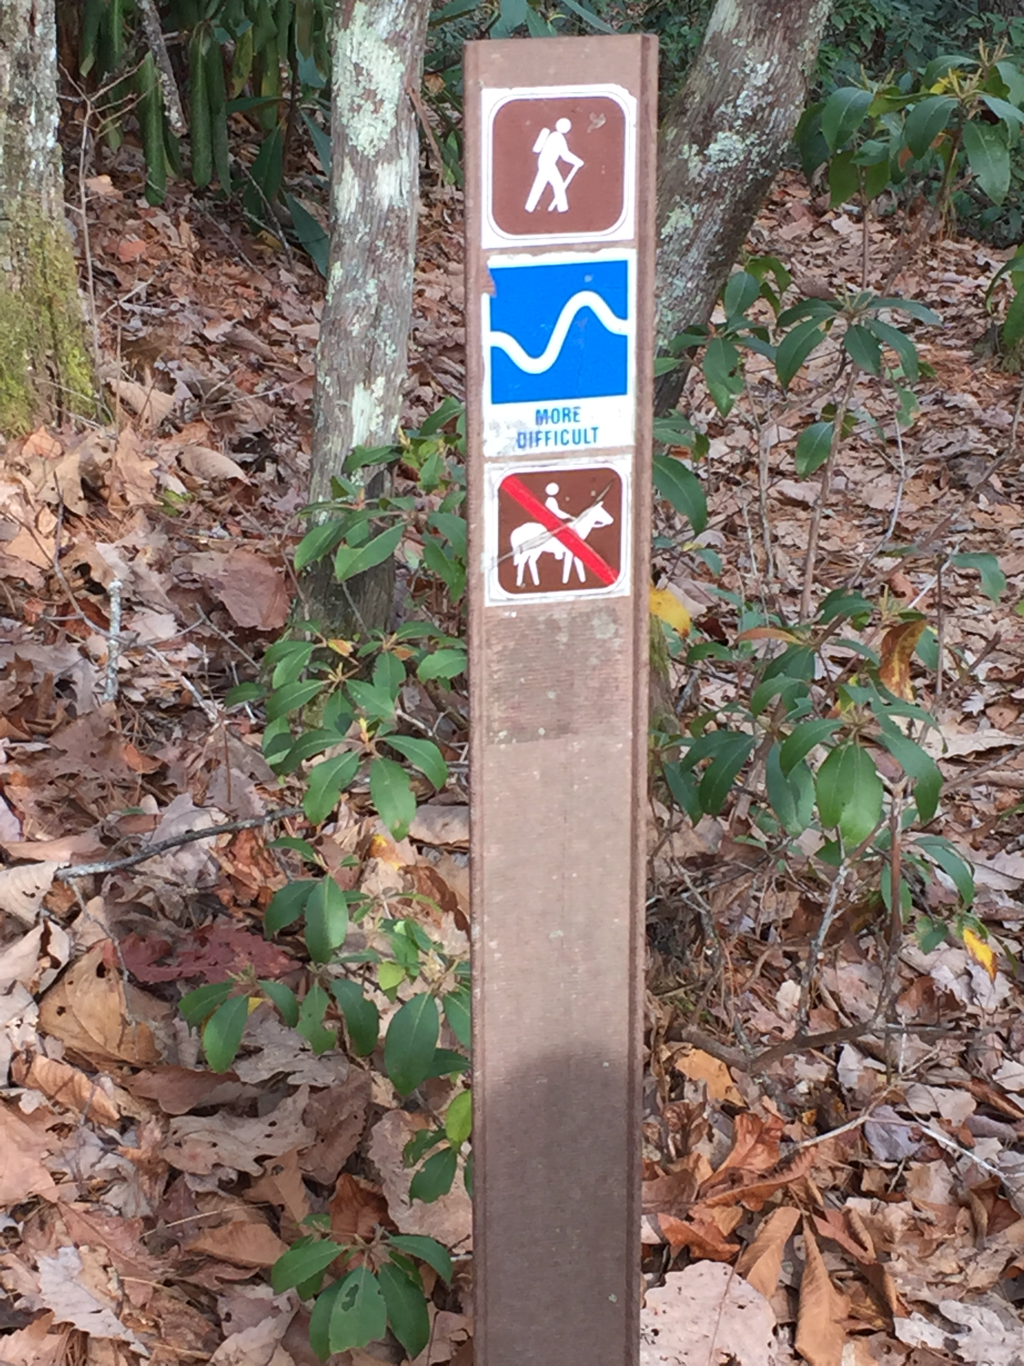
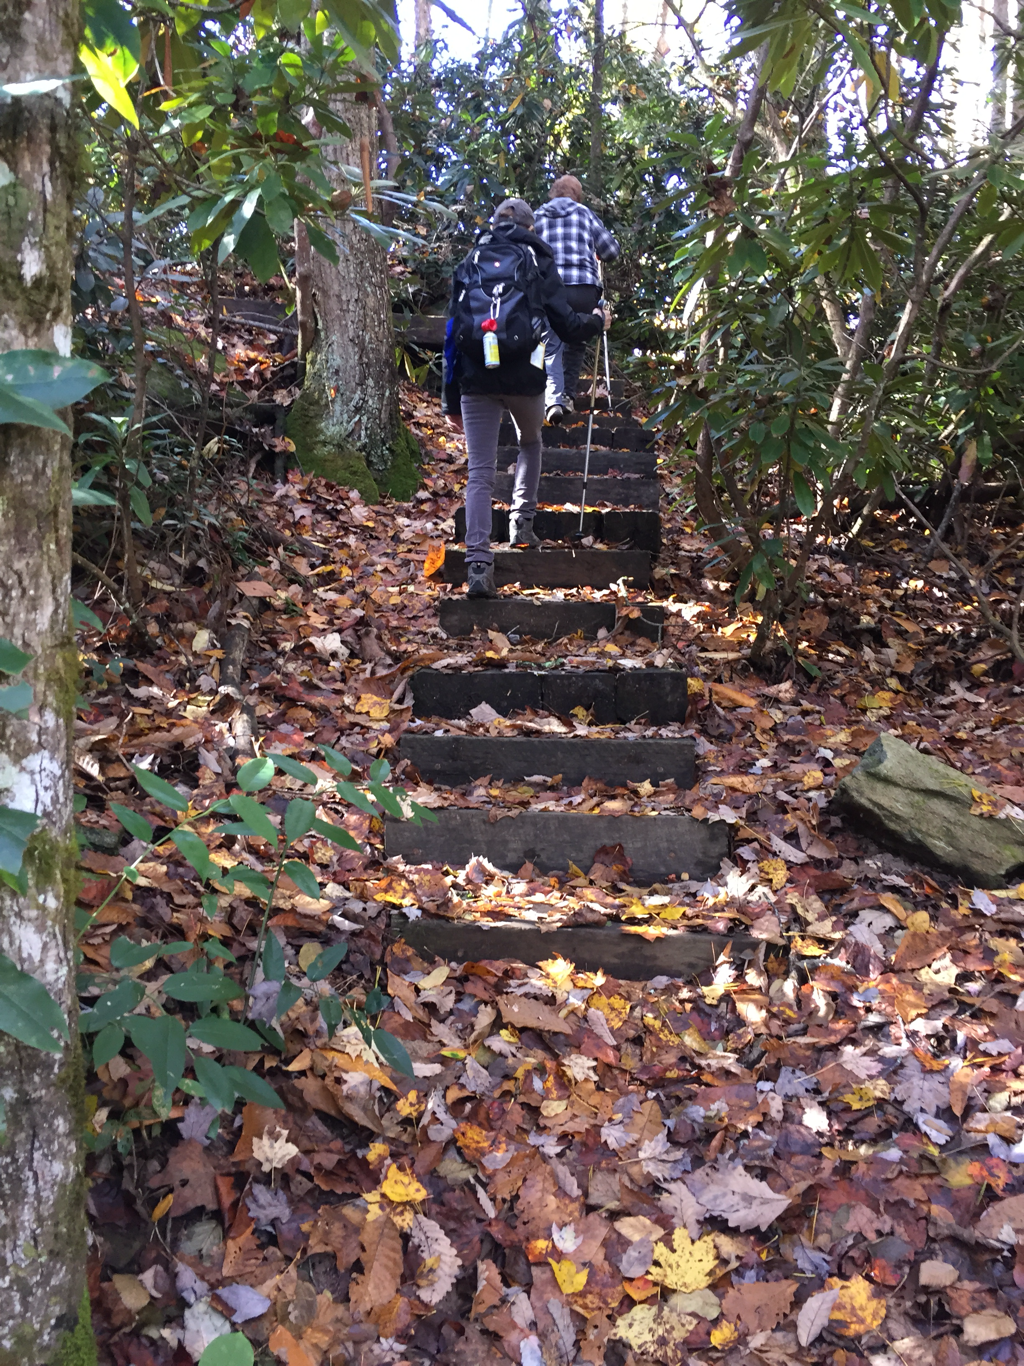
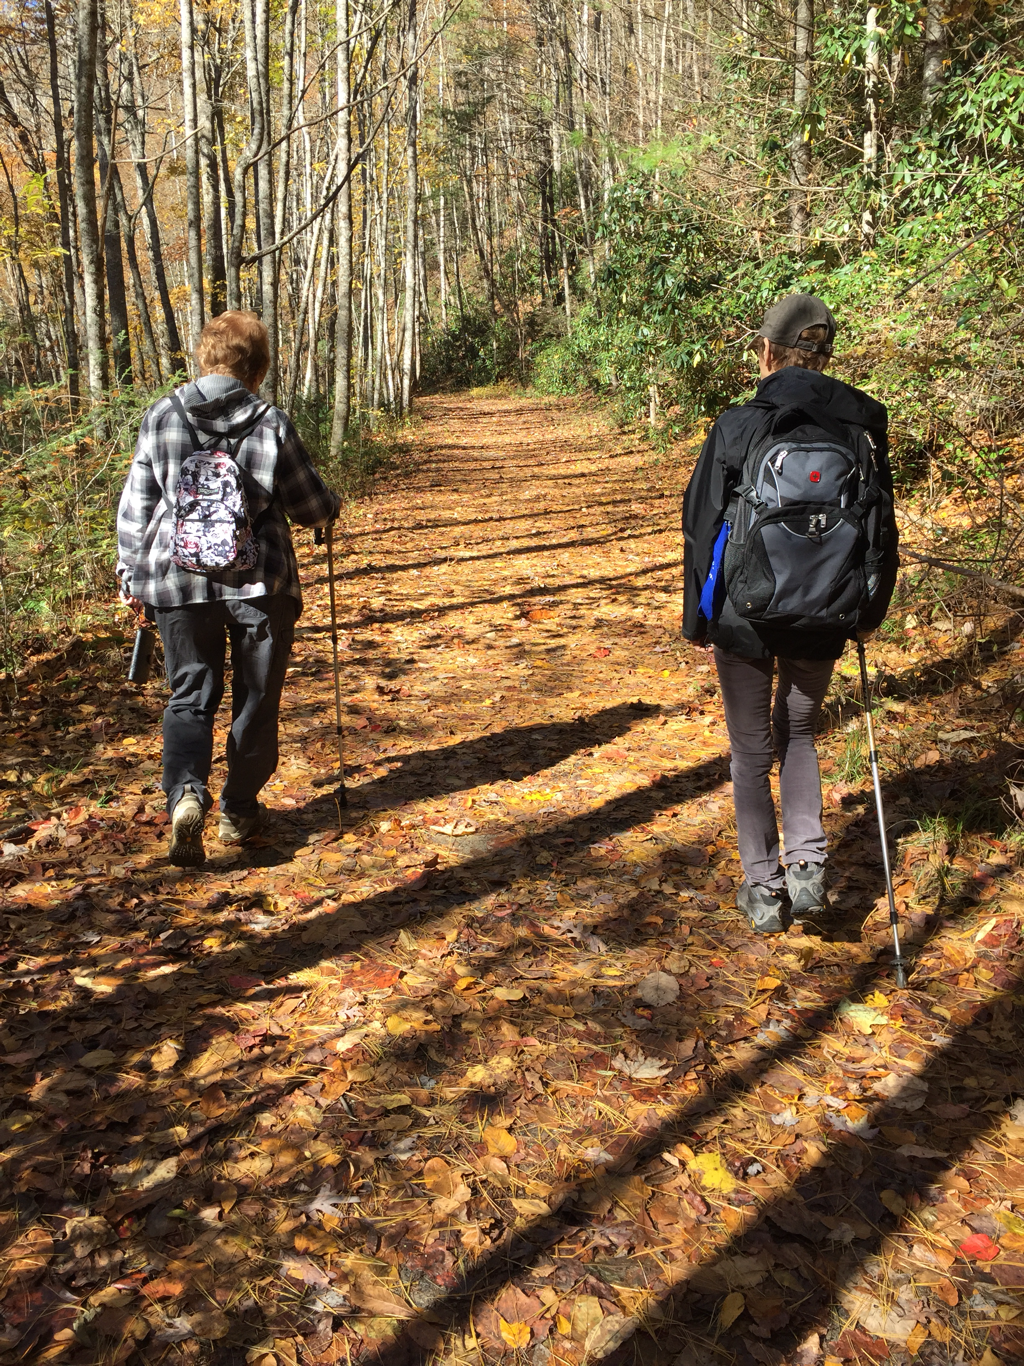
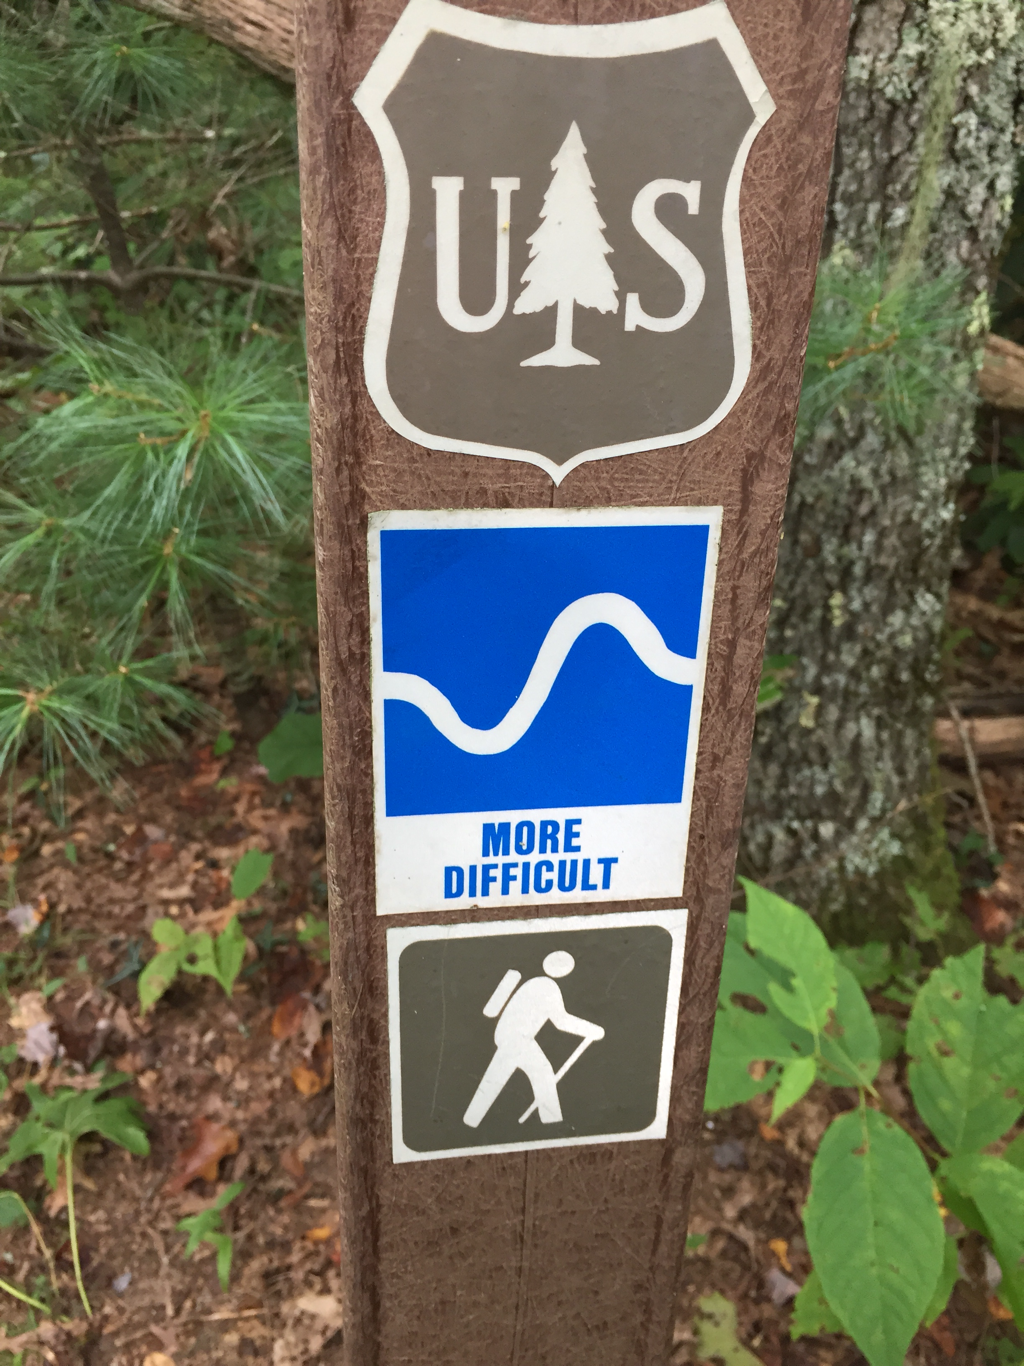
Notice the trail is listed as “more difficult.” It’s mostly downhill to the falls which means it’s mostly uphill on the way back.
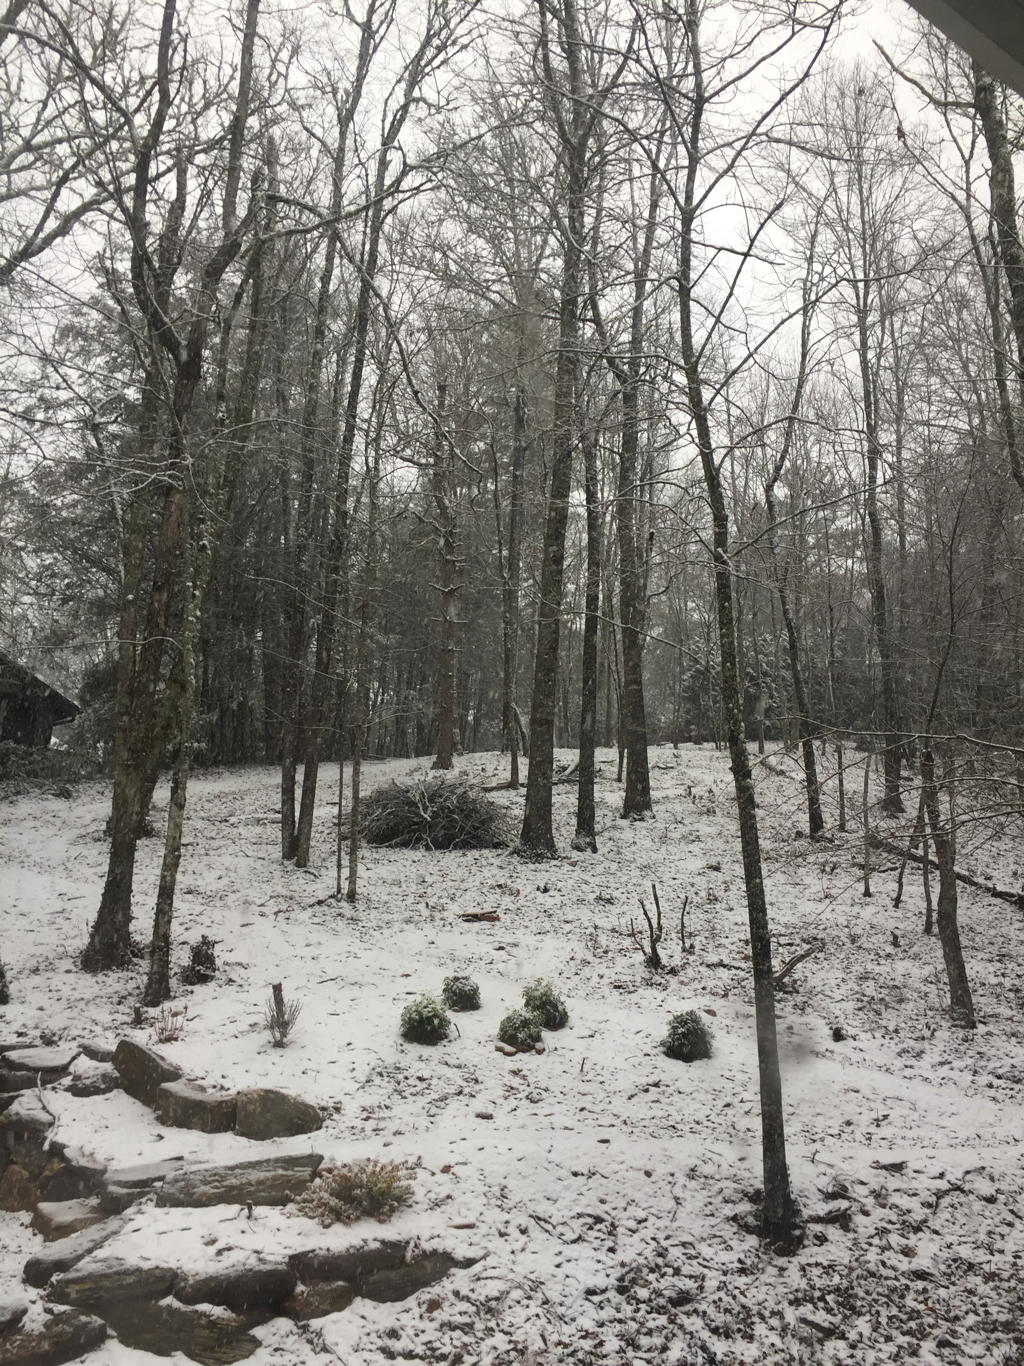
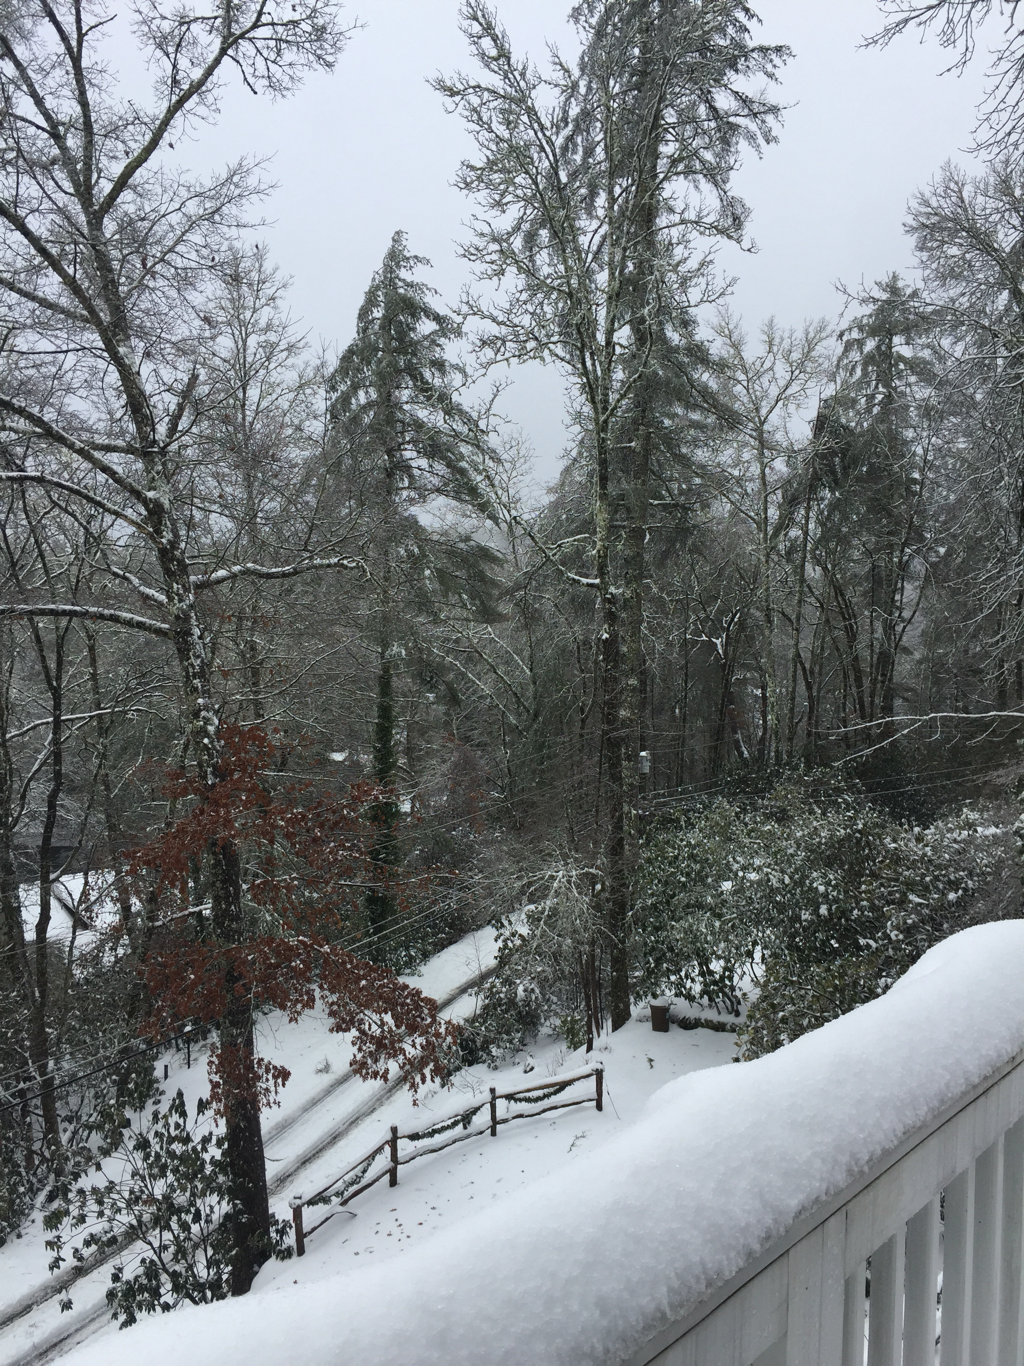
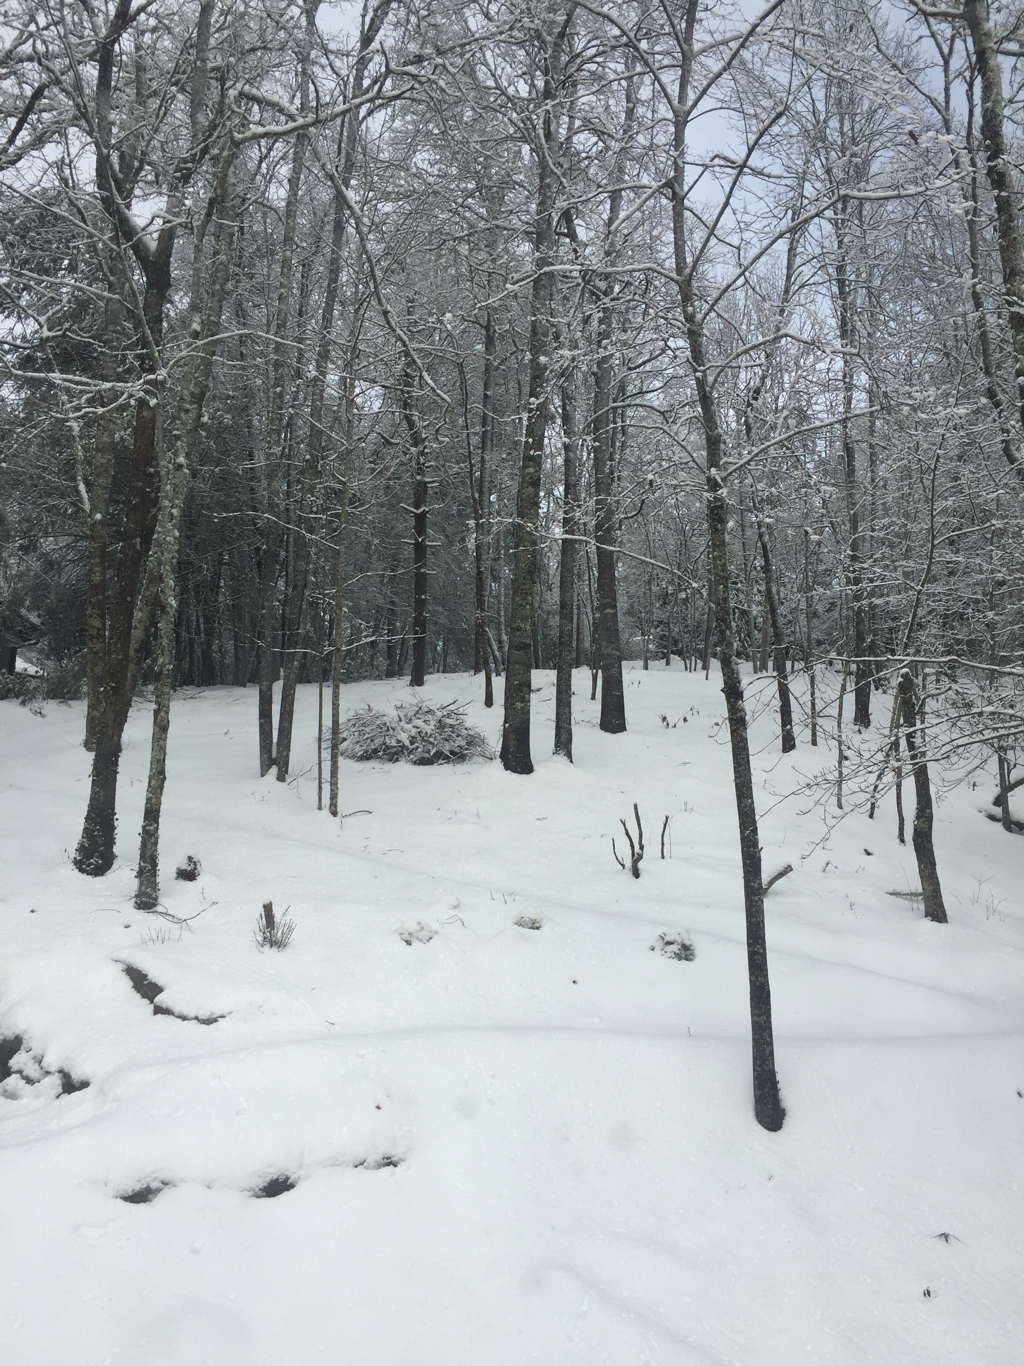
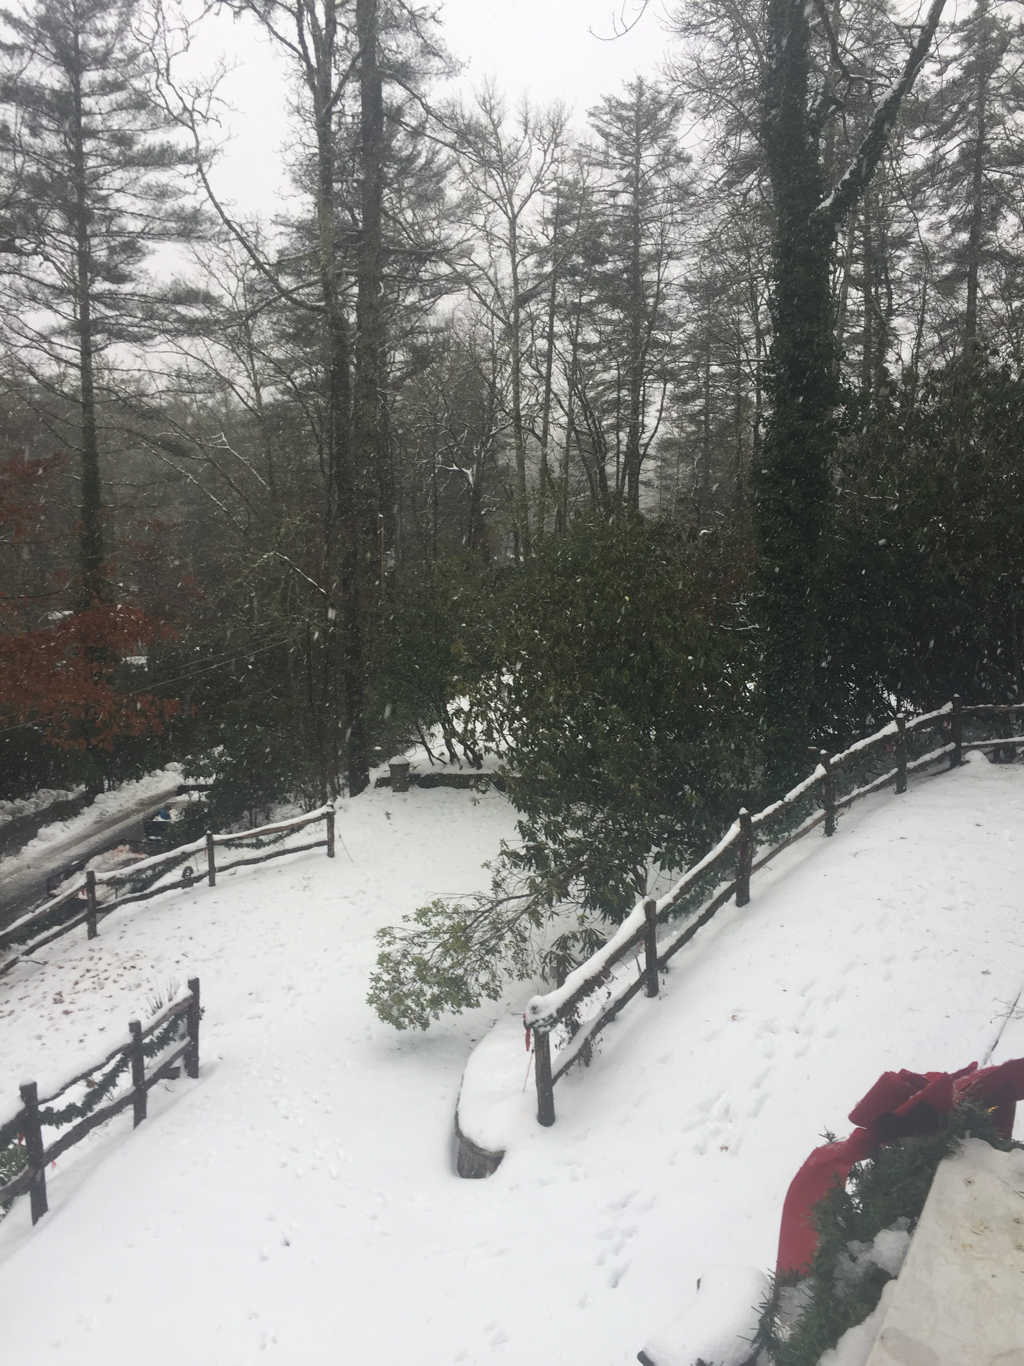
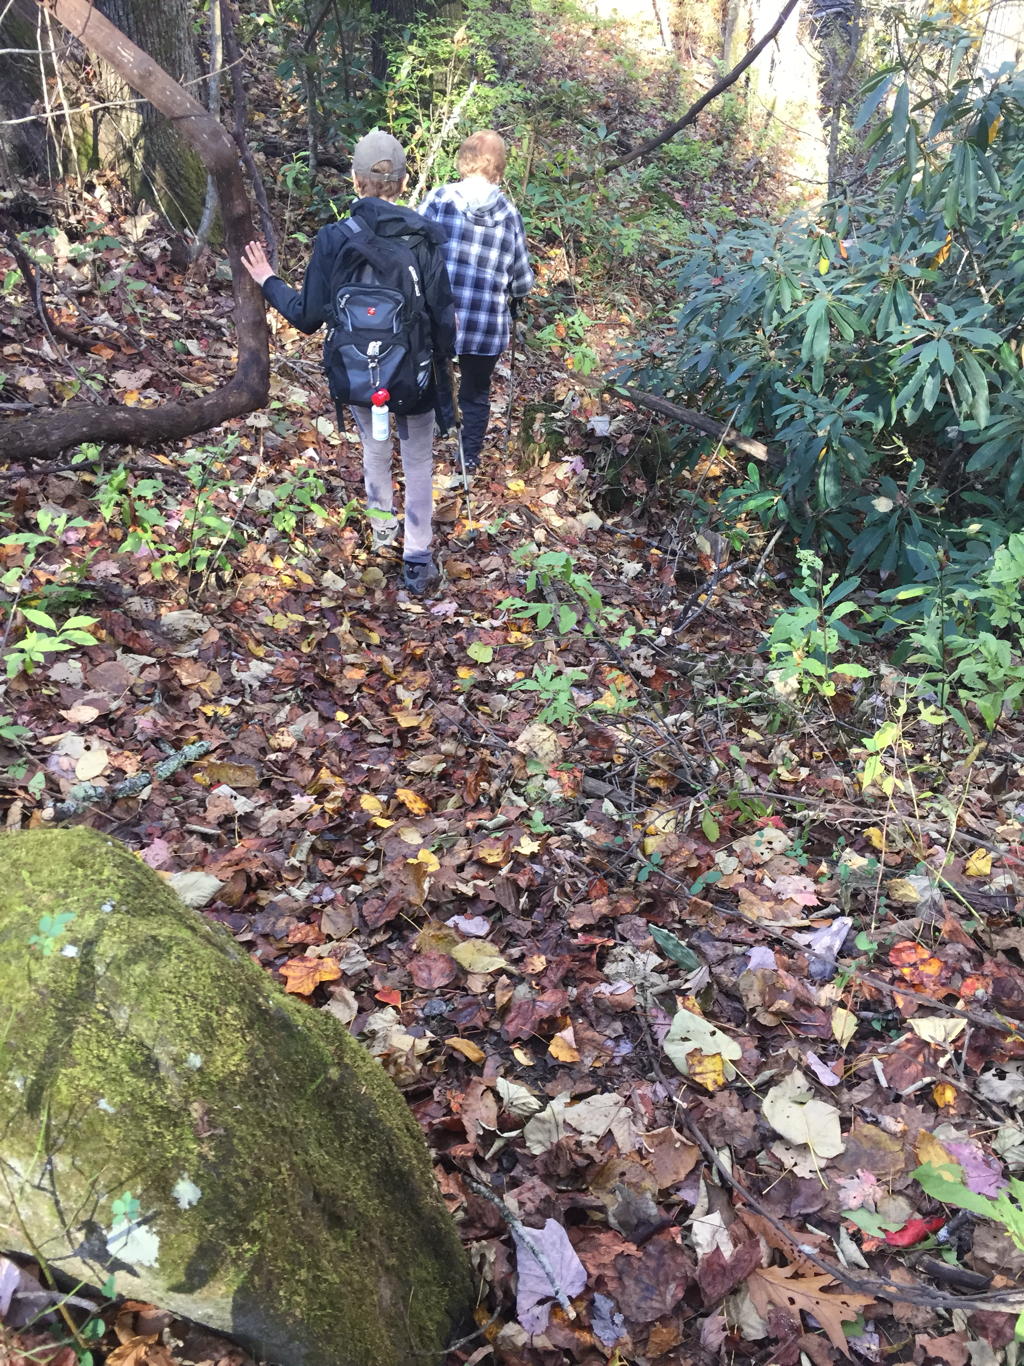
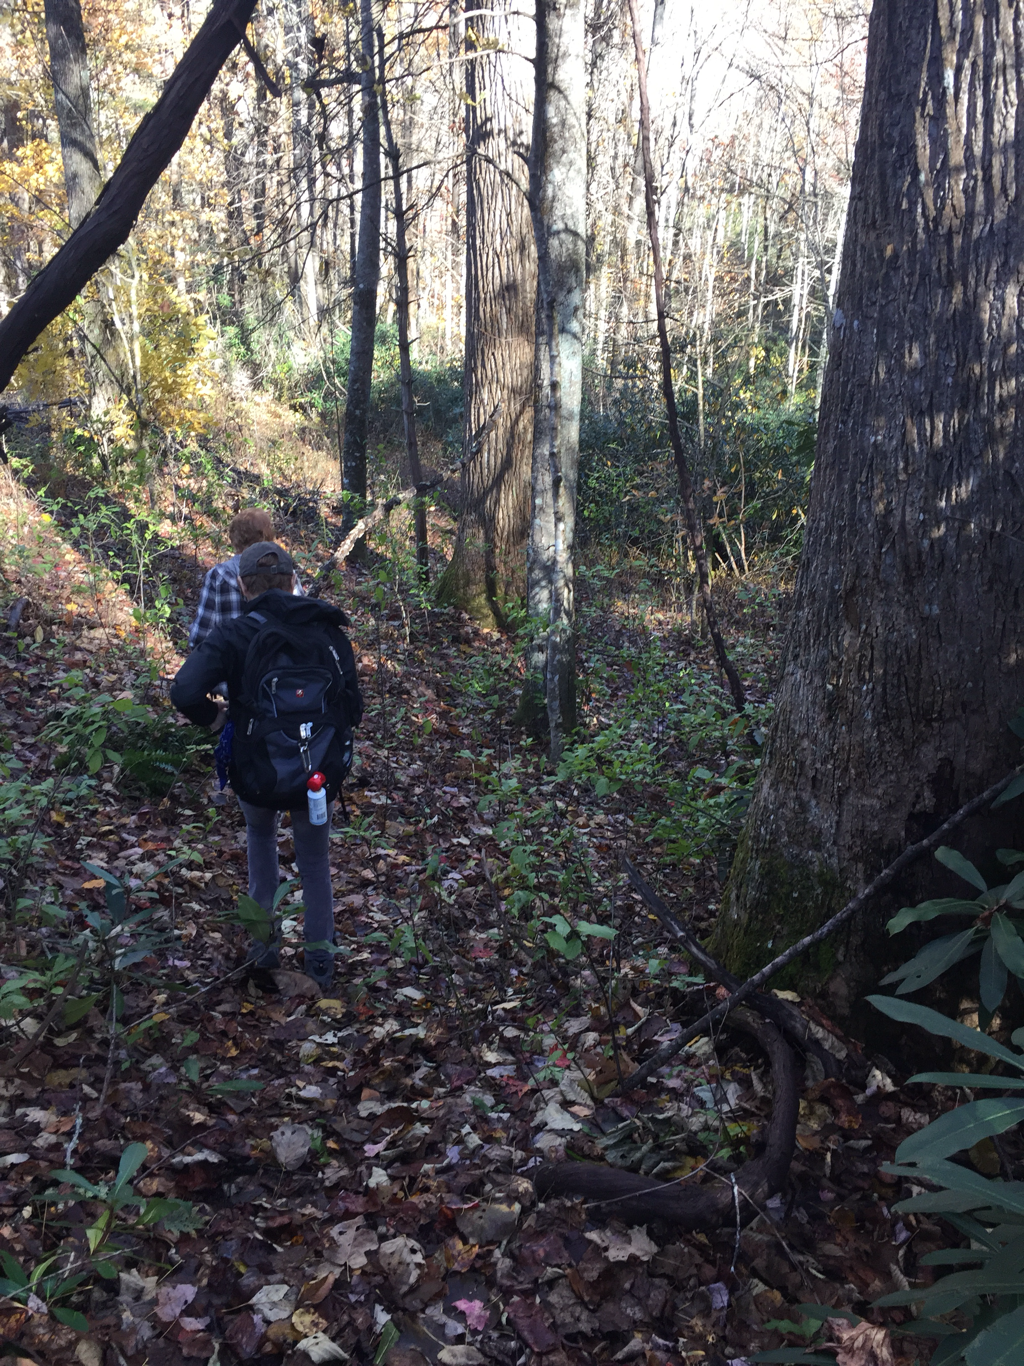
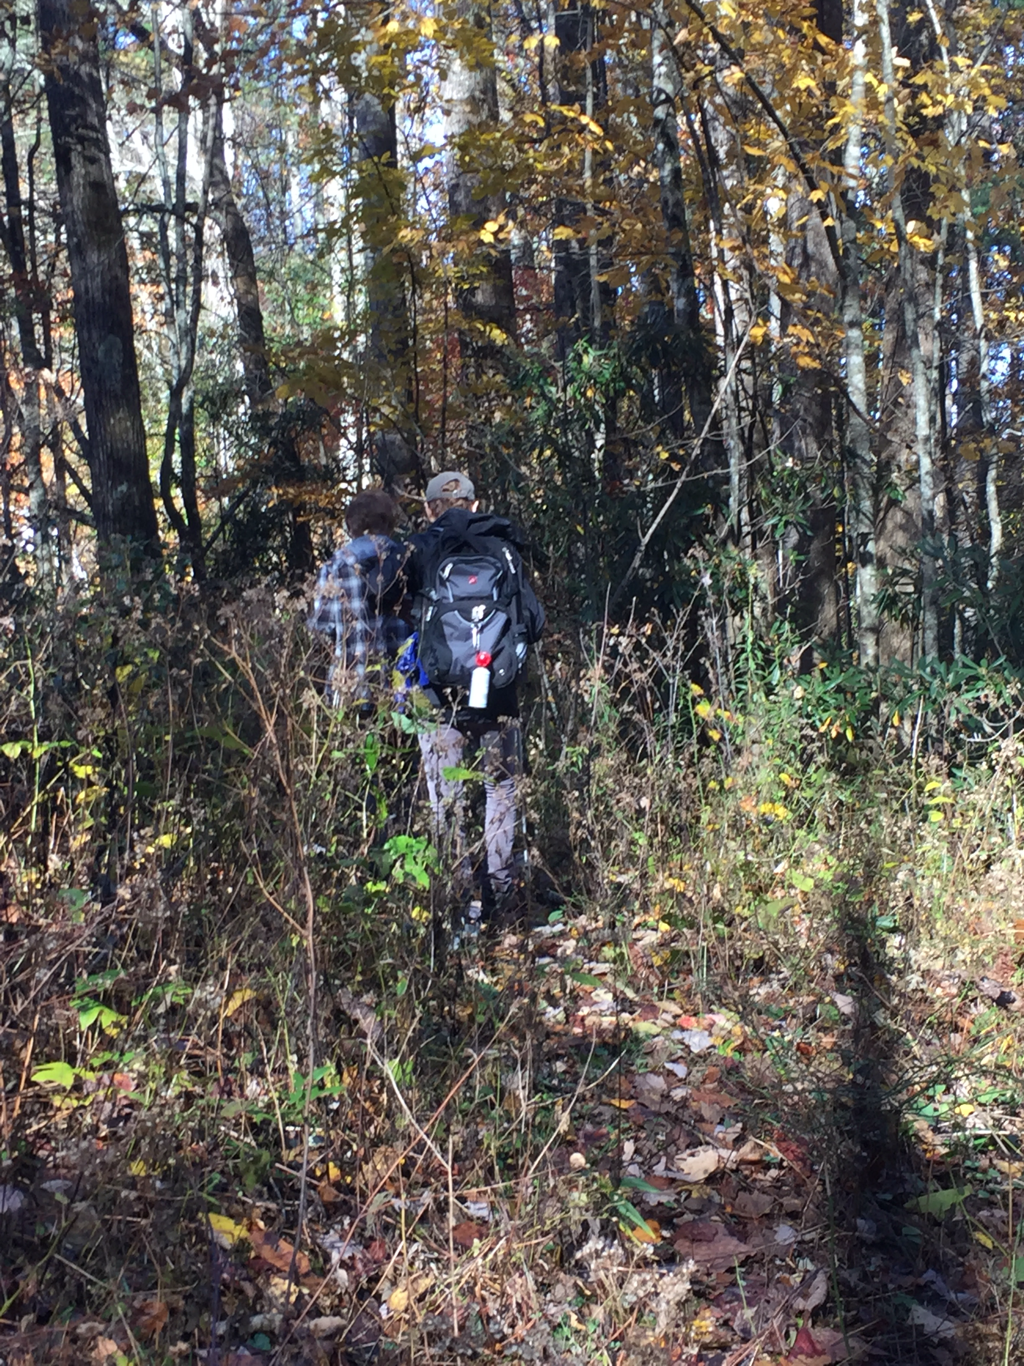
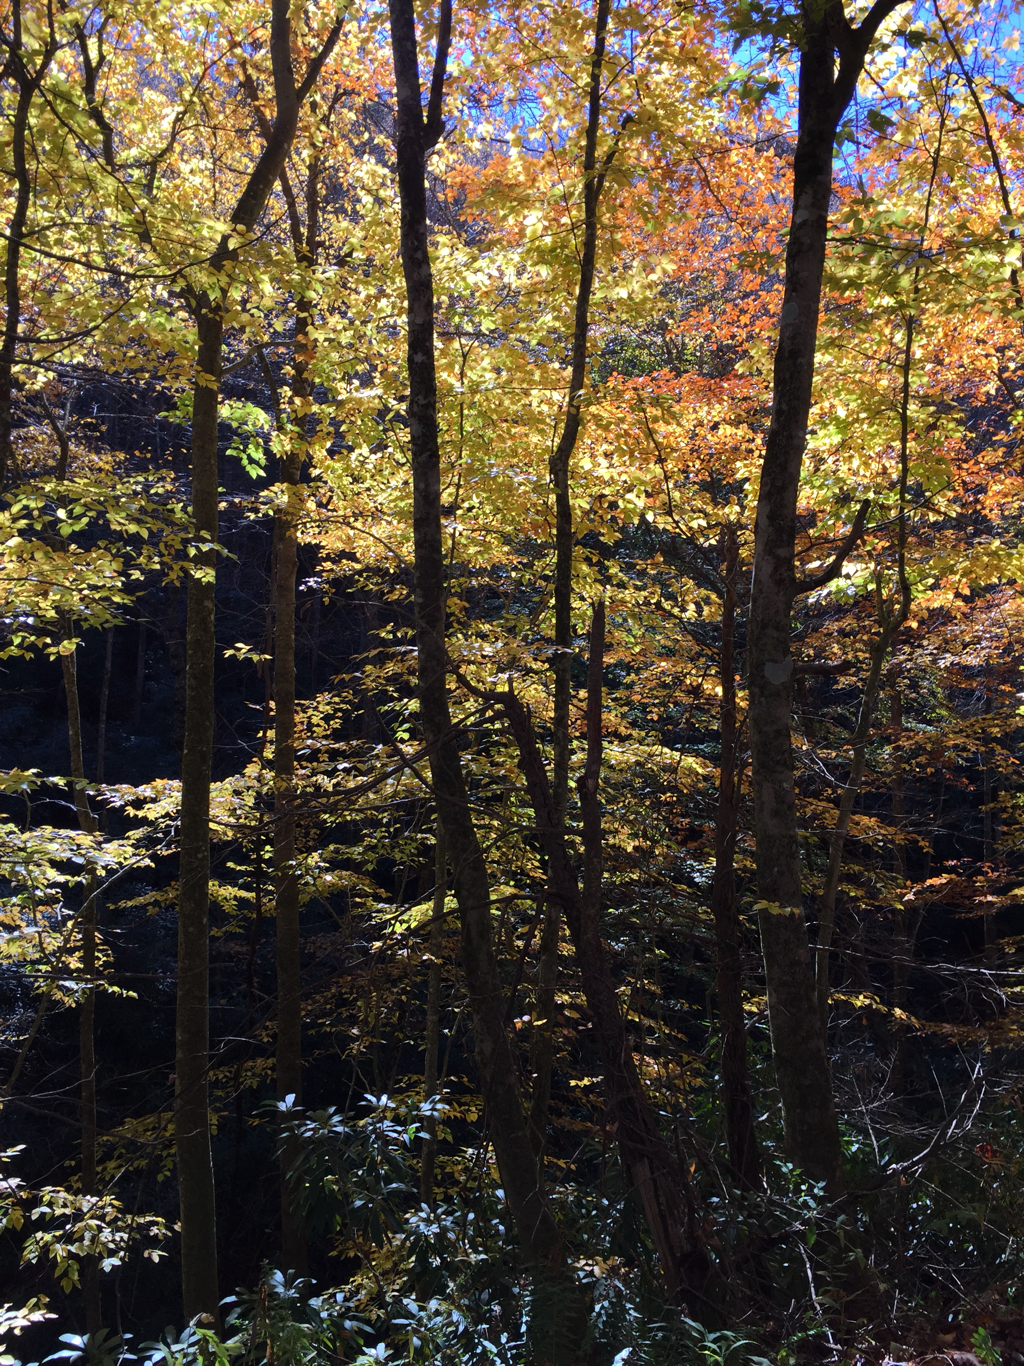
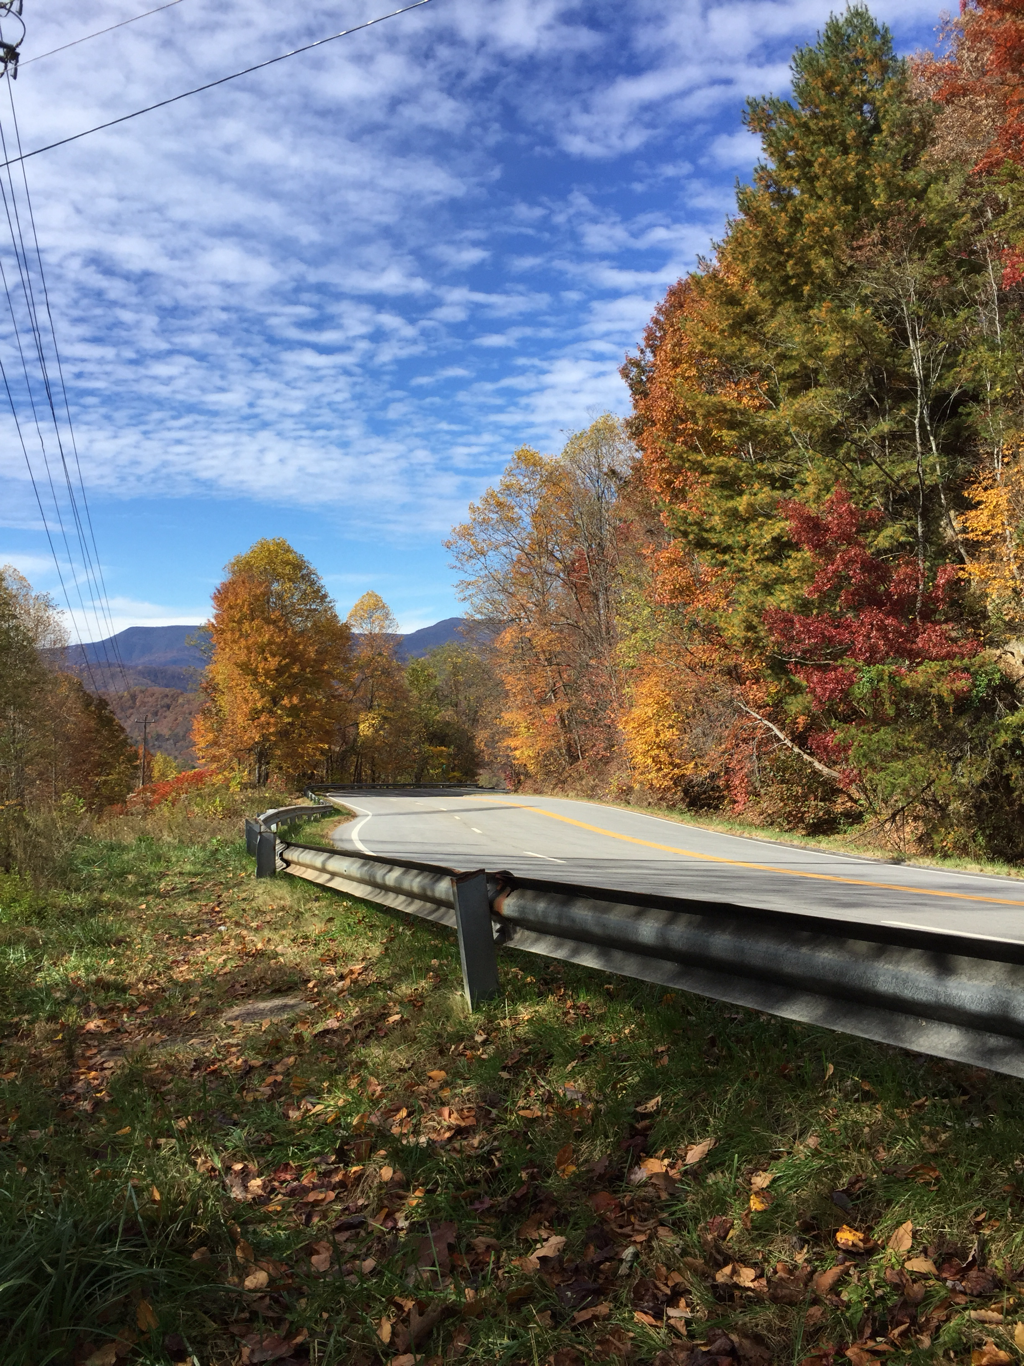
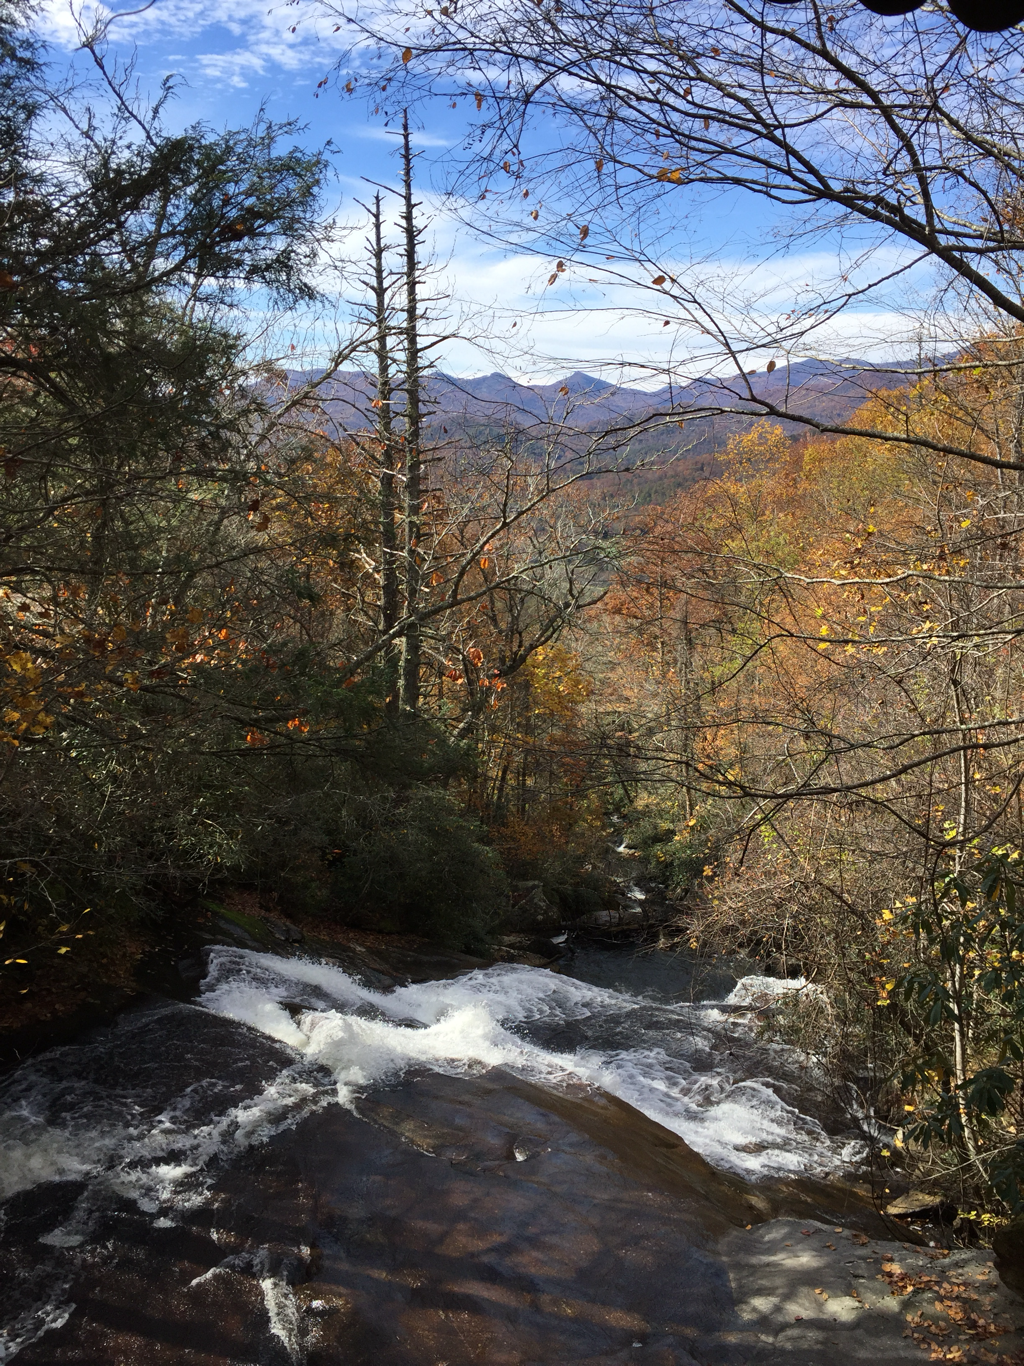
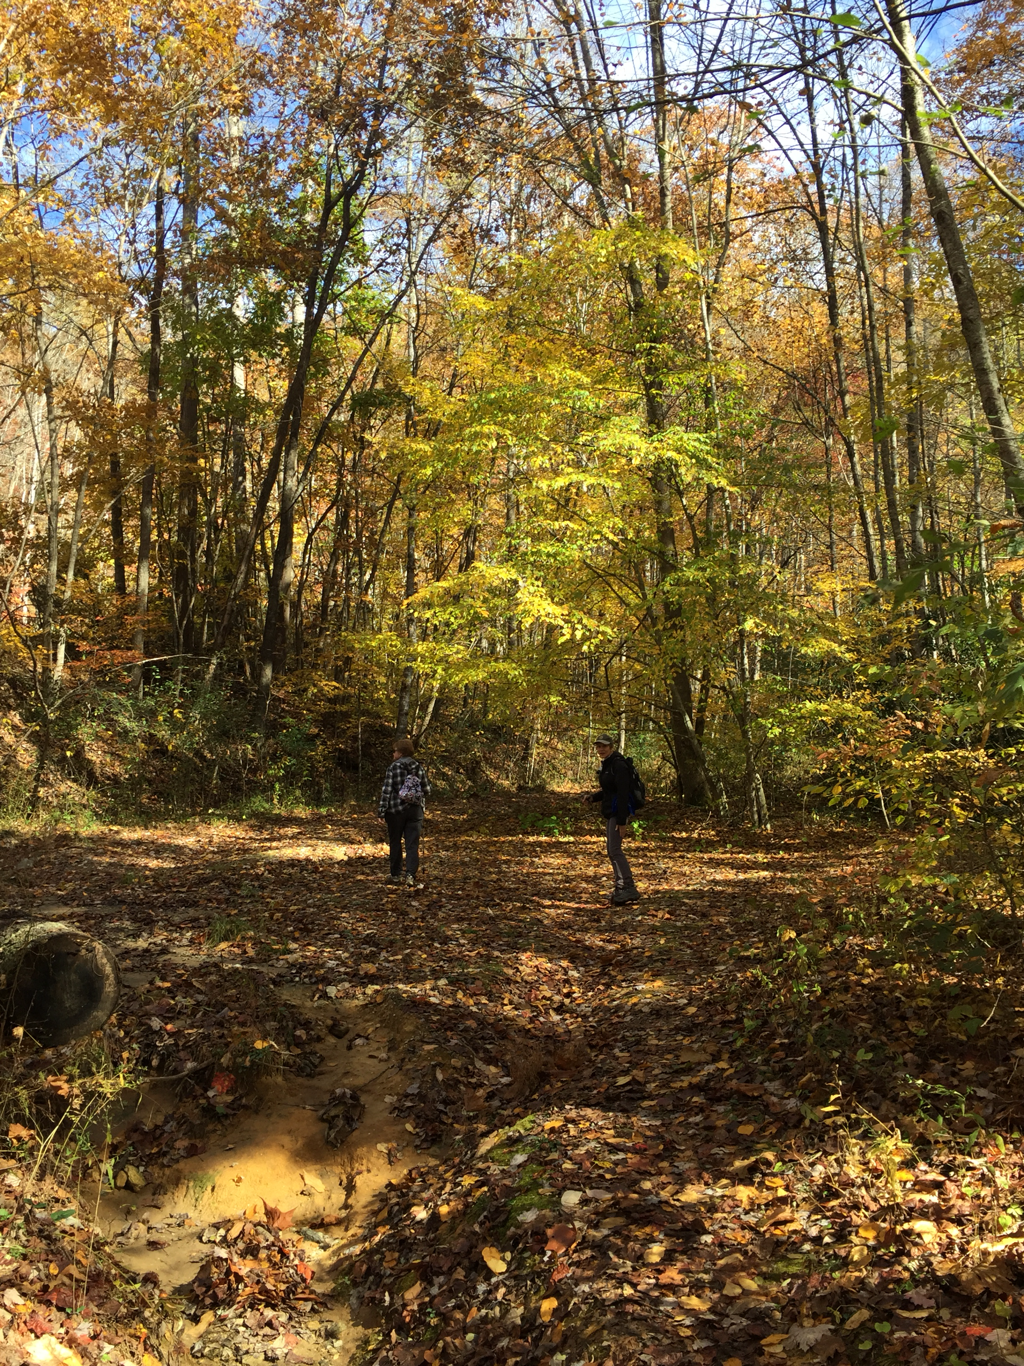
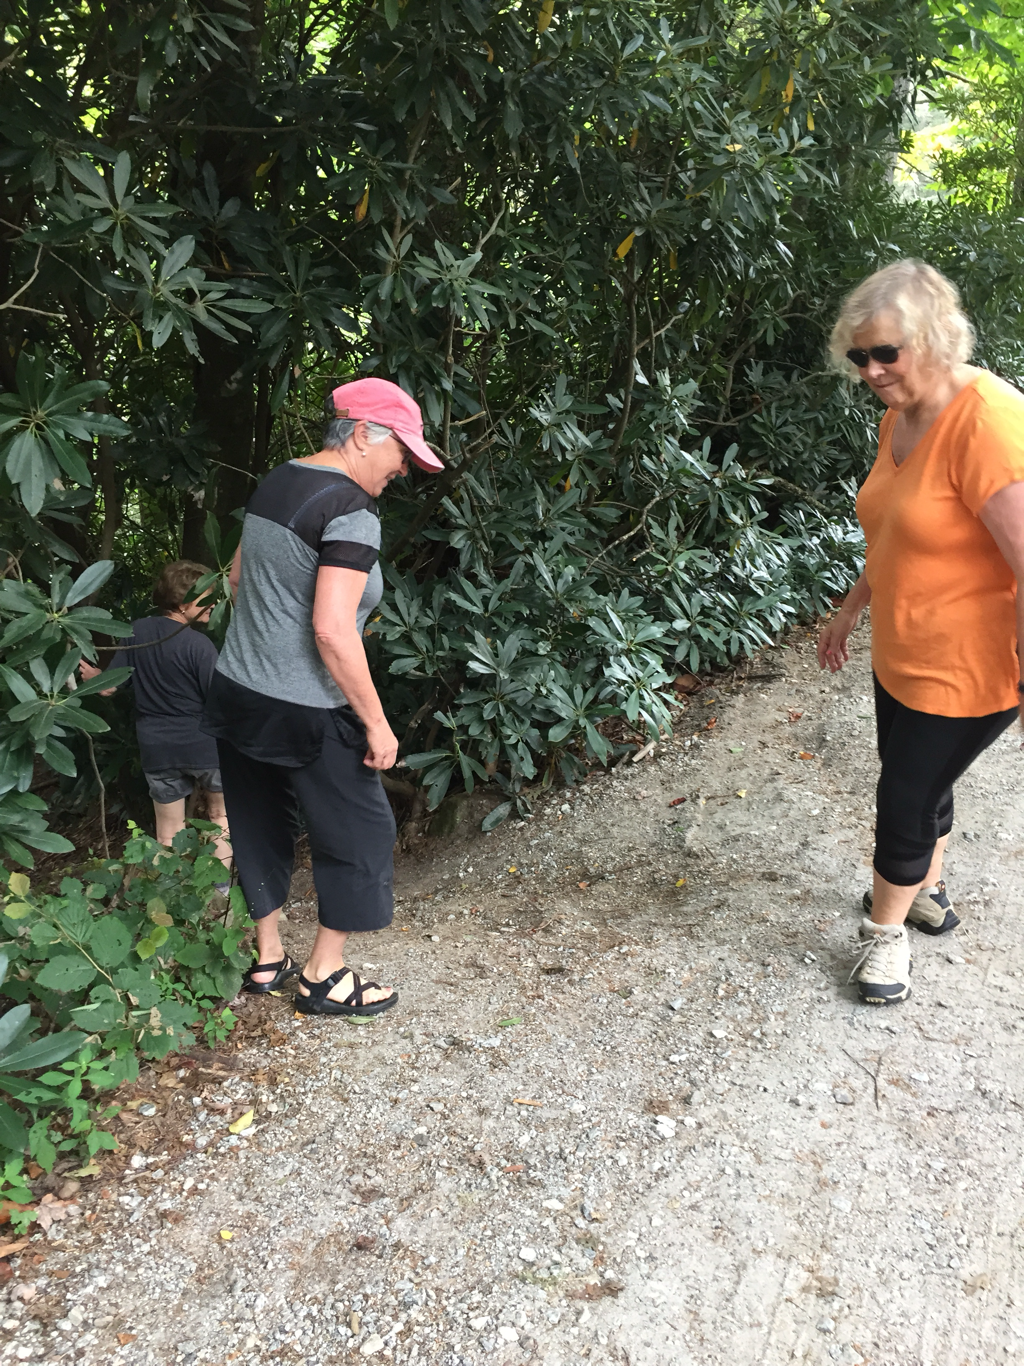
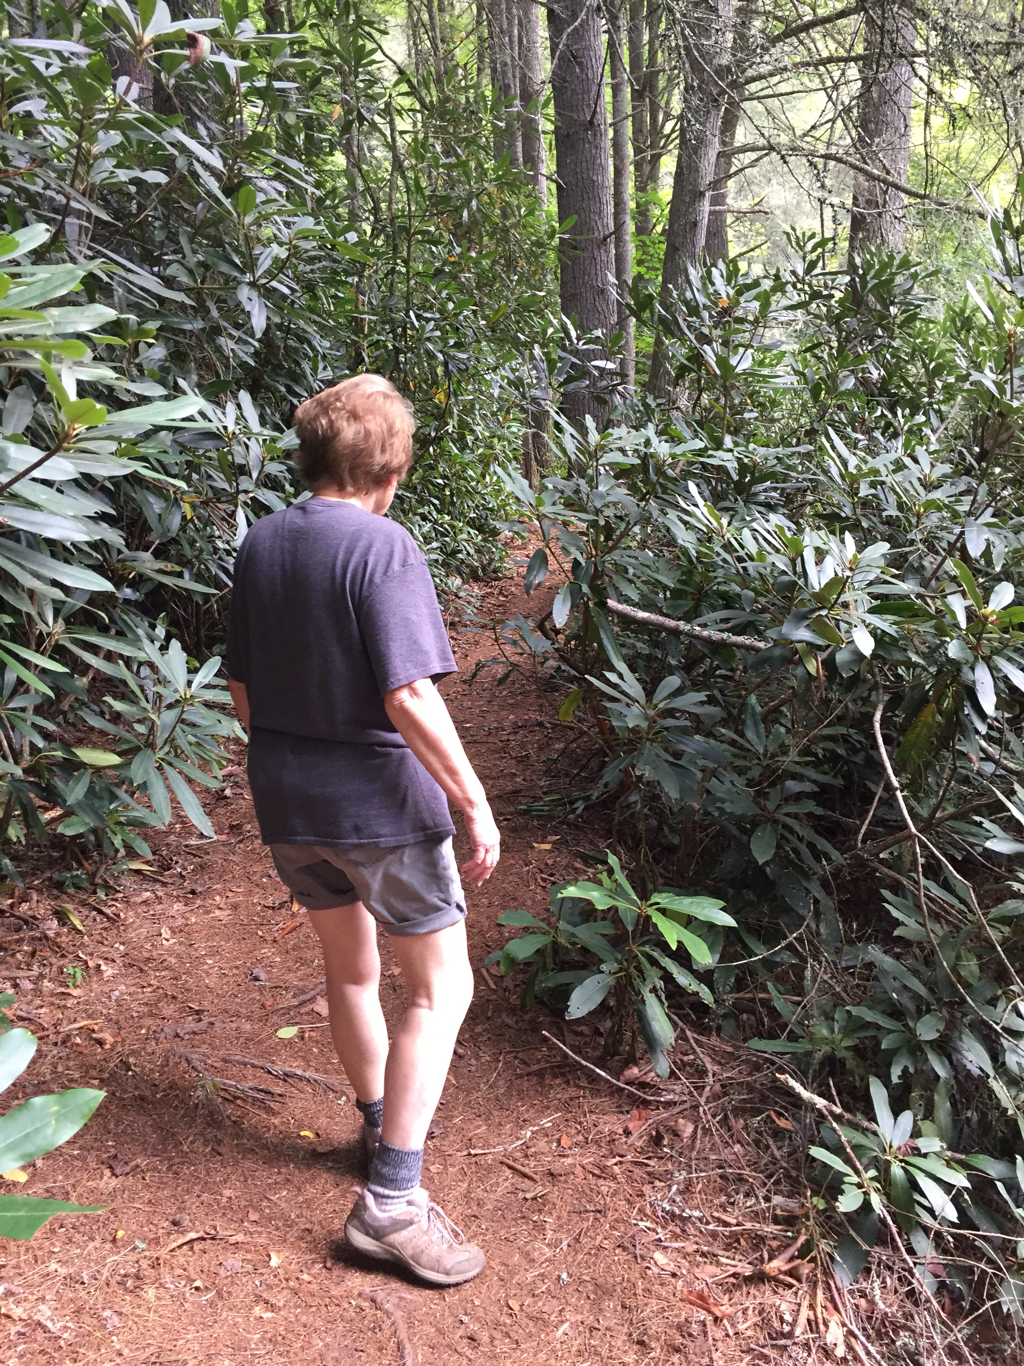
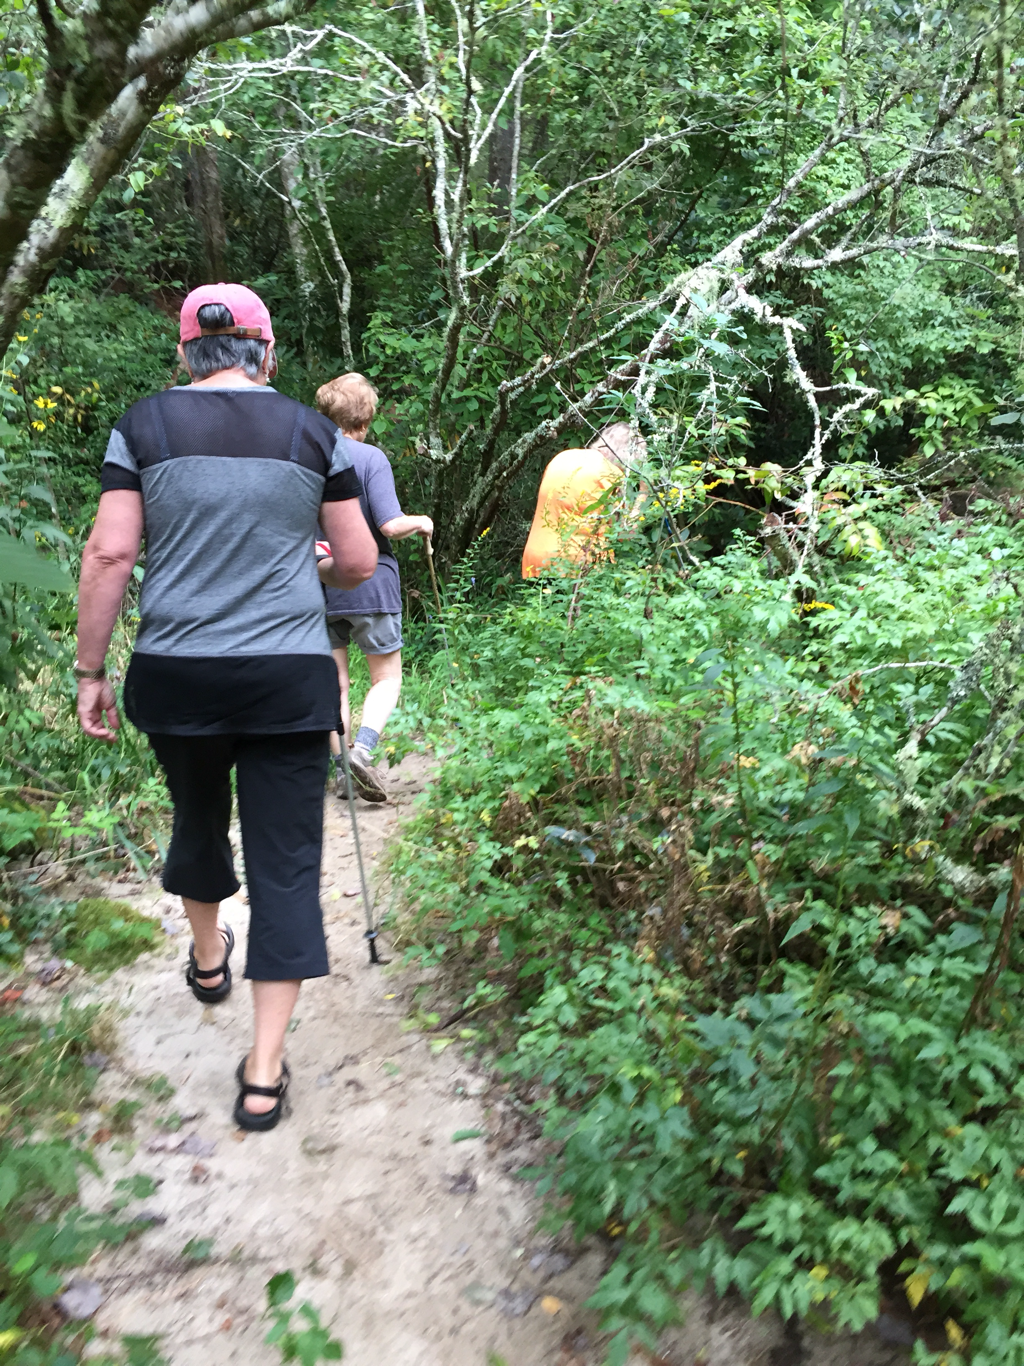
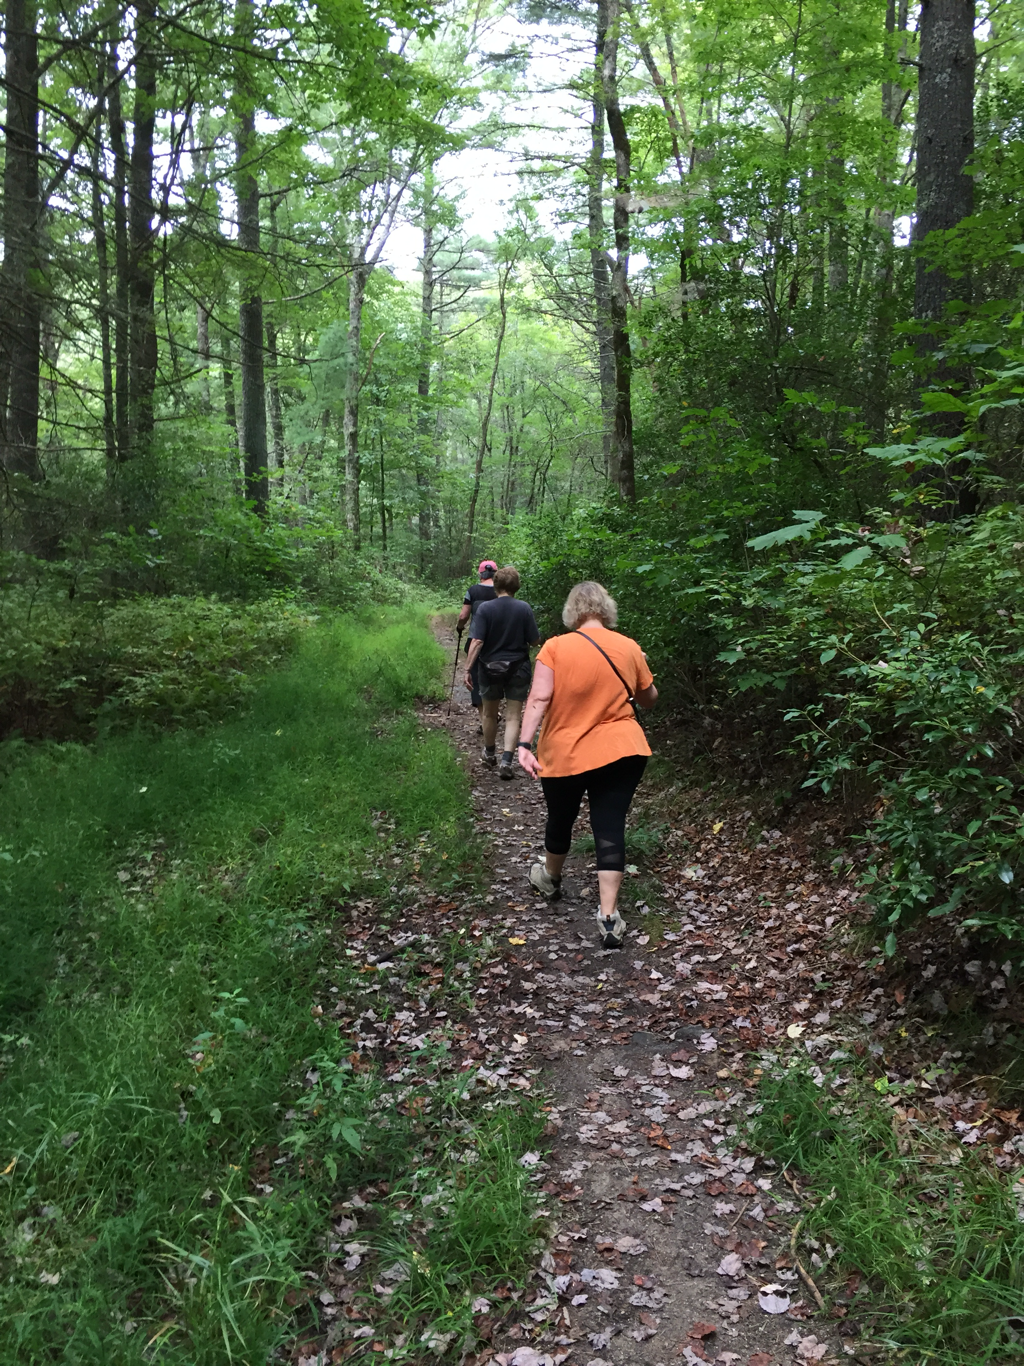
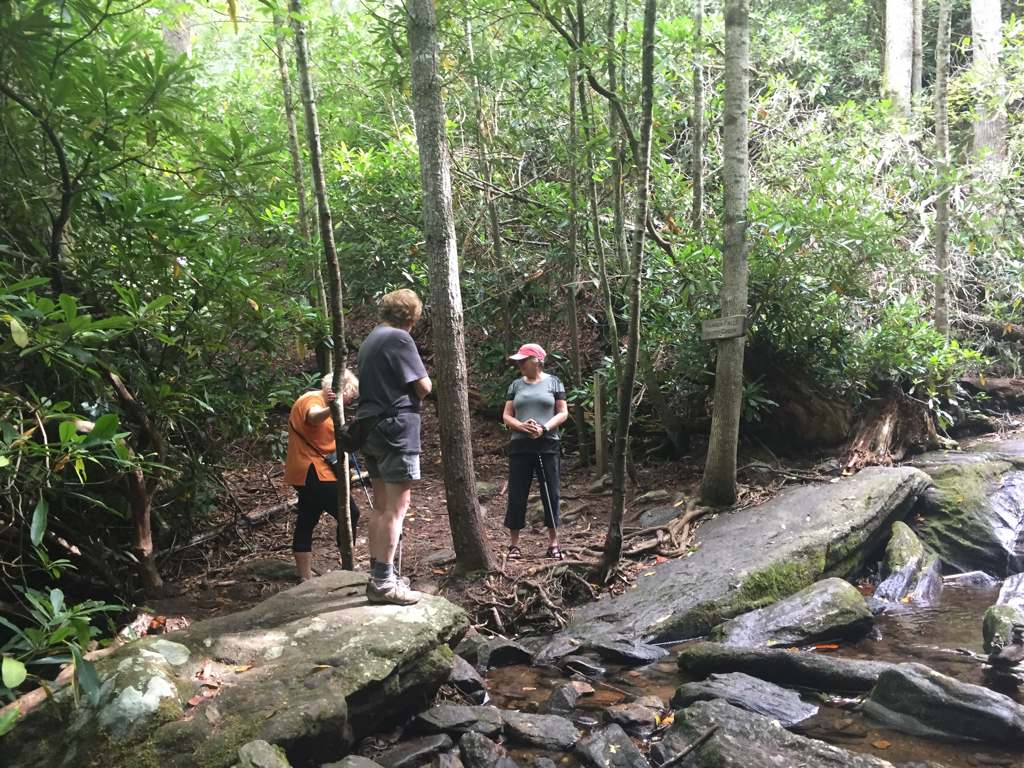
We started down the trail and, as always, we loved seeing the beauty of nature surrounding us. Mountain views peeked through the trees.

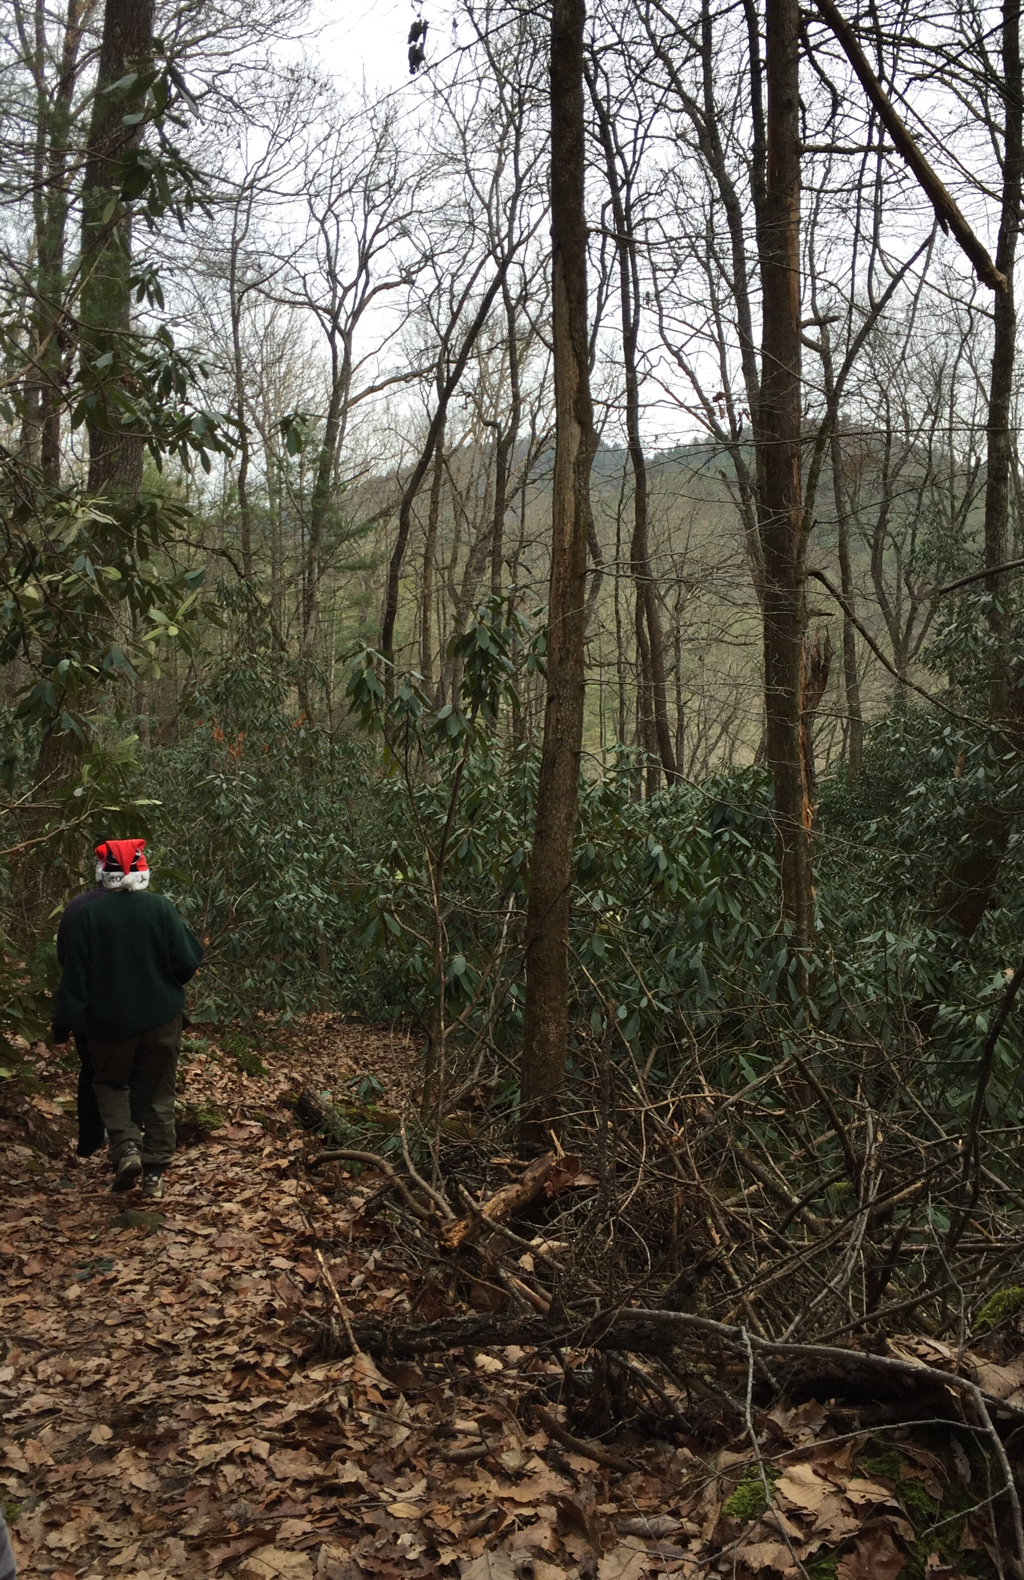
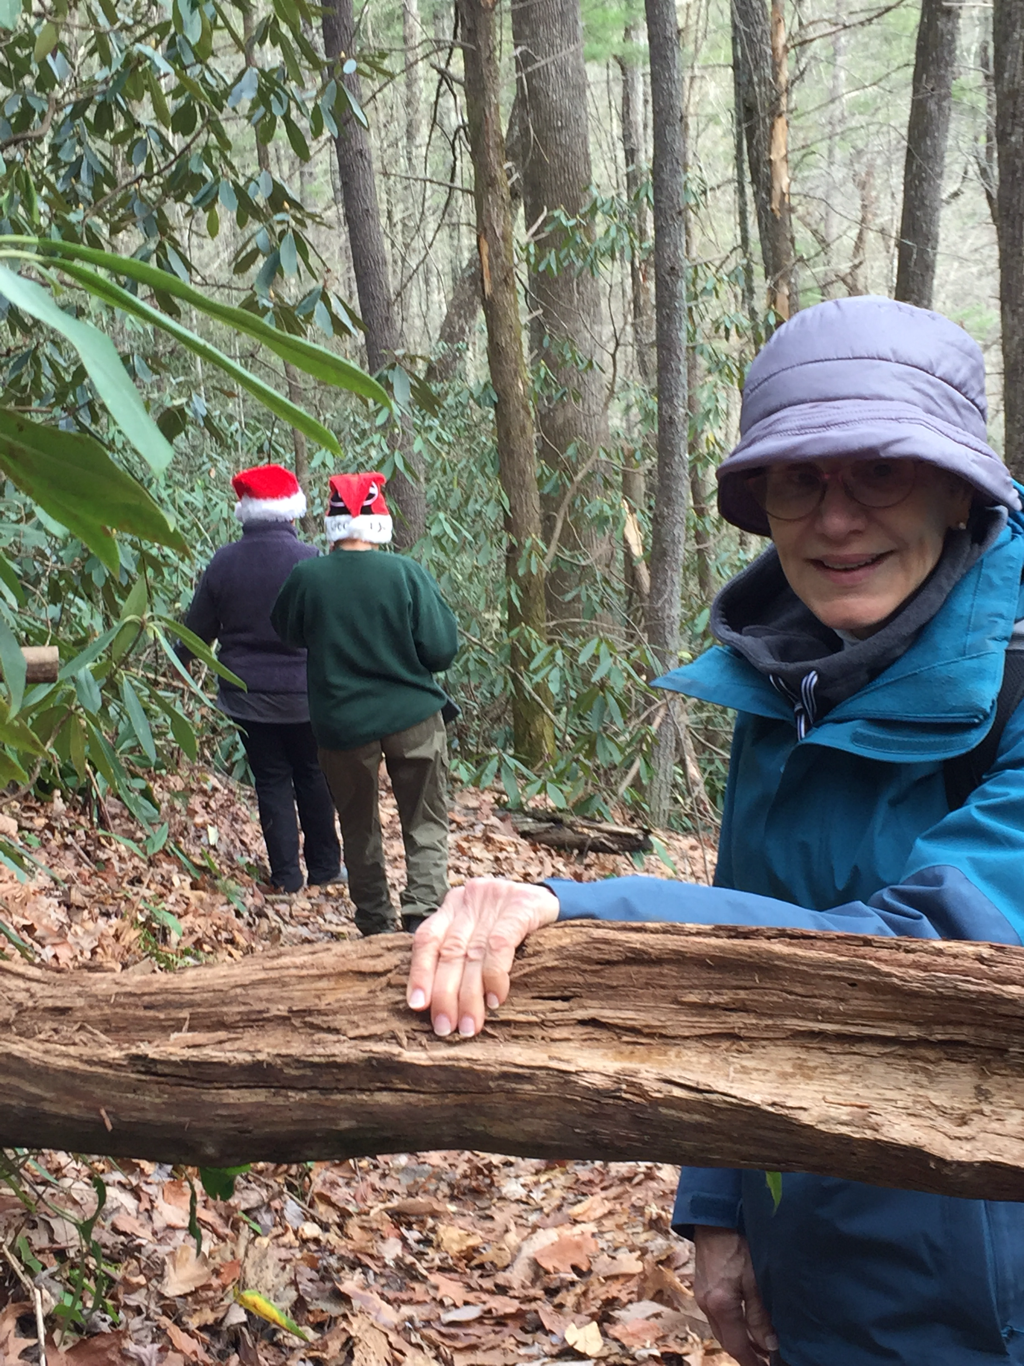
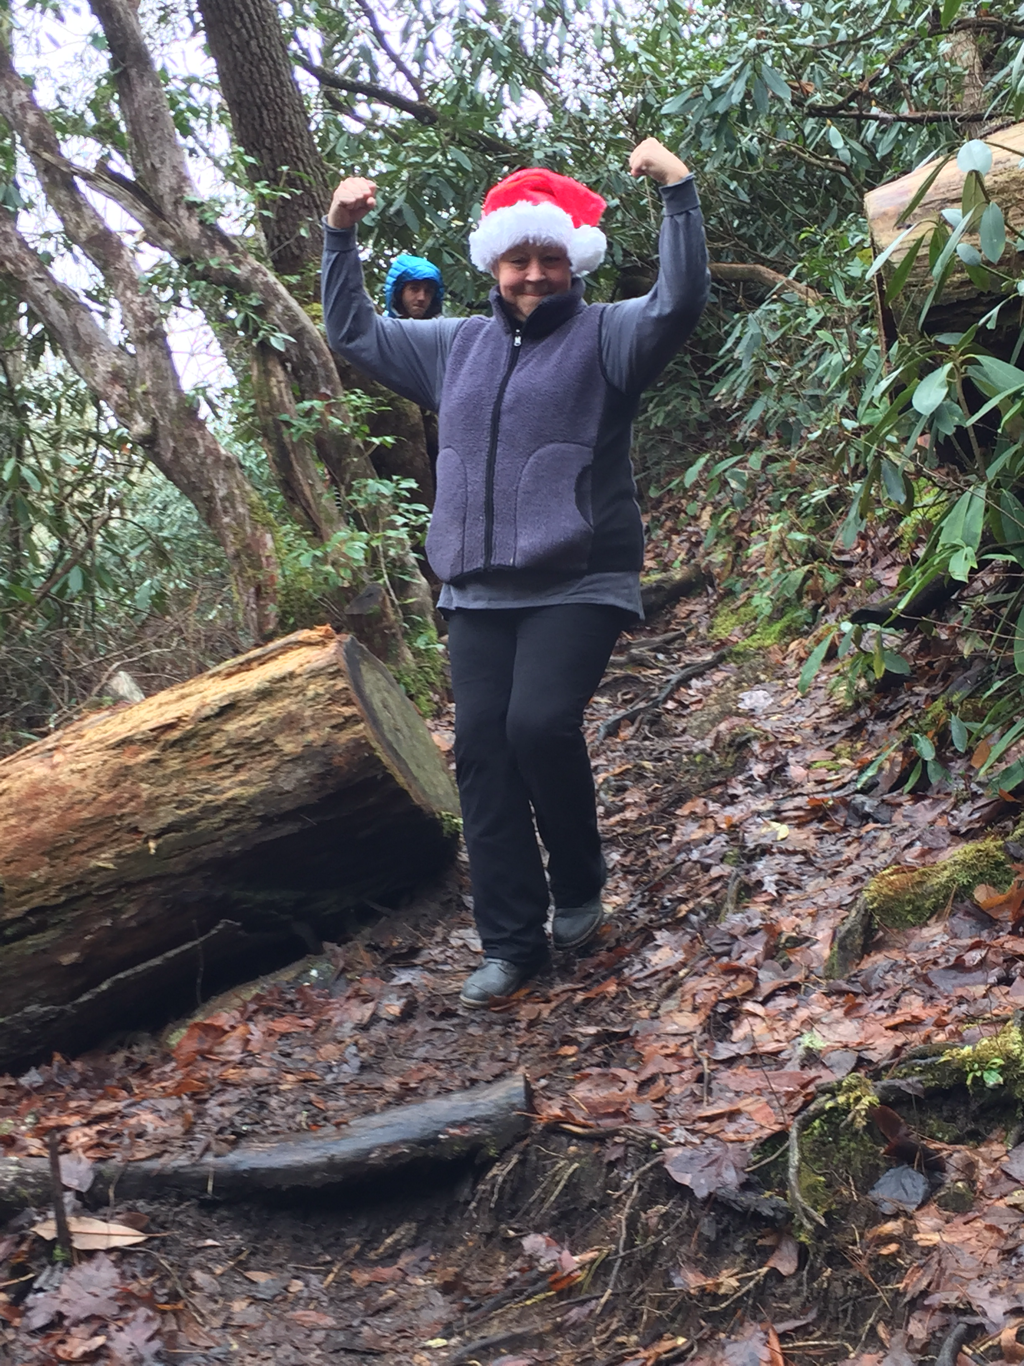
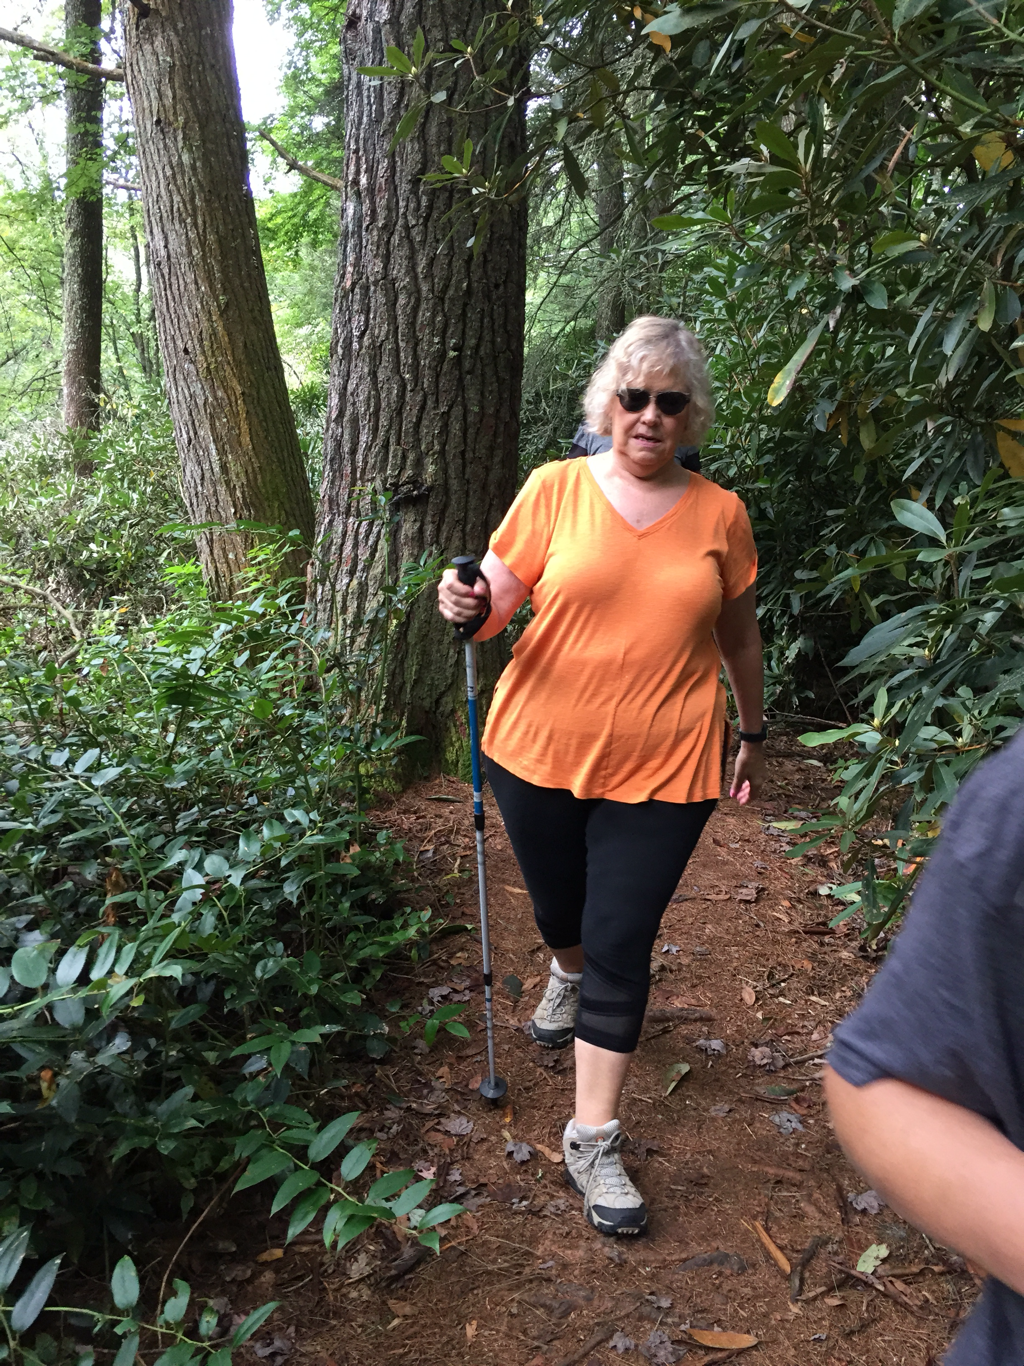
We talked... we laughed... we were just joyful to be in the woods enjoying each other’s company. What a lovely hike this was shaping up to be!
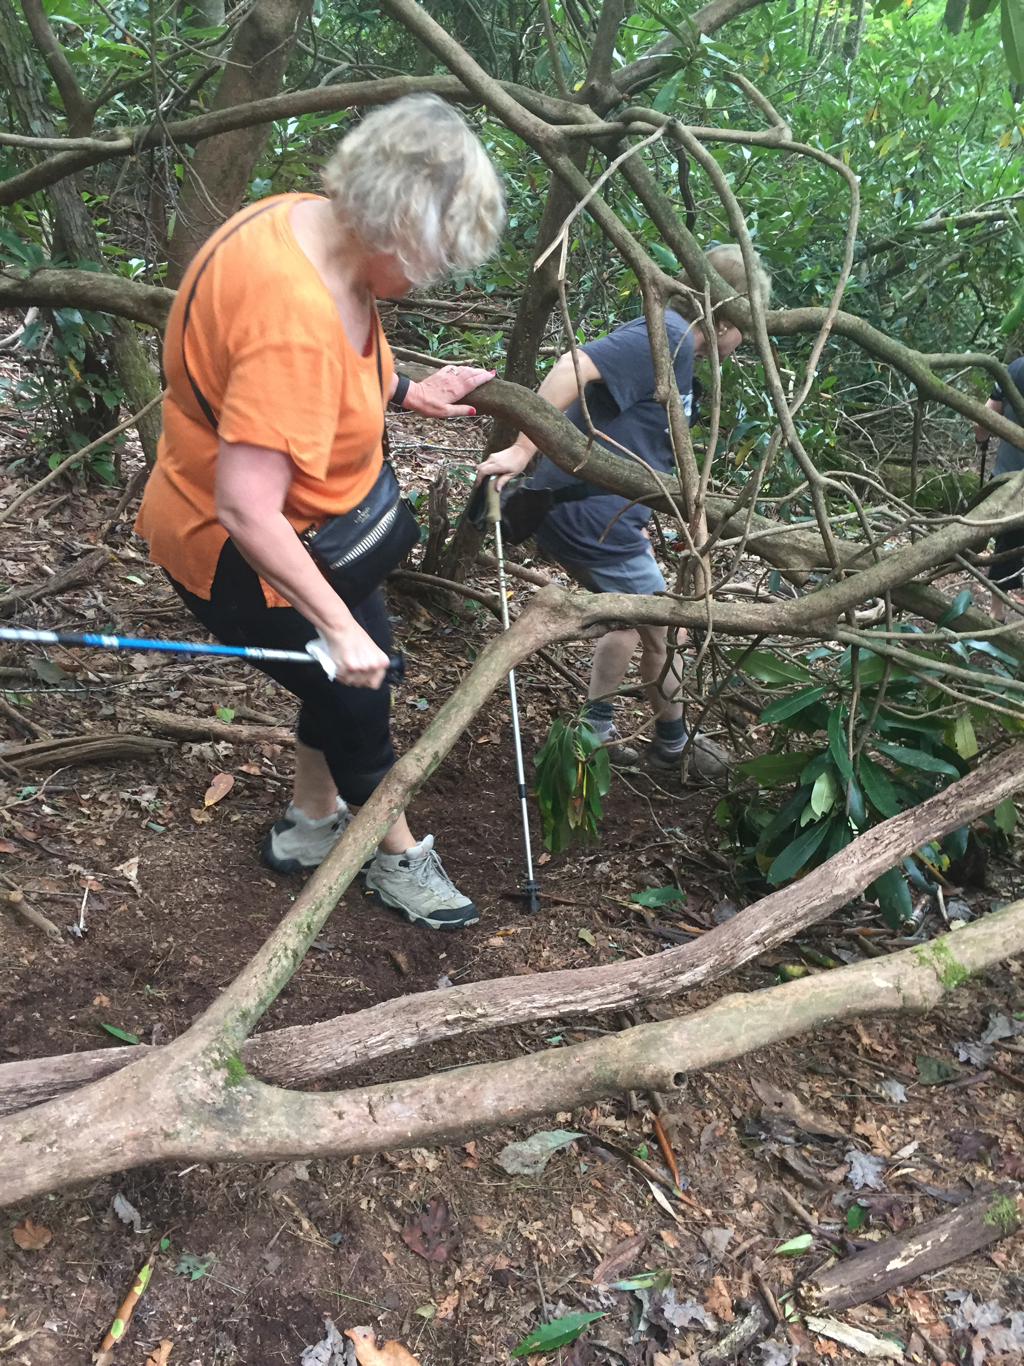
There were a few places where we had to go under limbs, but that’s just part of the hike.
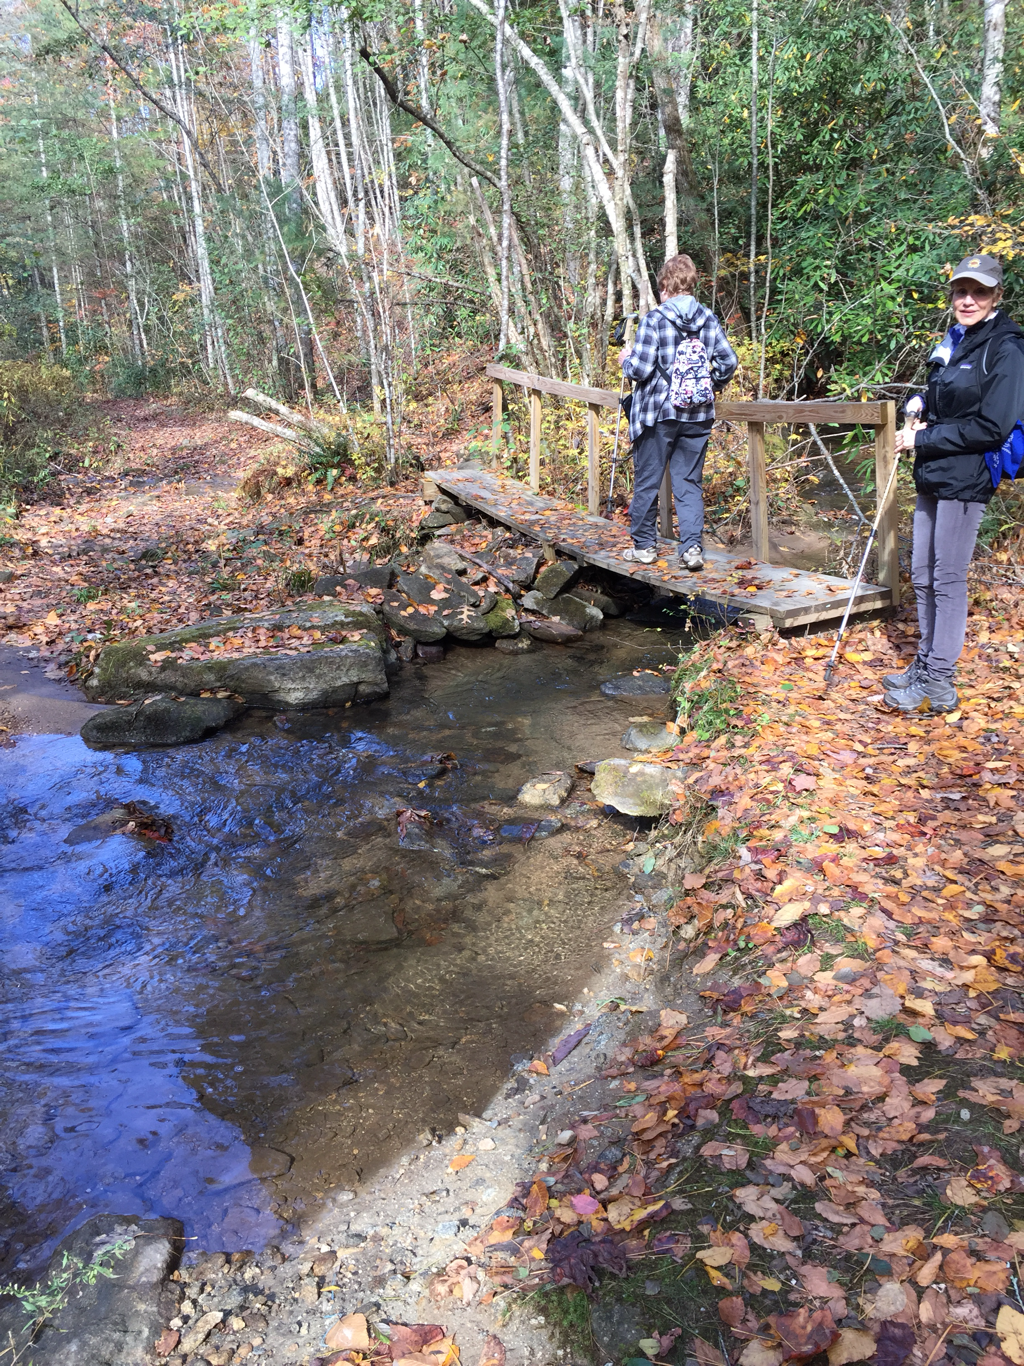
We crossed a very small footbridge...
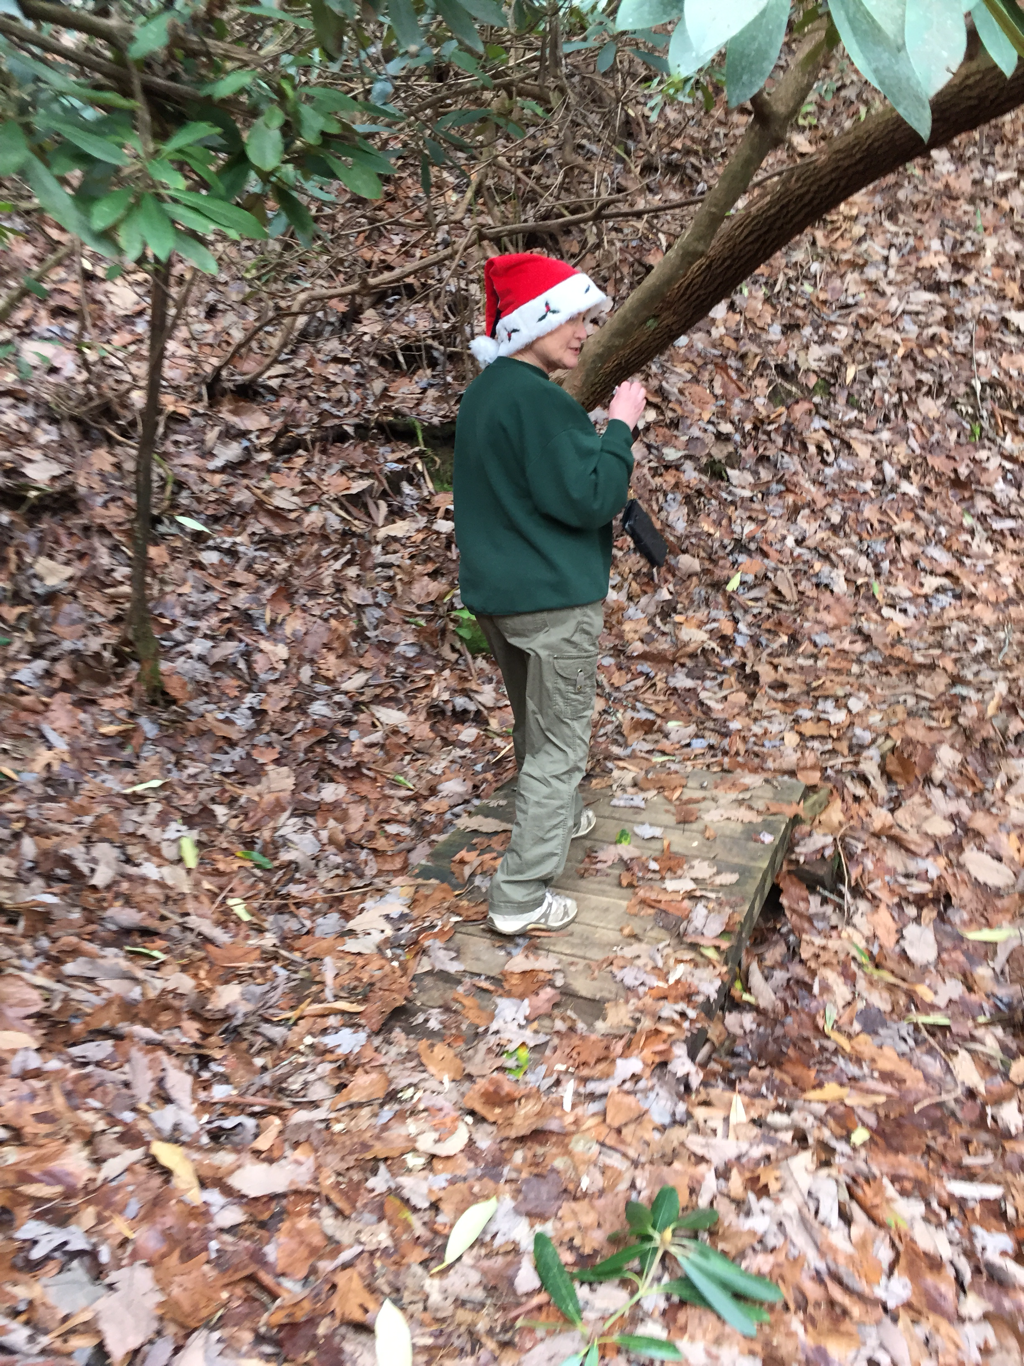
We walked under a few trees...

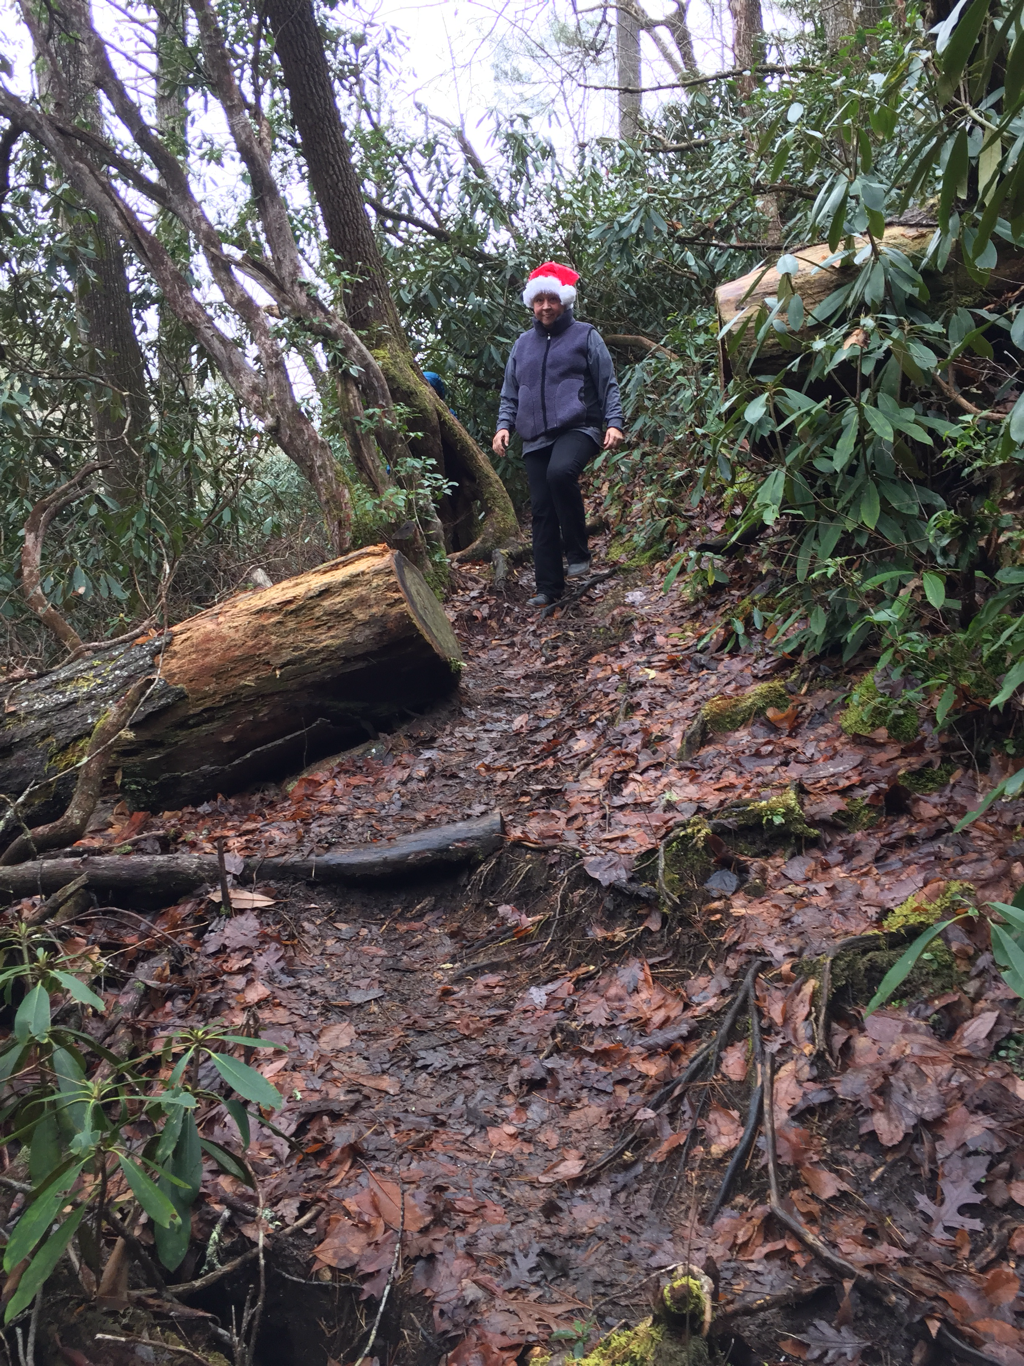
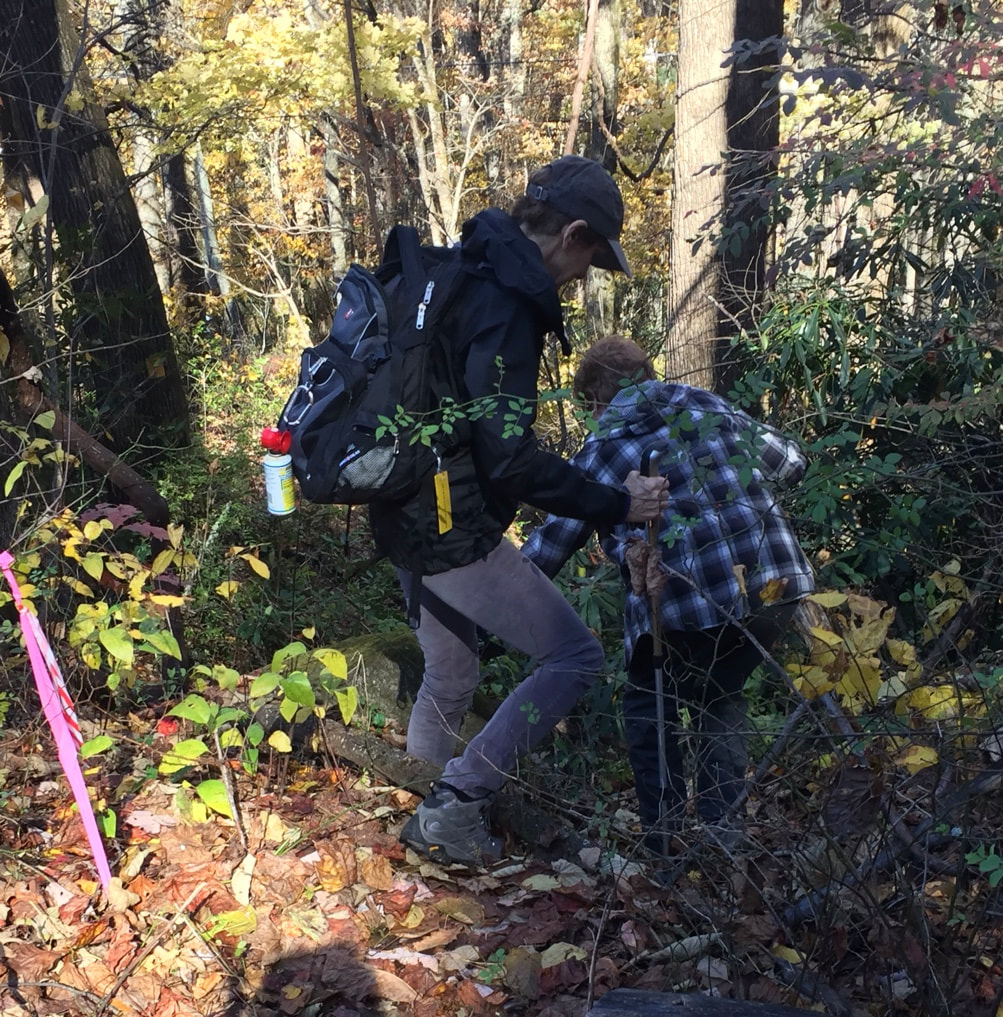
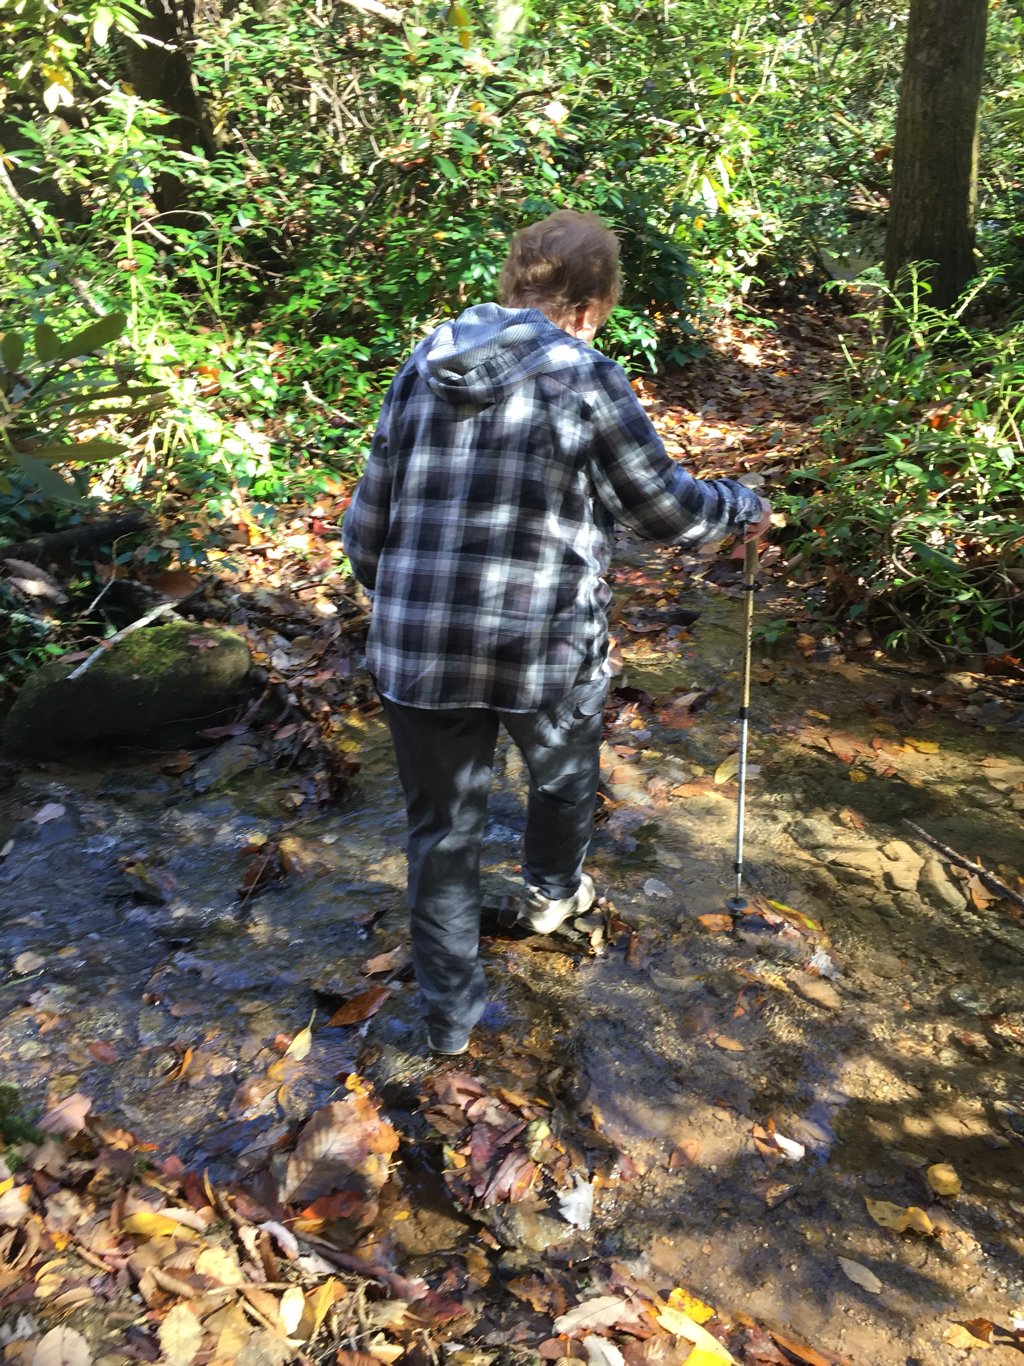
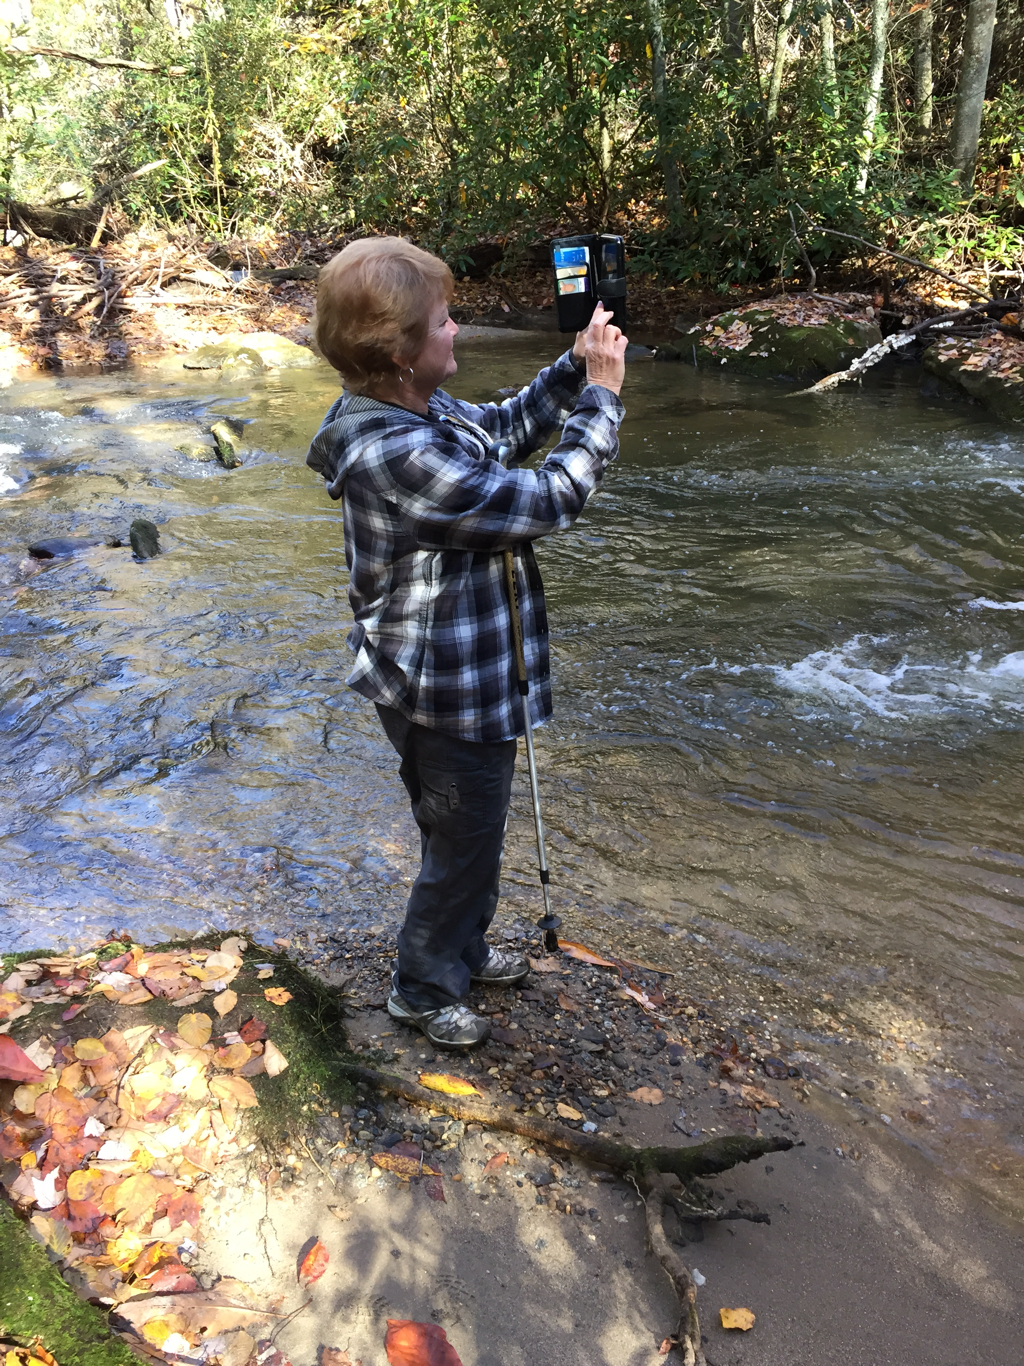
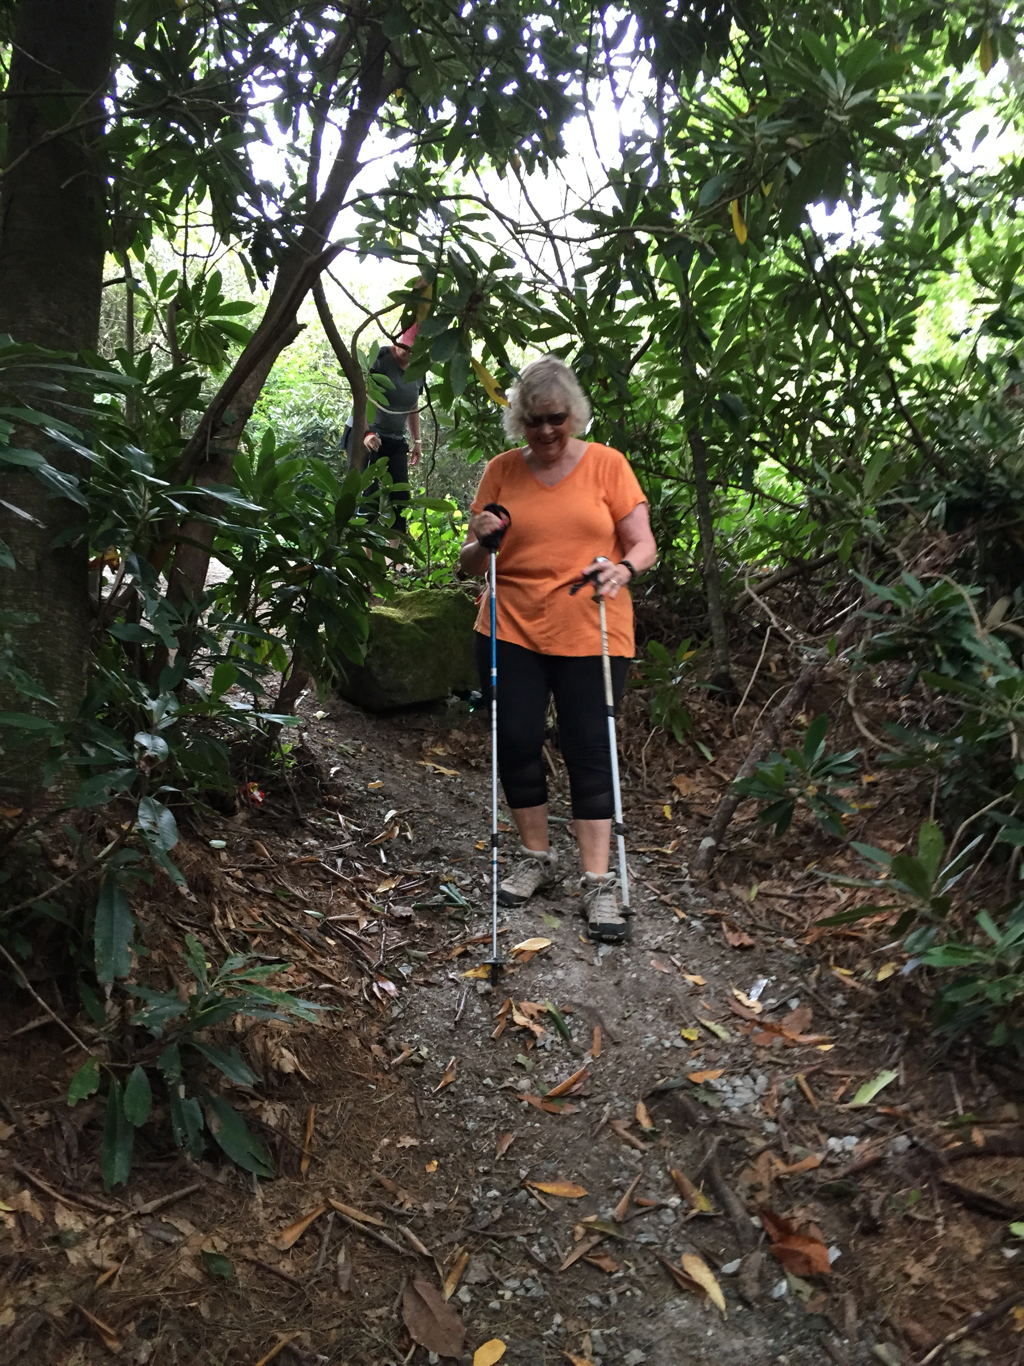
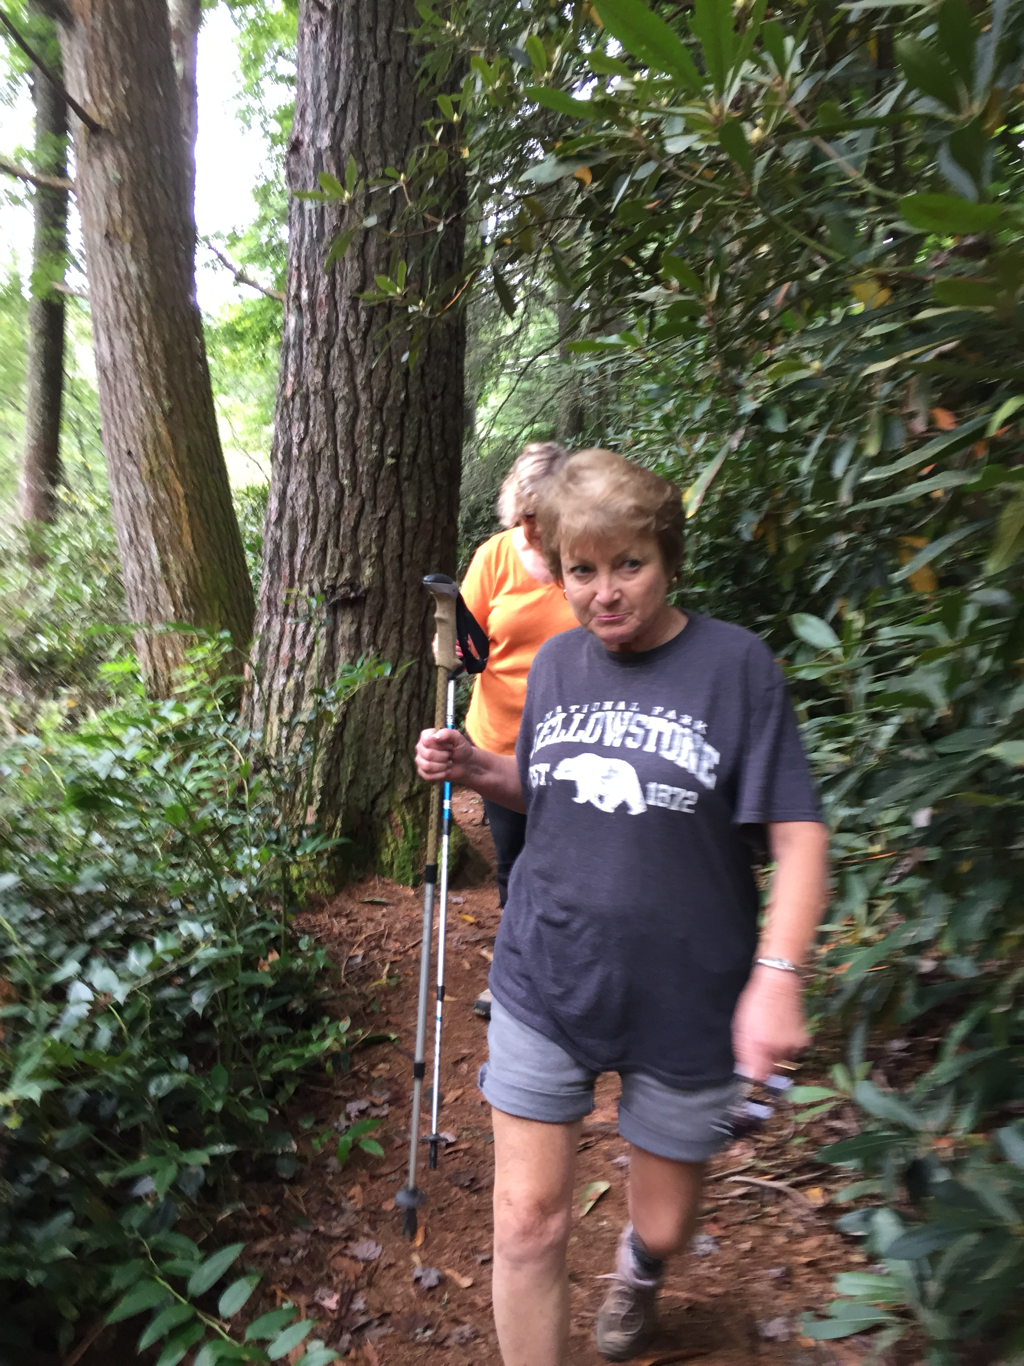
Steep slopes covered in wet leaves were no problem for Kelly...
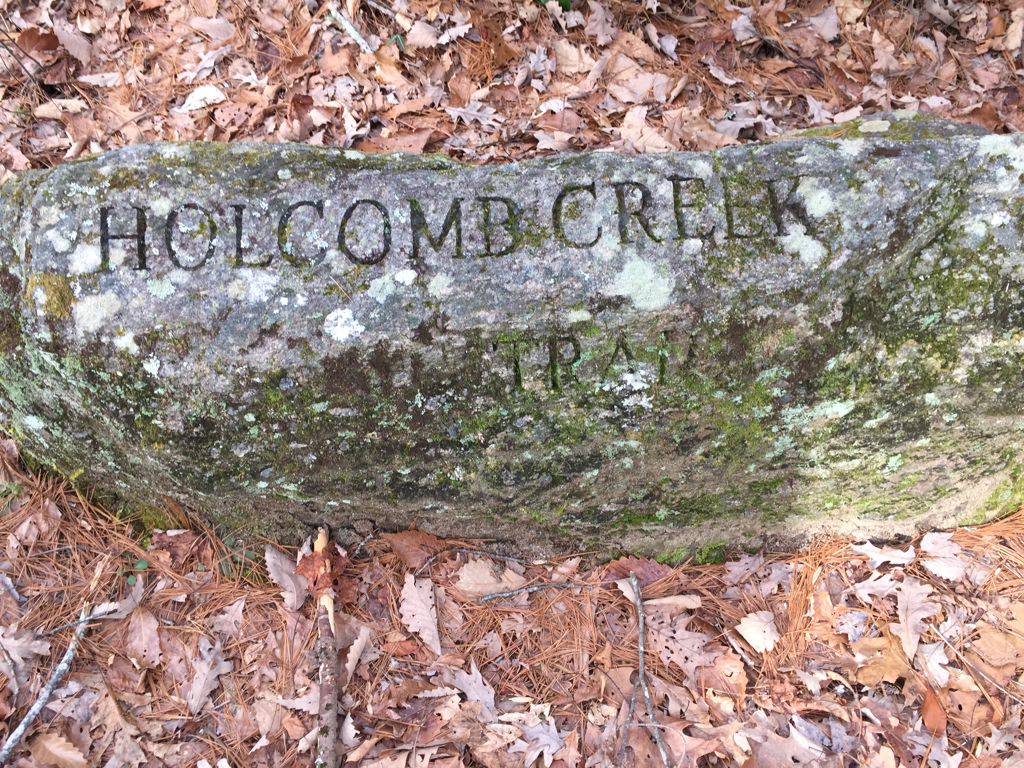
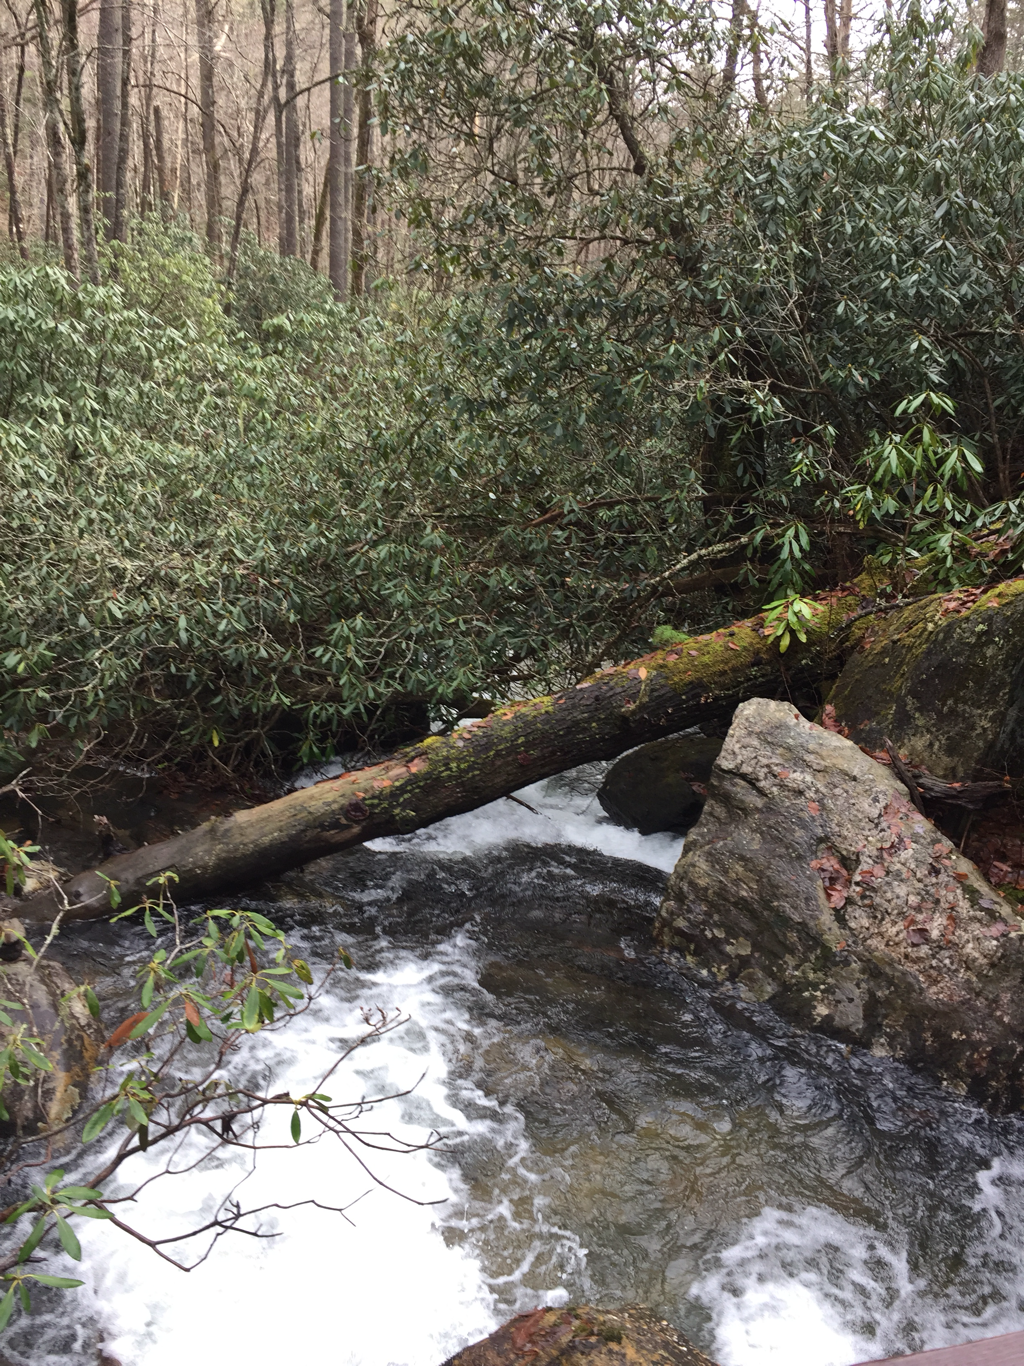
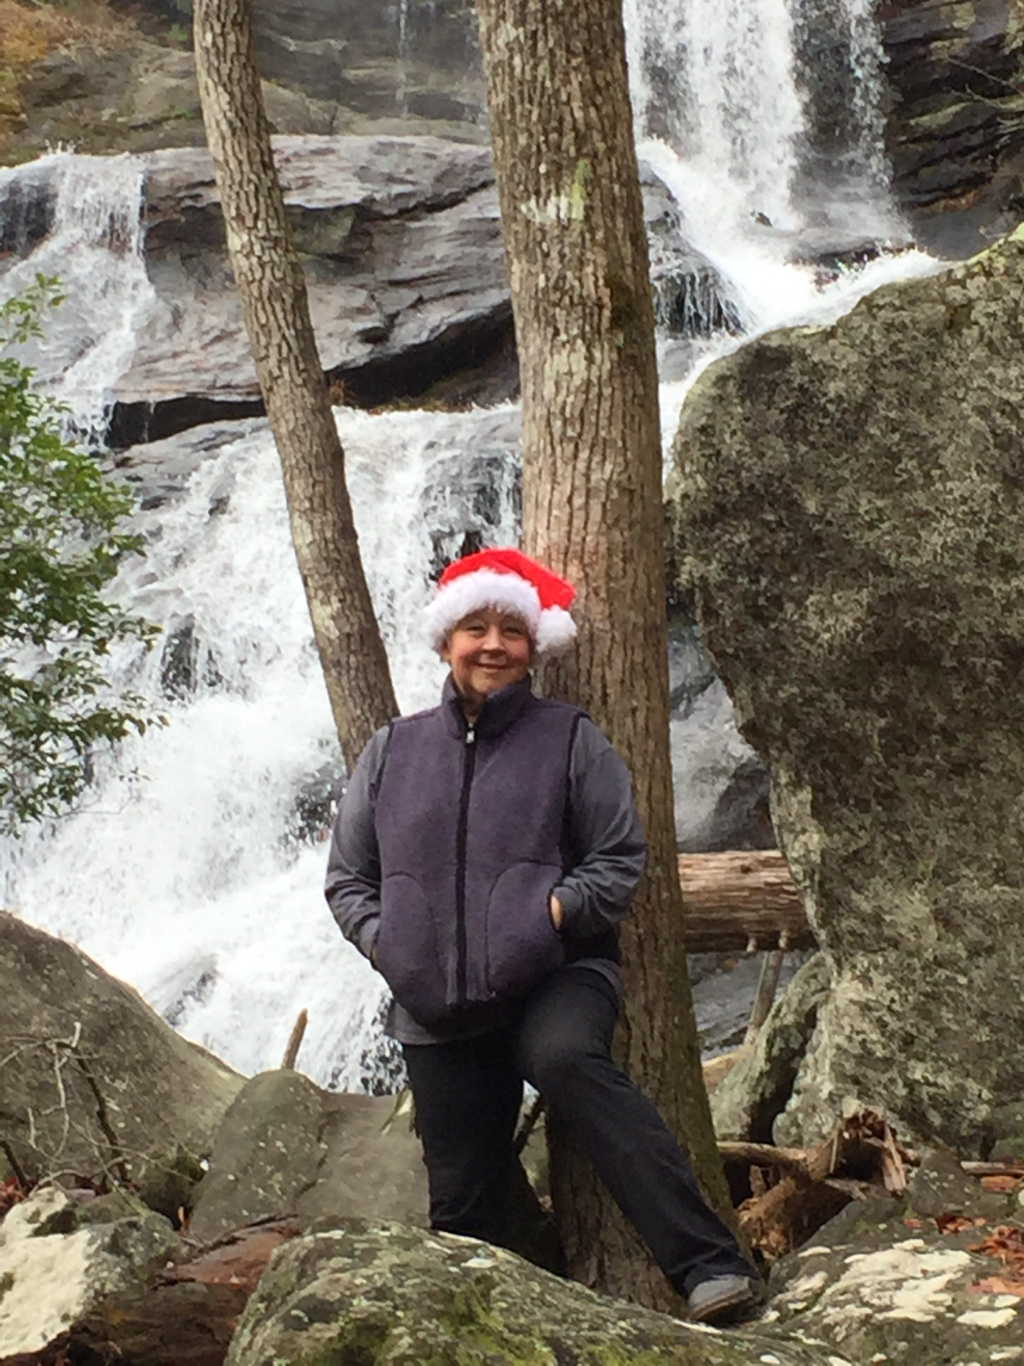
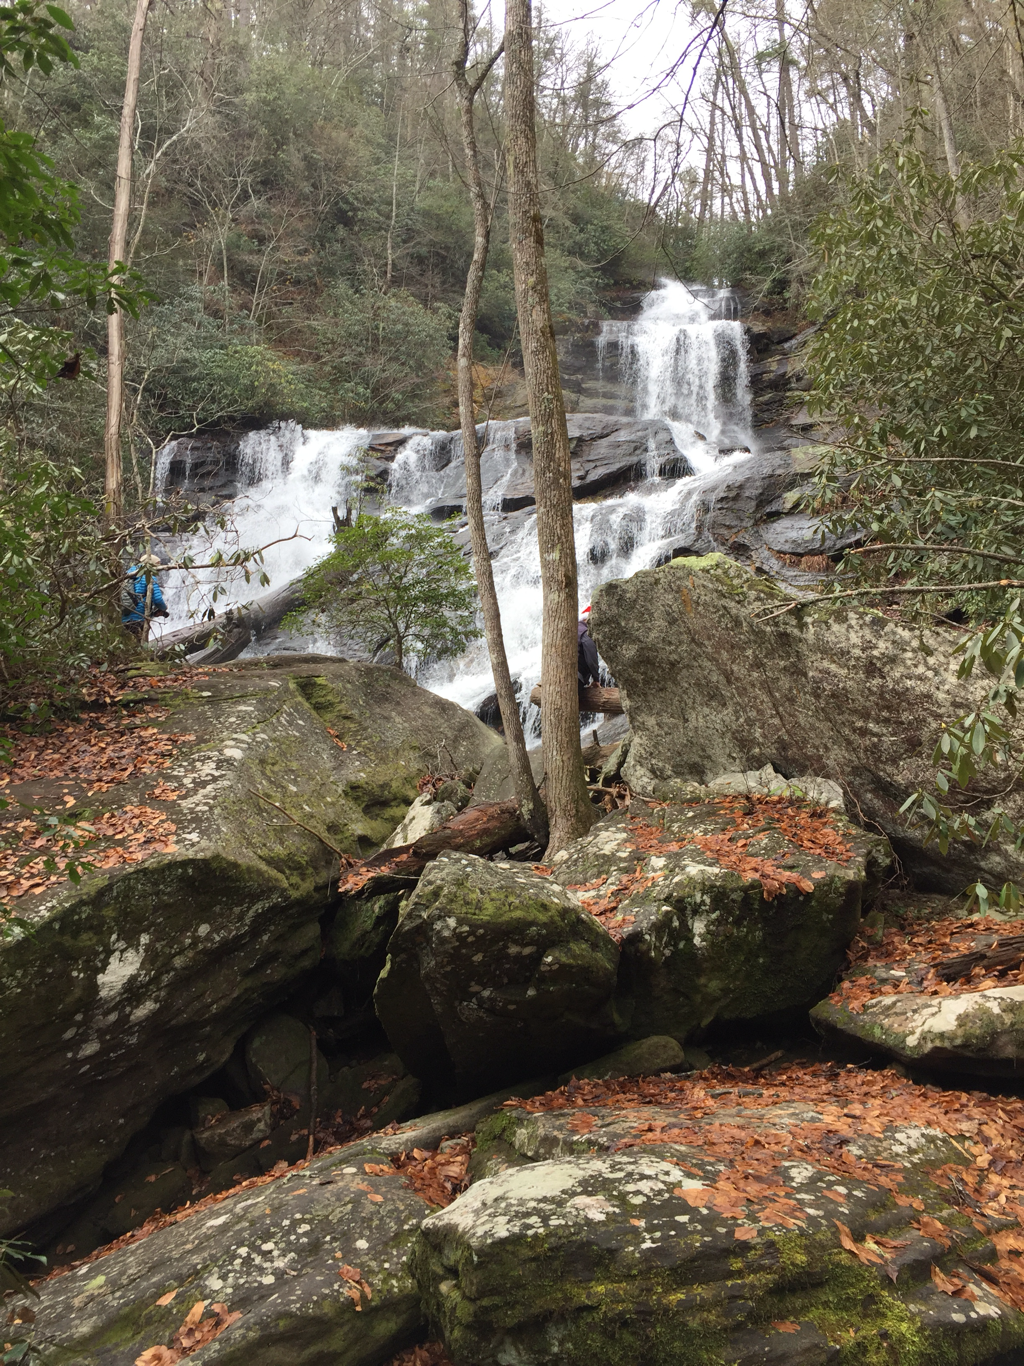
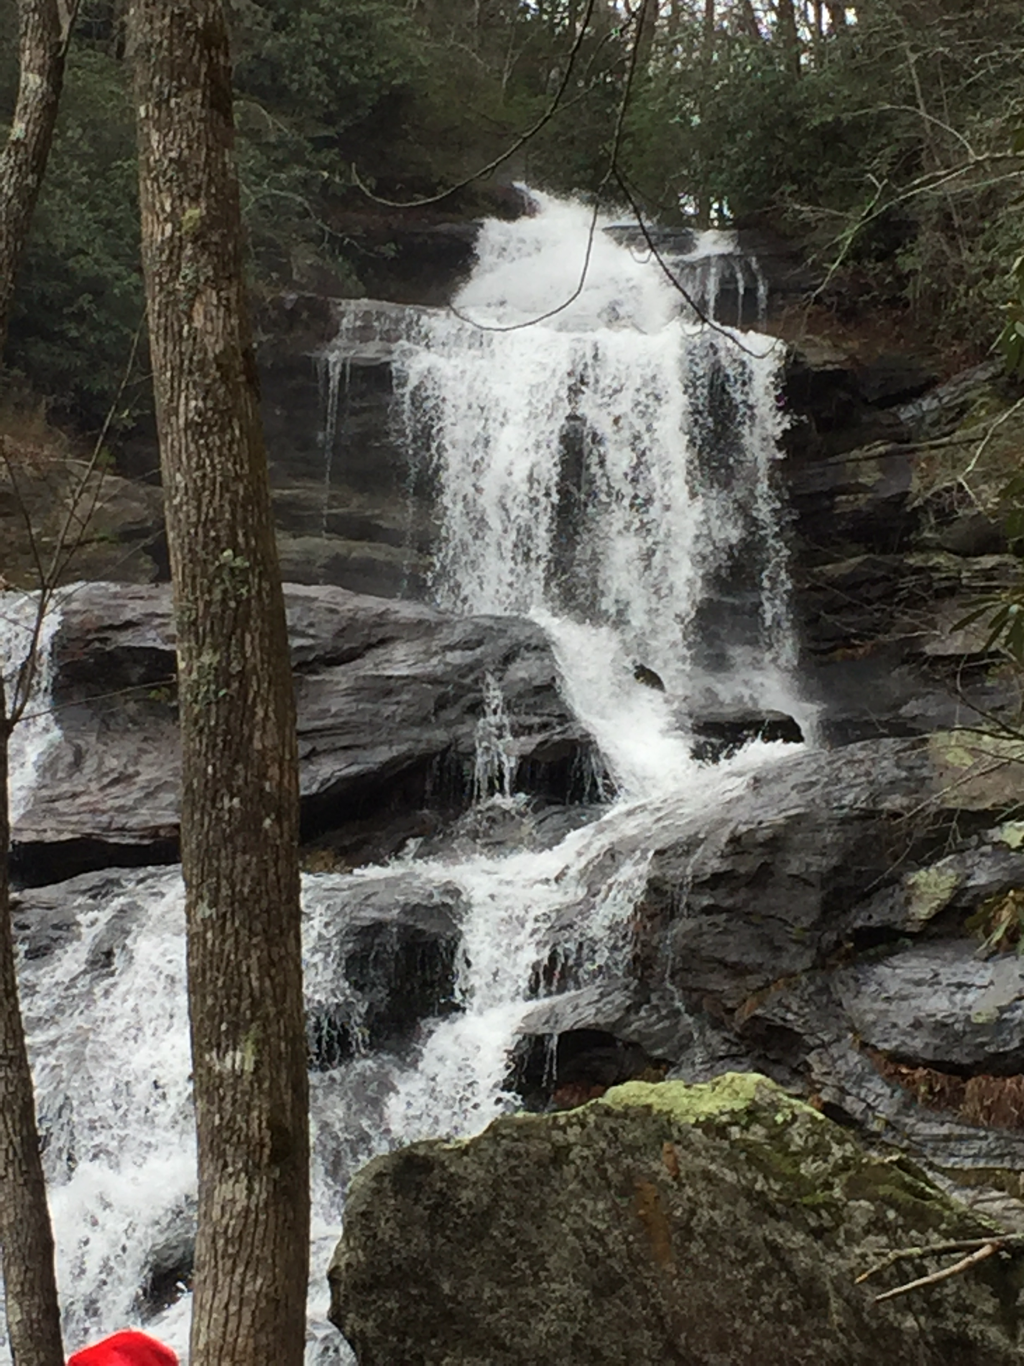
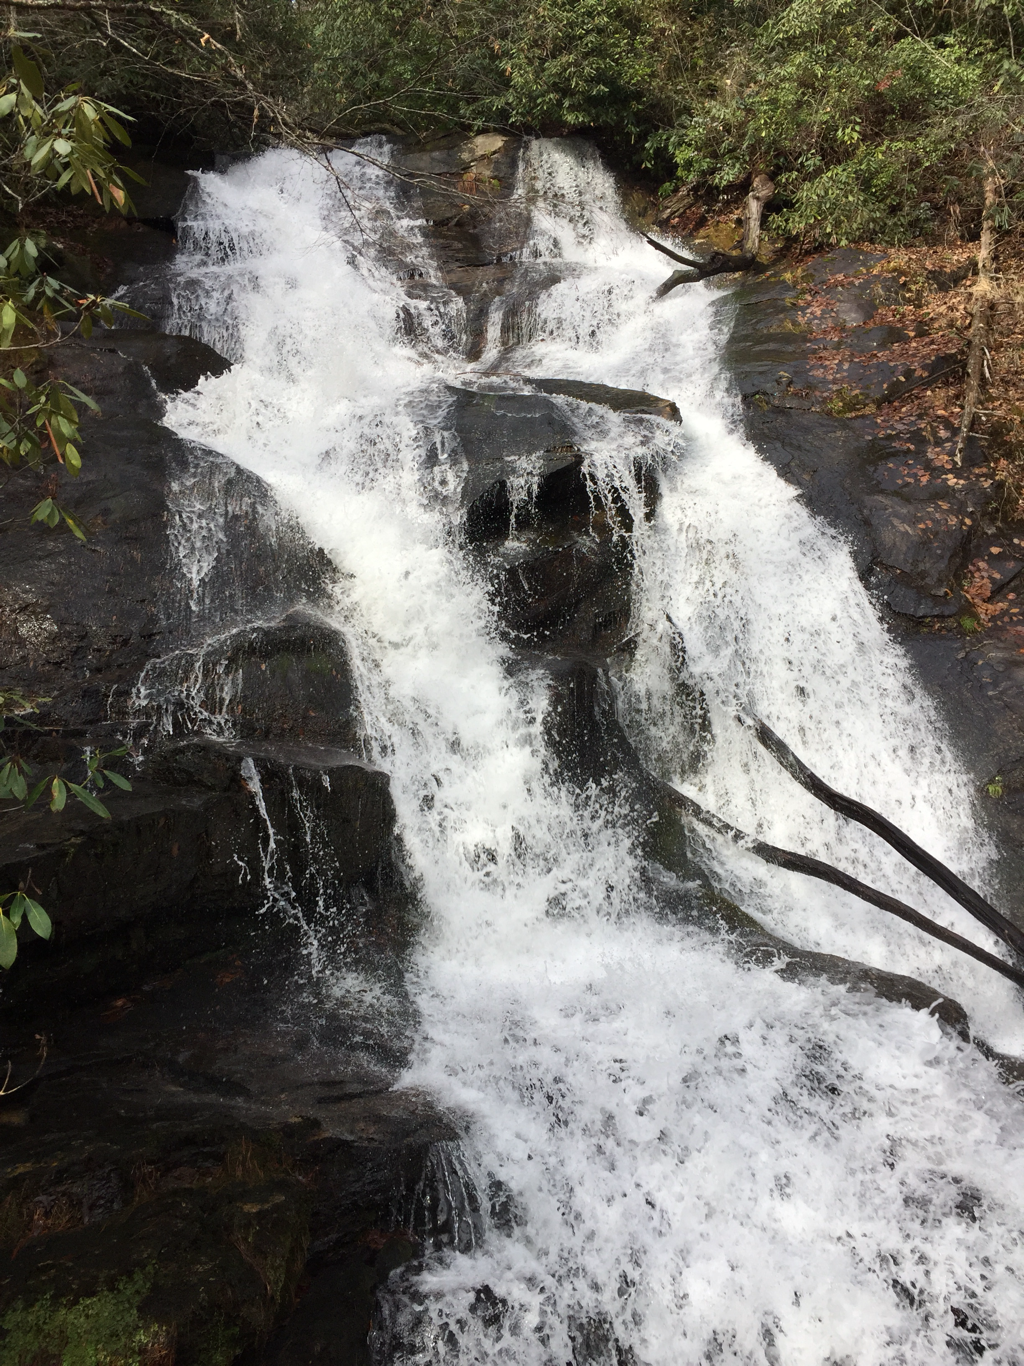
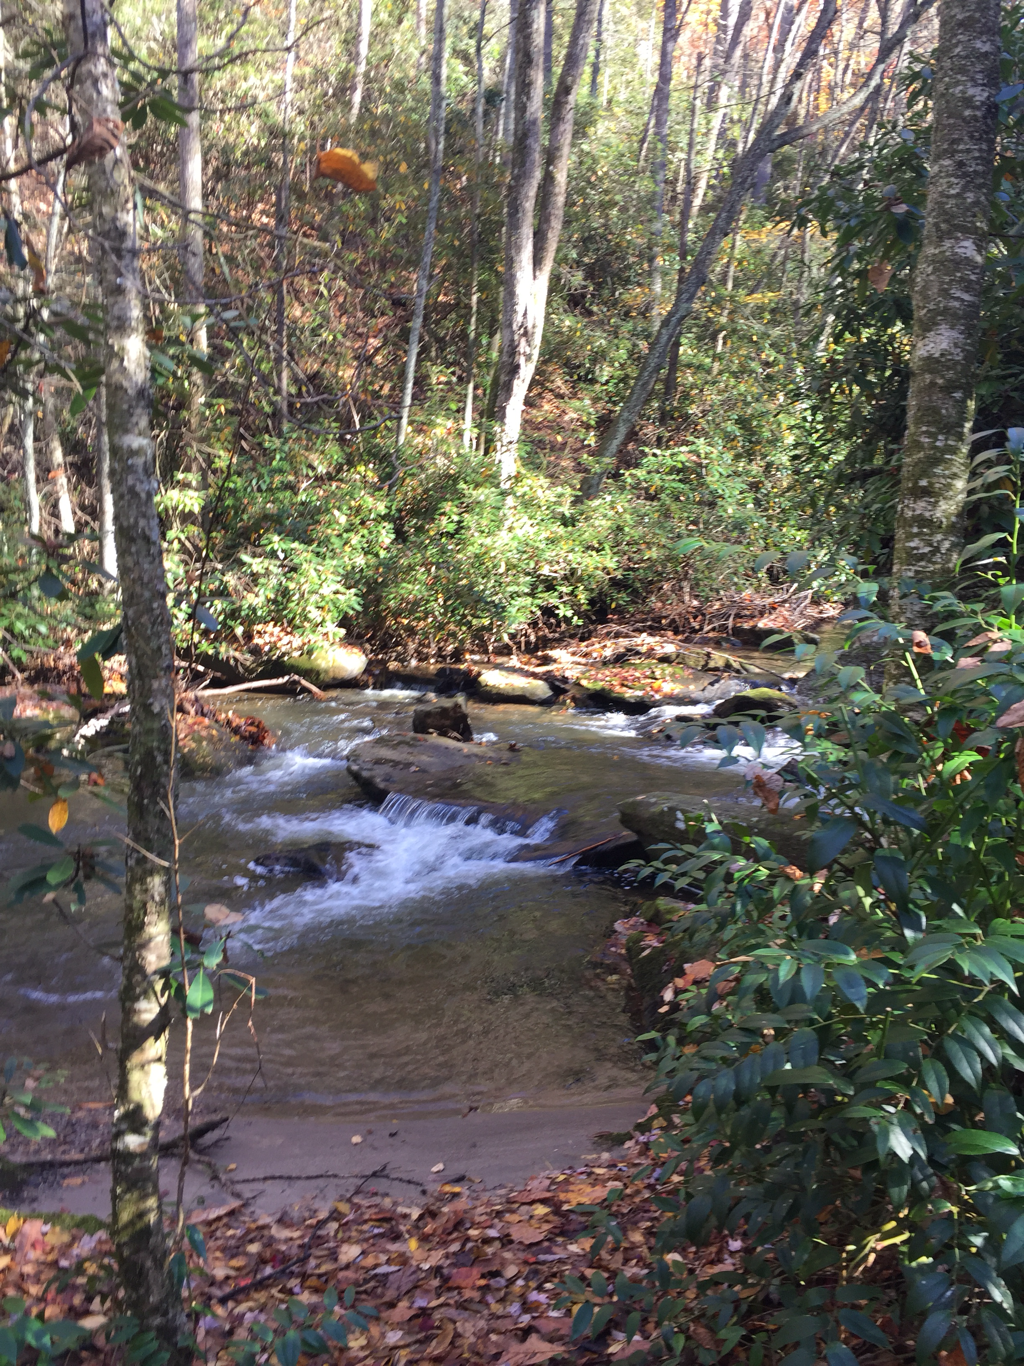
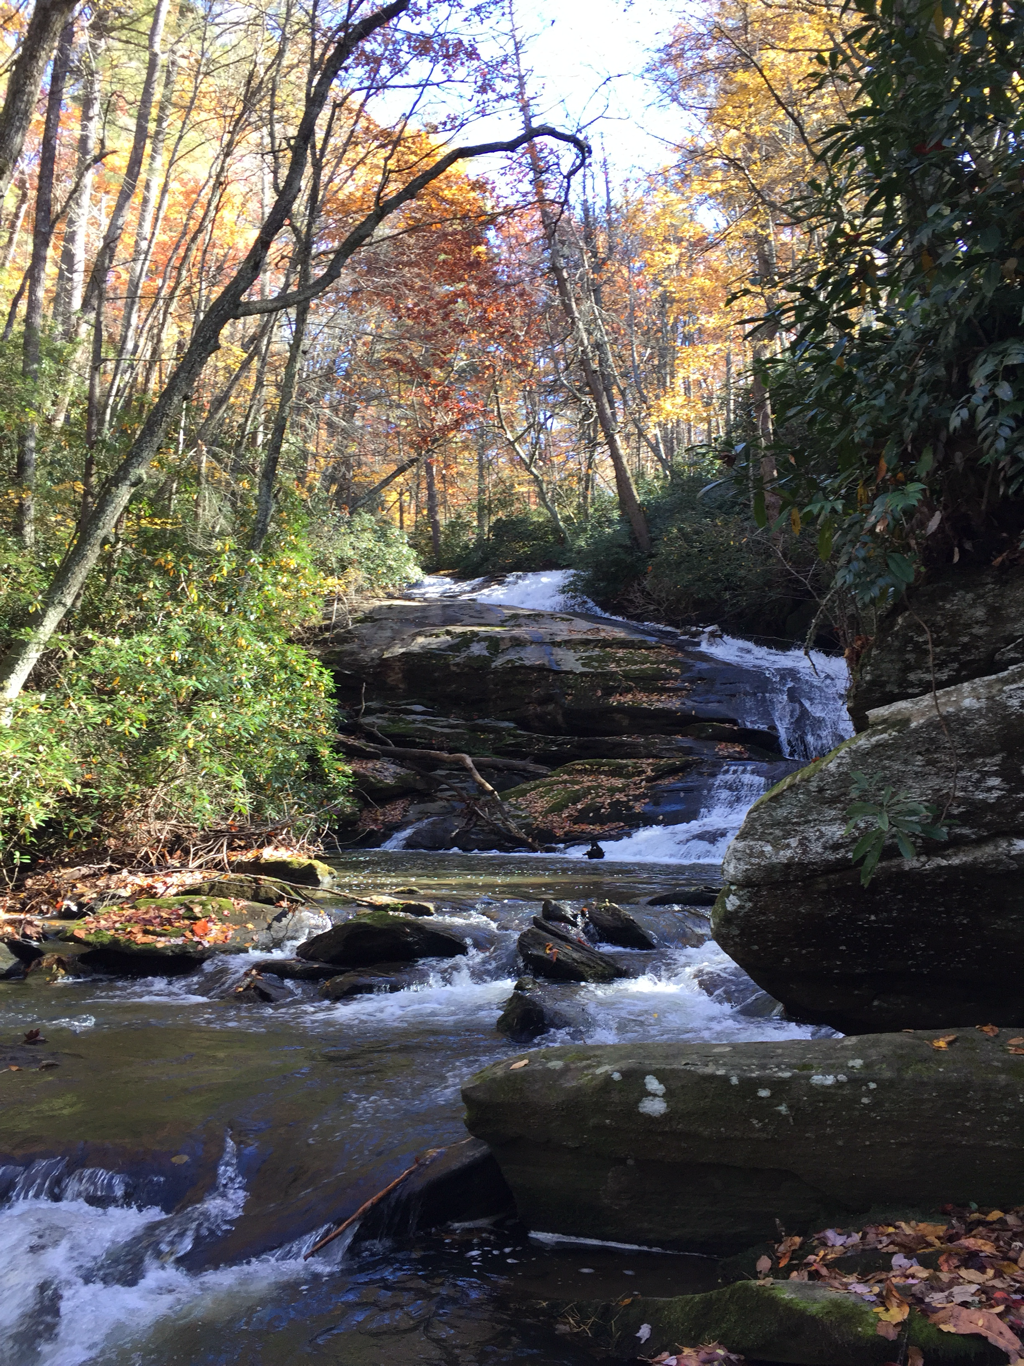
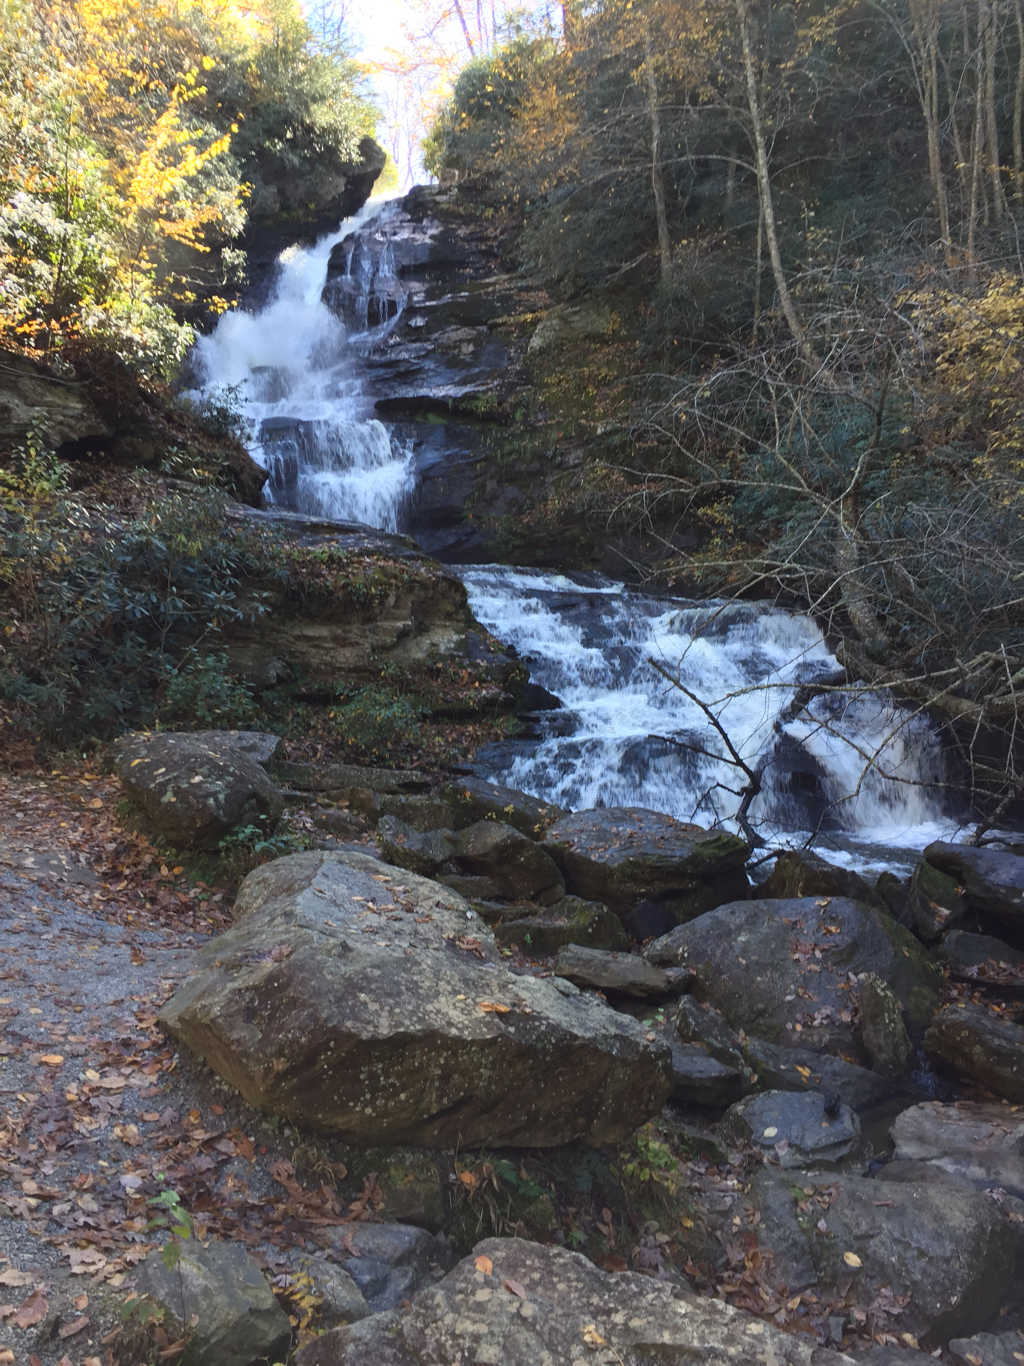
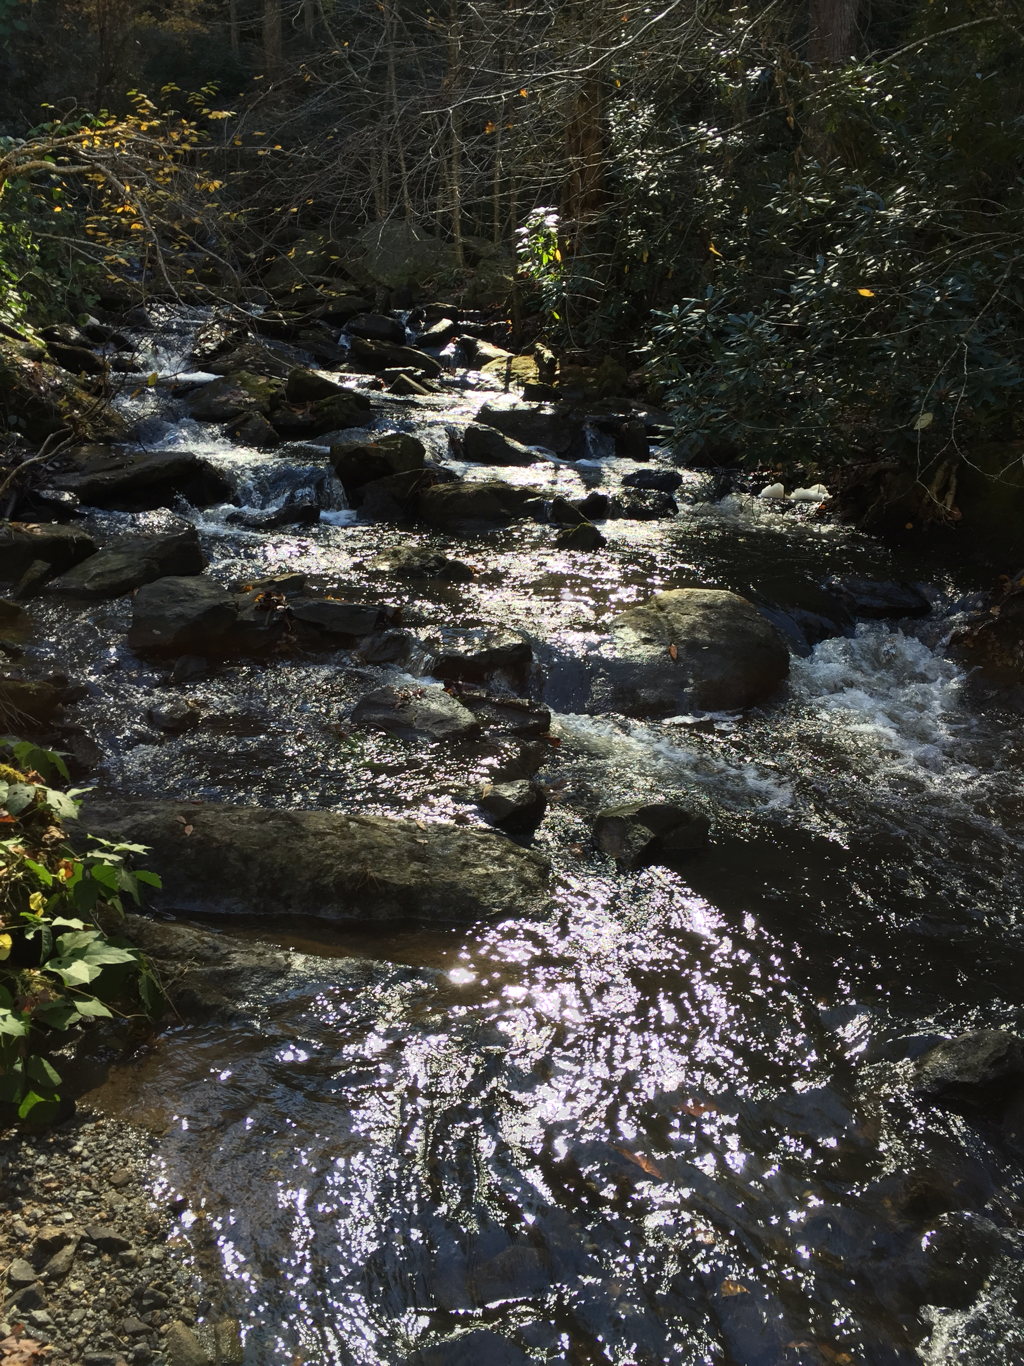
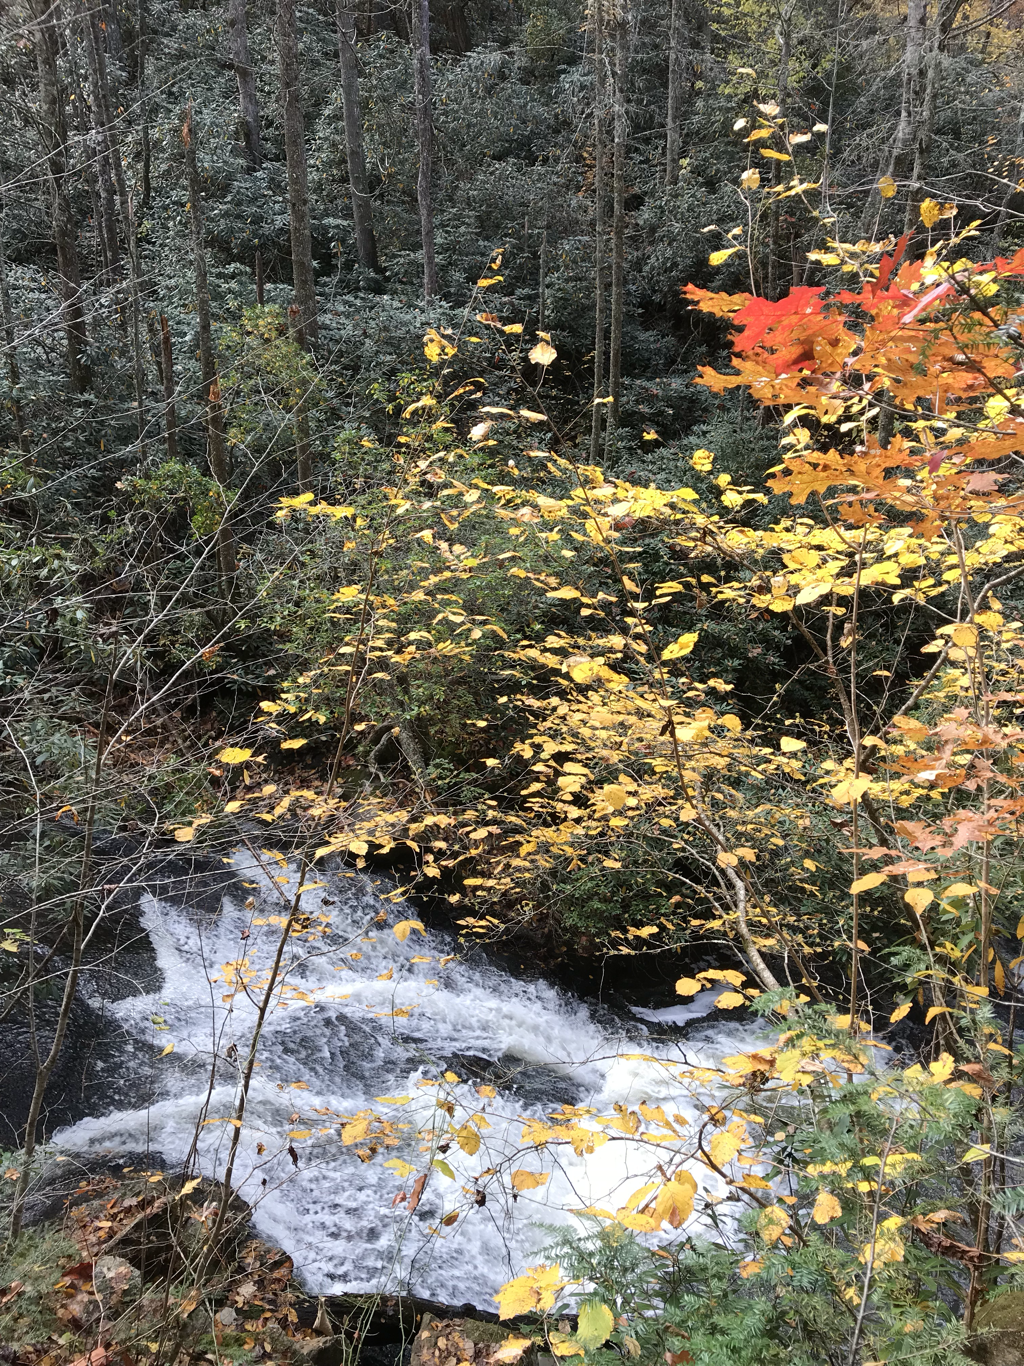
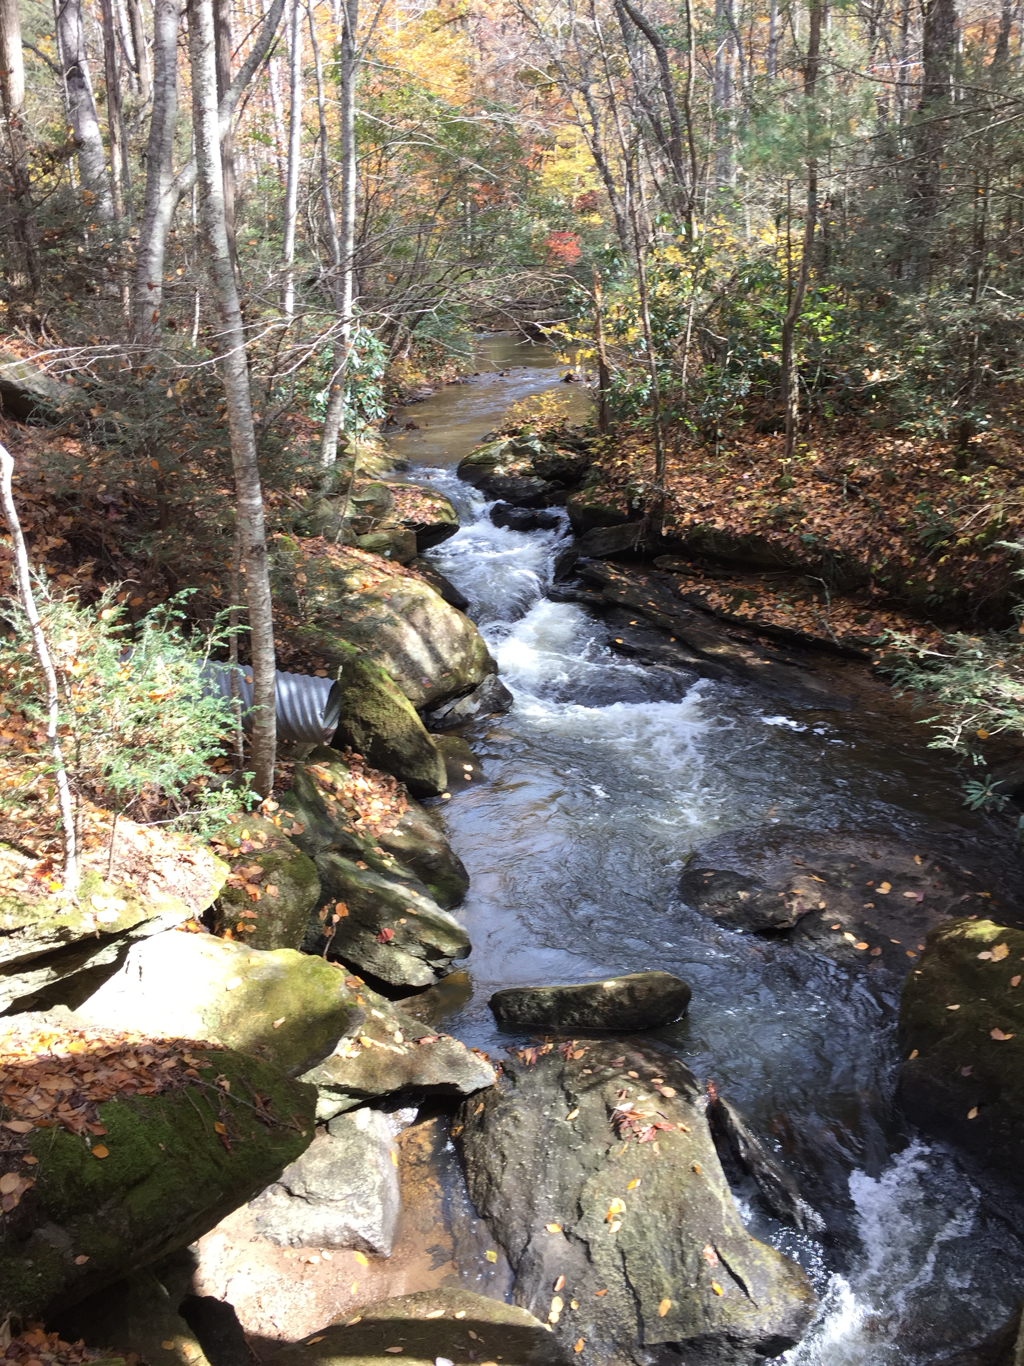
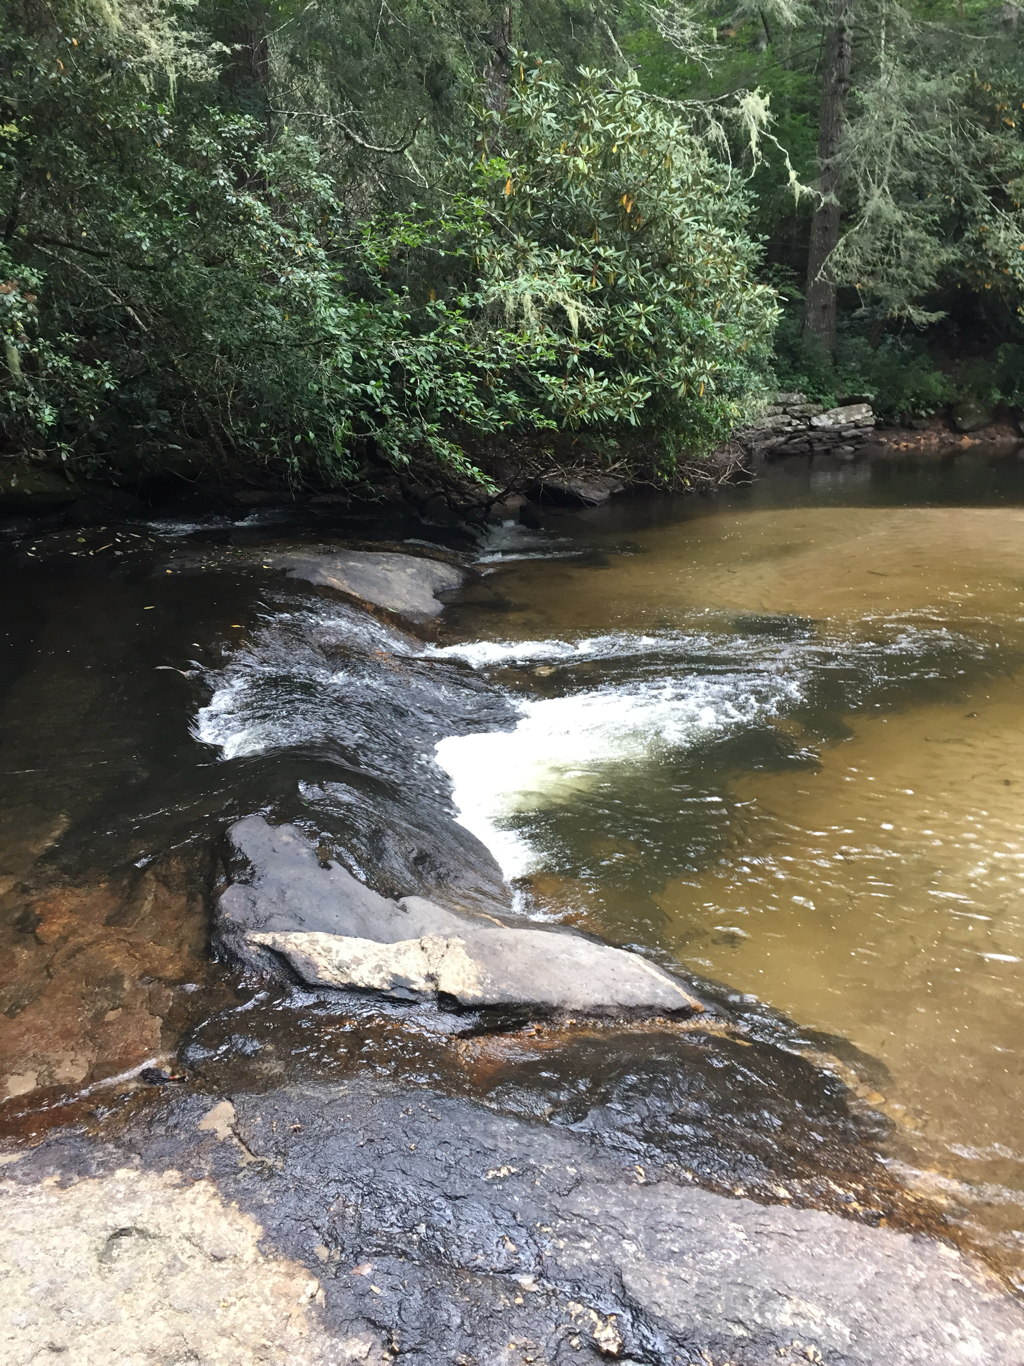
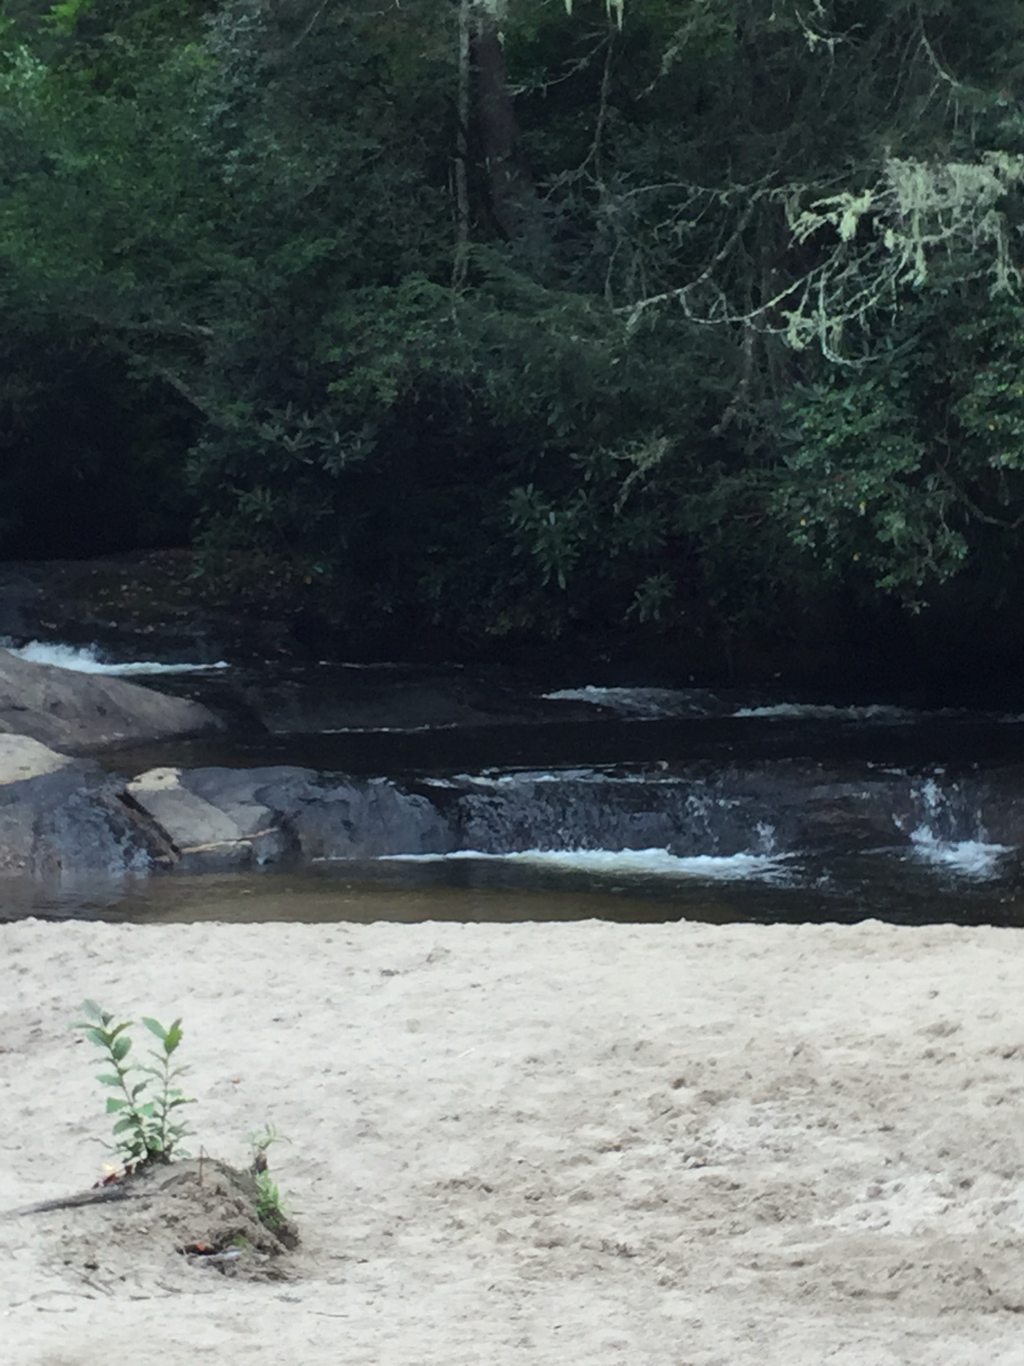
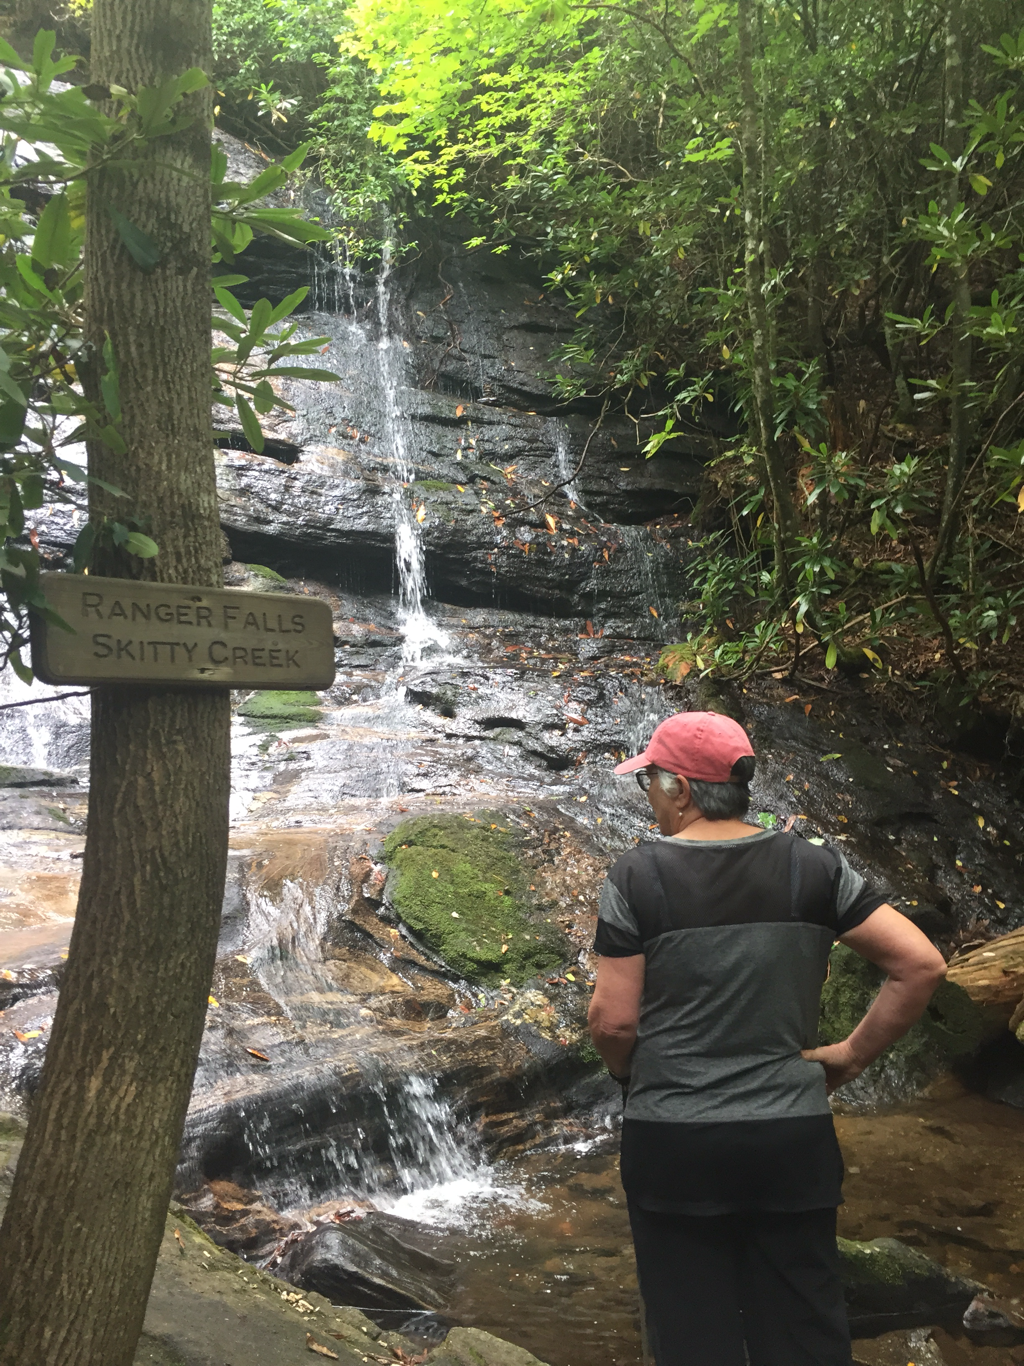
And suddenly we were at our first waterfall destination— Holcomb Creek Falls. We enjoyed the beauty of the falls from a bridge which crossed the creek below.

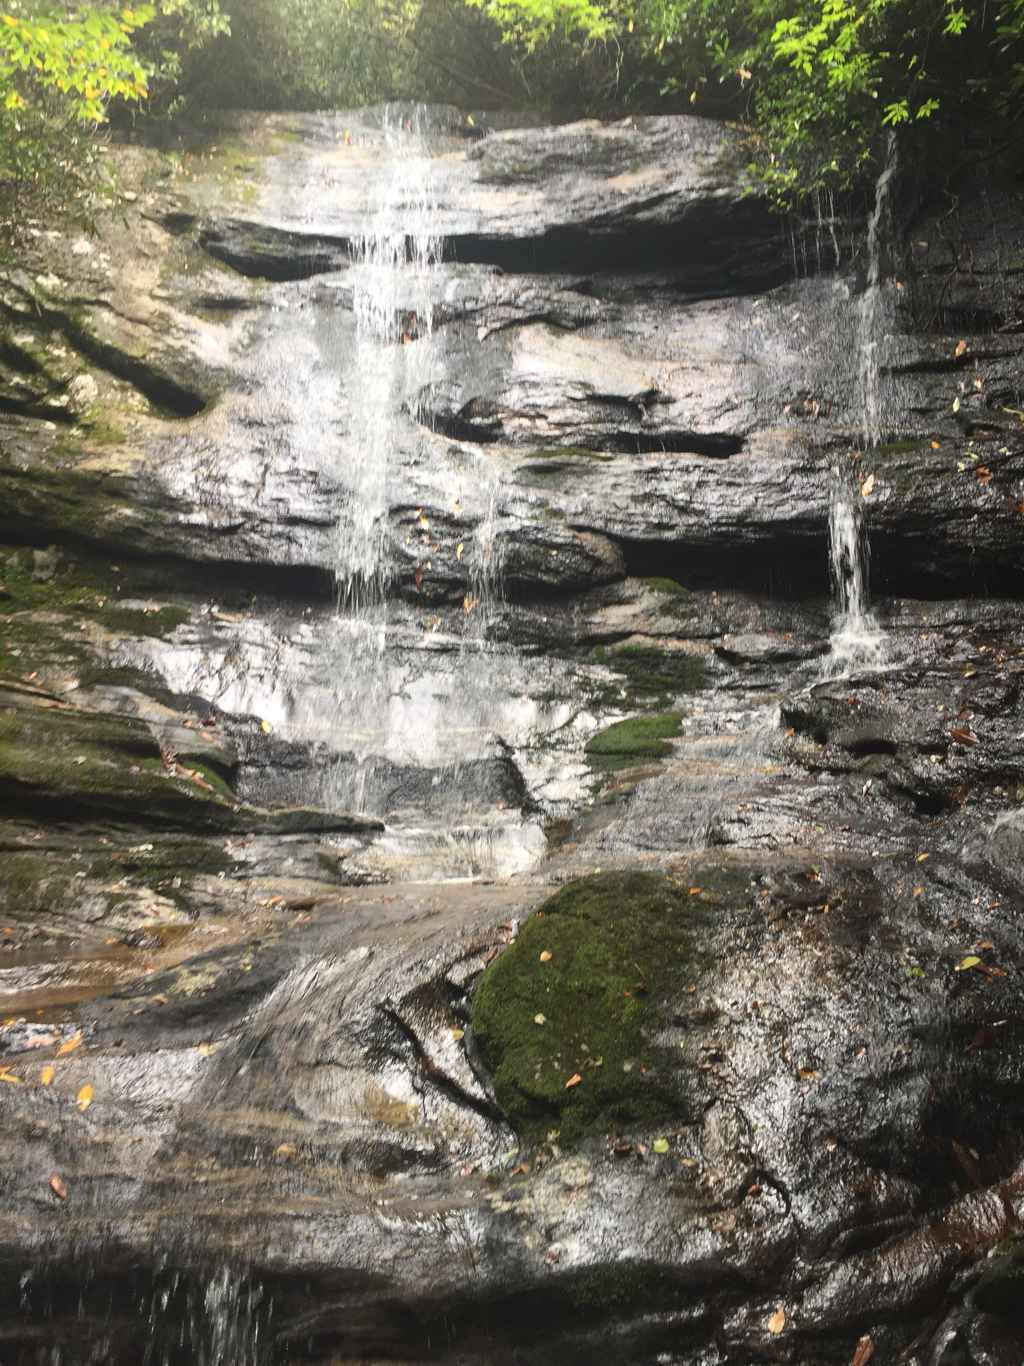
And here’s the bottom of the falls...
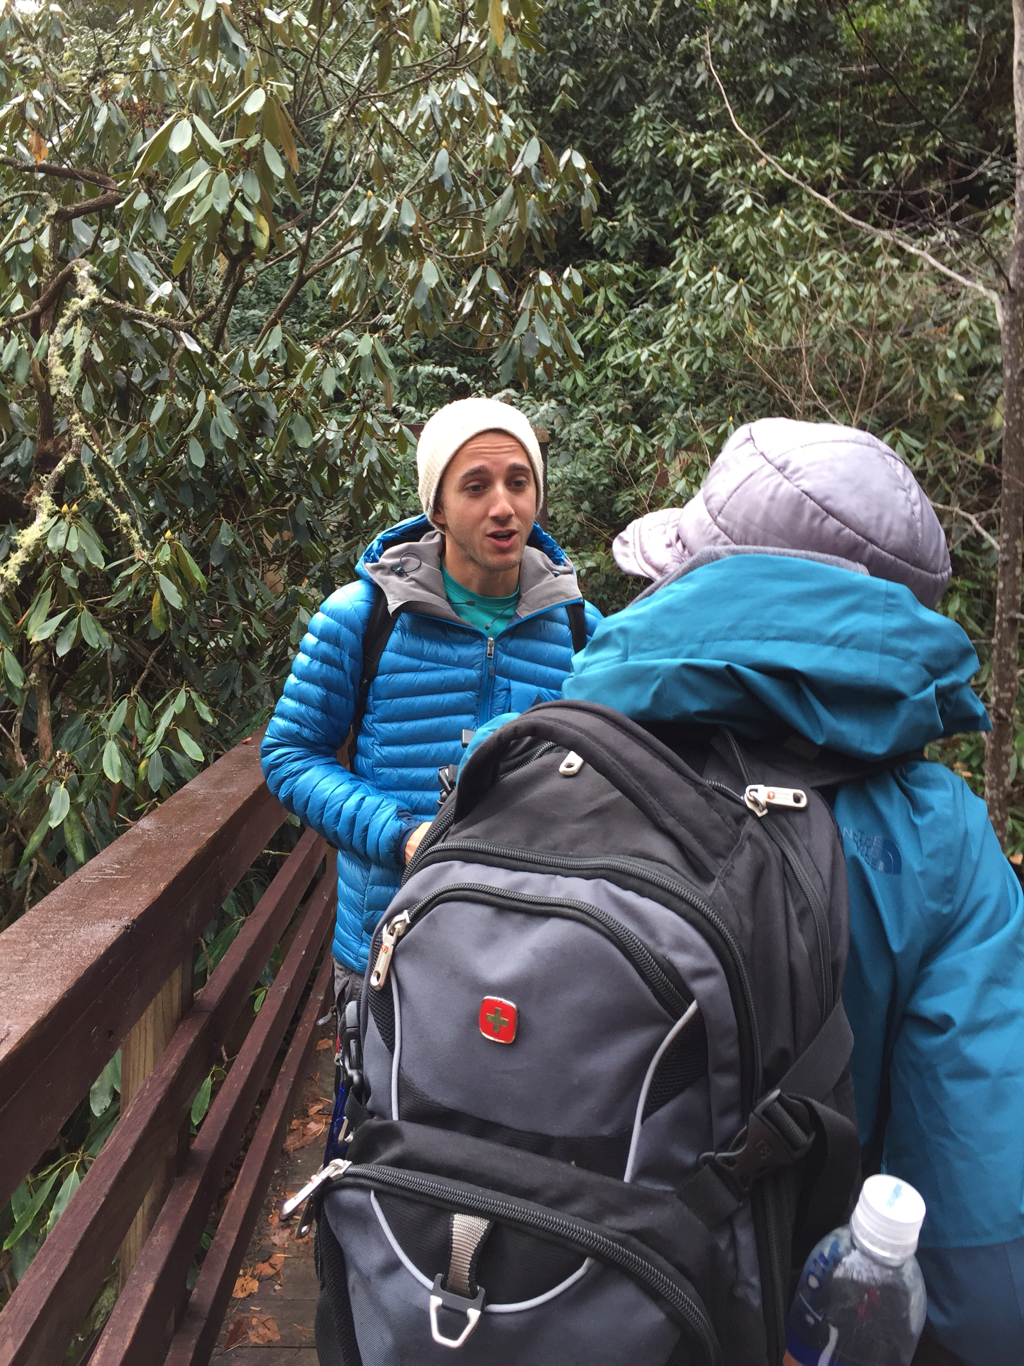
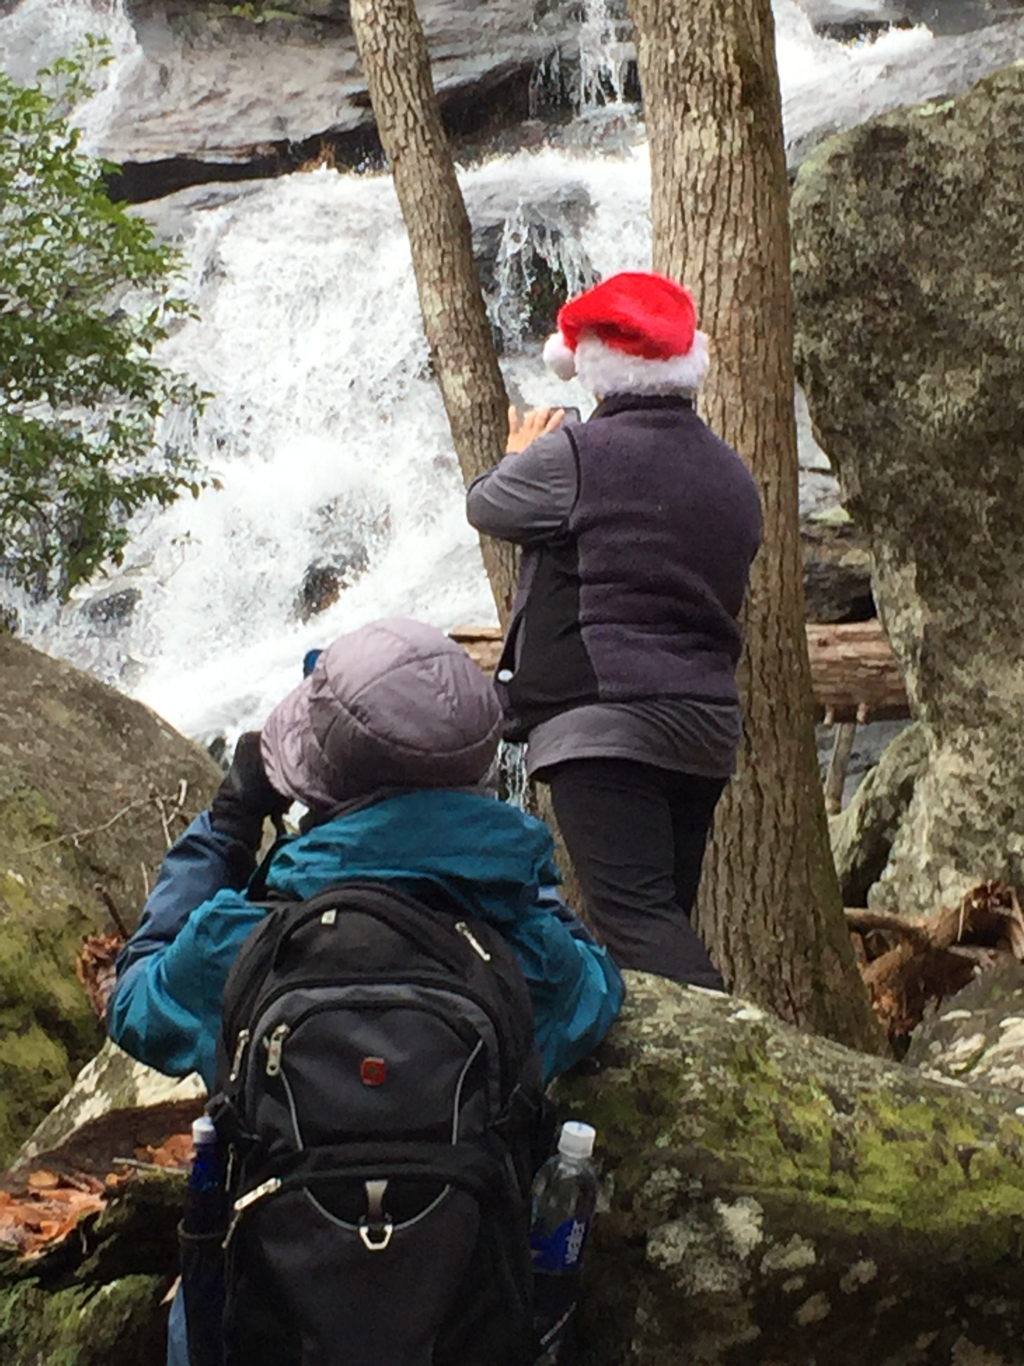
About this time we realized we were not alone when a young man arrived at the isolated waterfall. He introduced himself as Cory, a photographer from the Atlanta area checking out new places to photograph. We walked on around to the side of the waterfall and continued taking pictures with Cory.

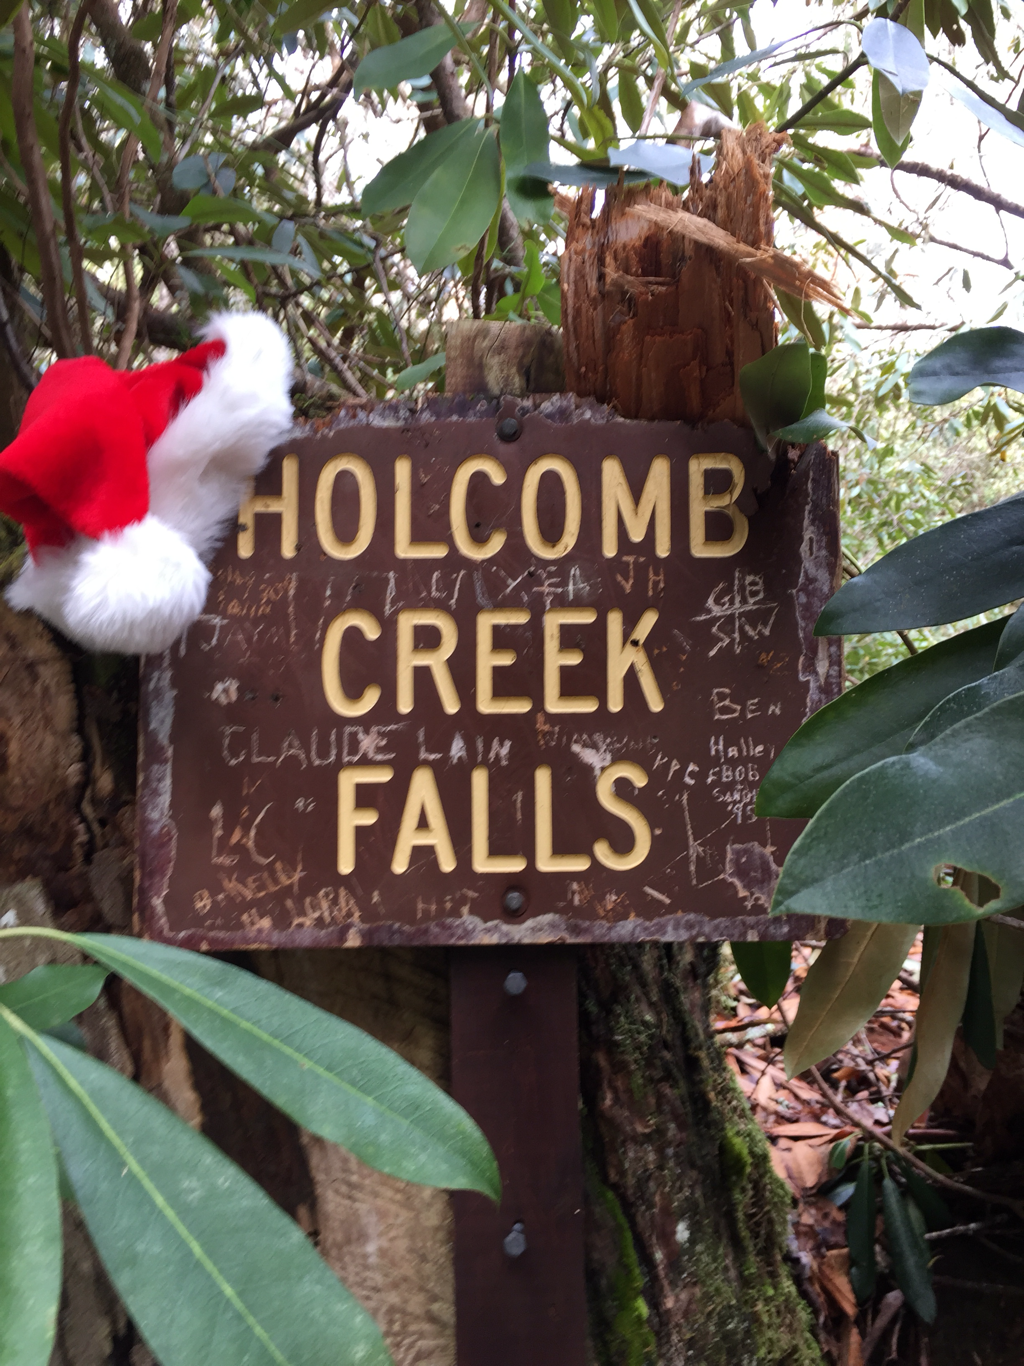
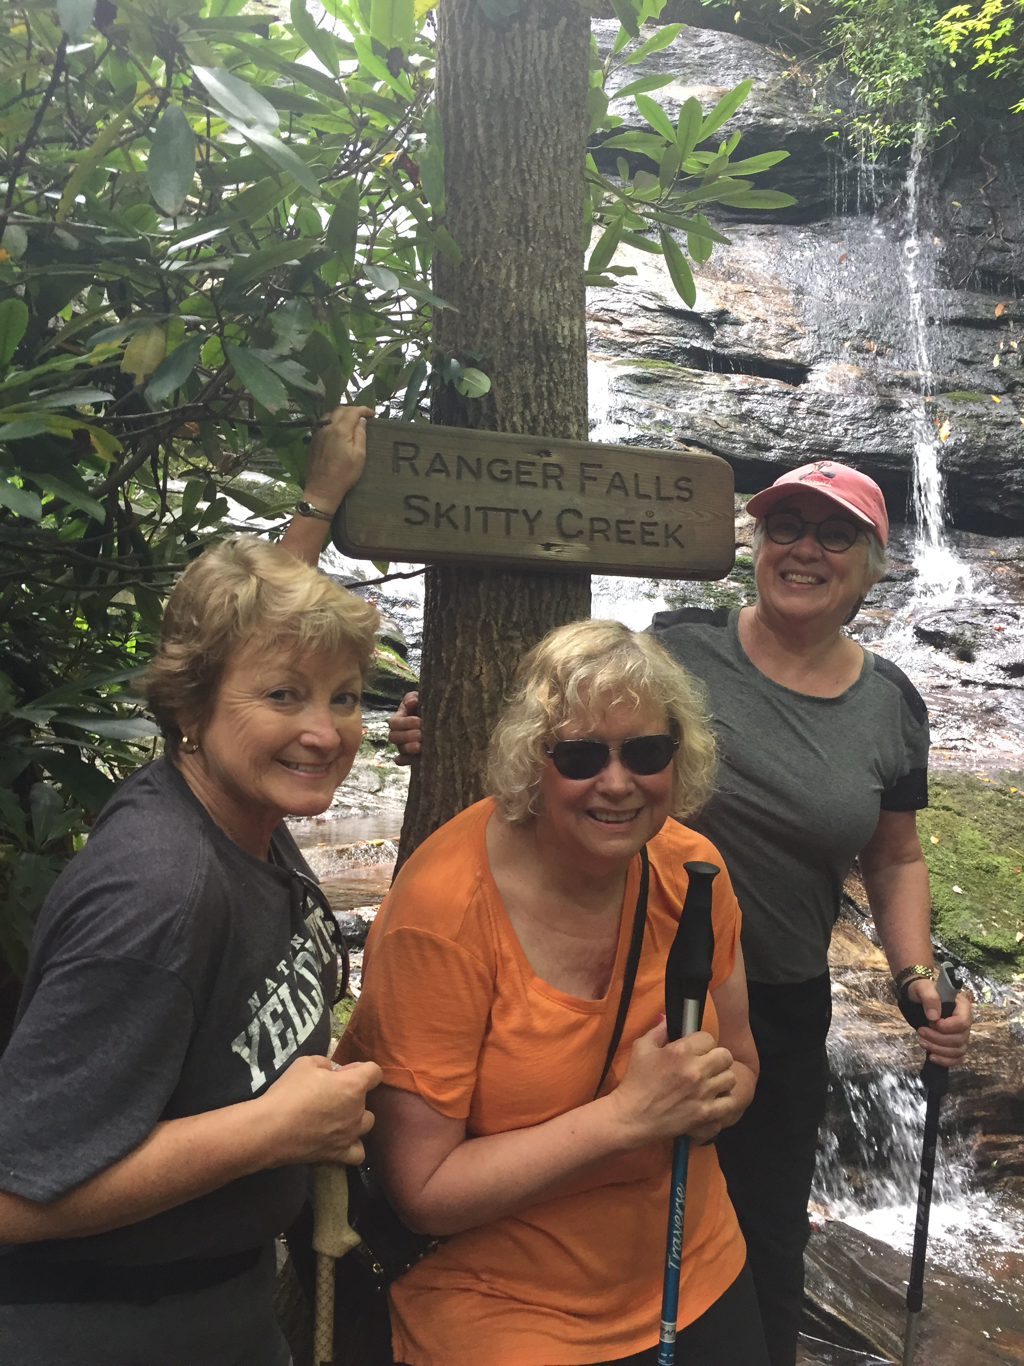
We walked one last time to the front of the falls to take another selfie and to snap a picture of the waterfall sign.
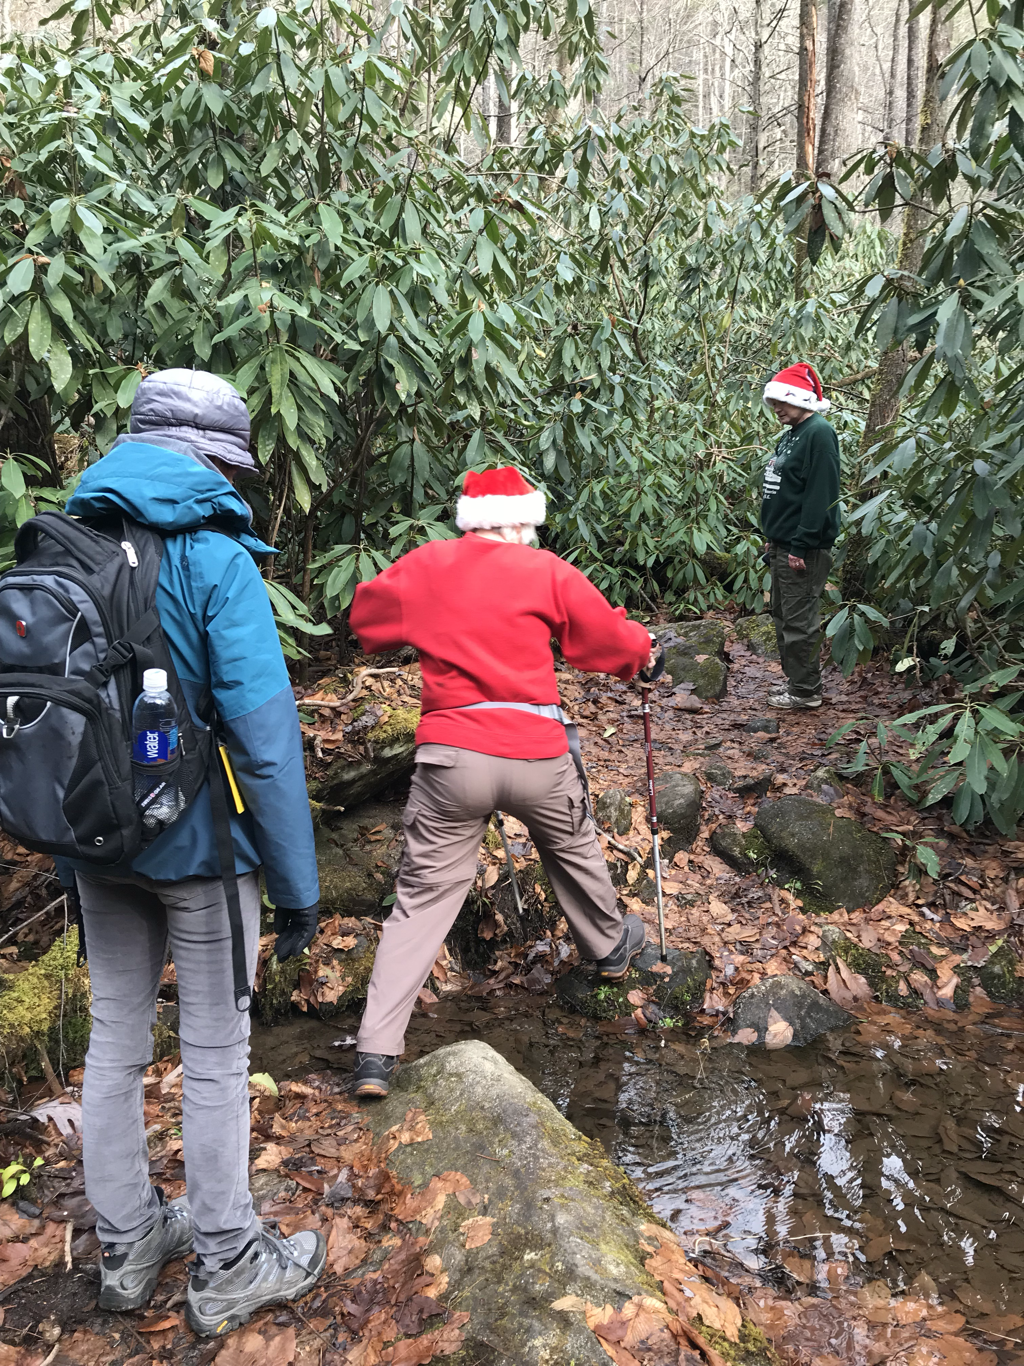
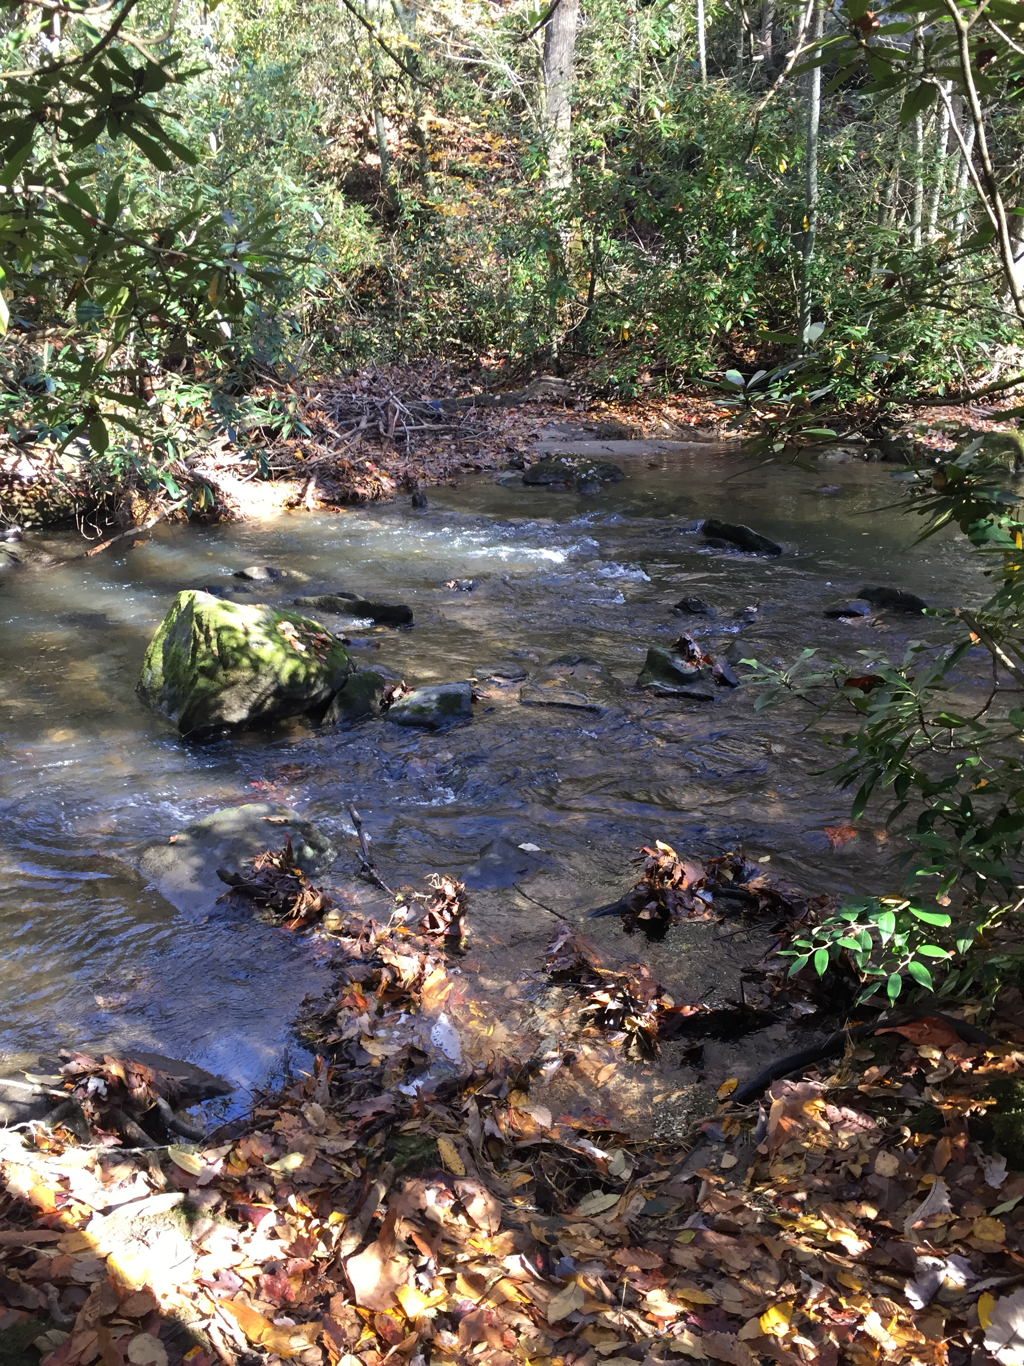
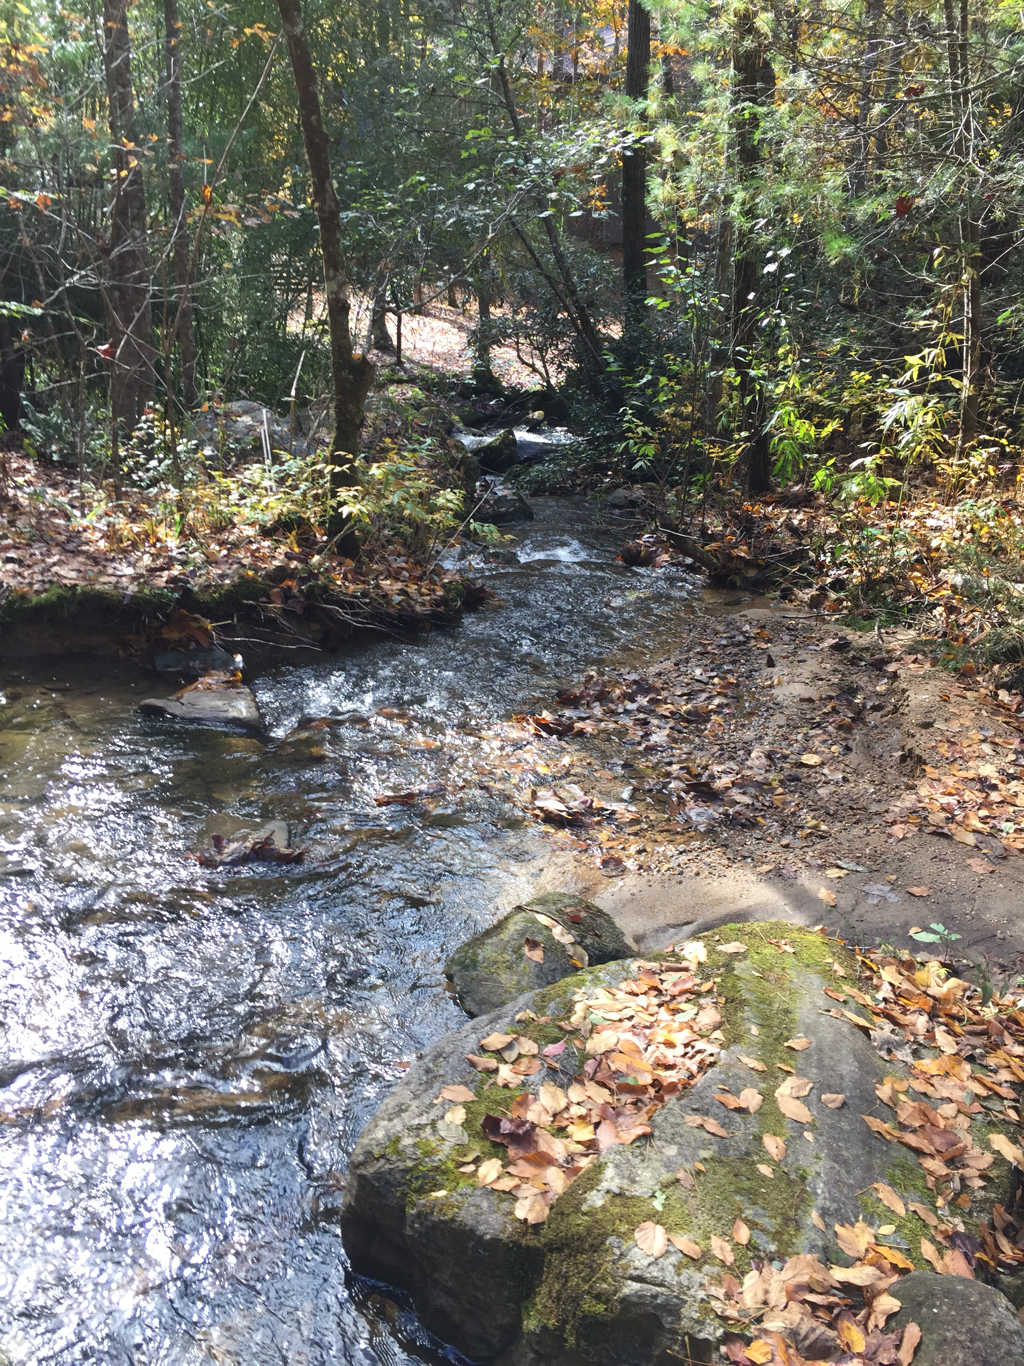
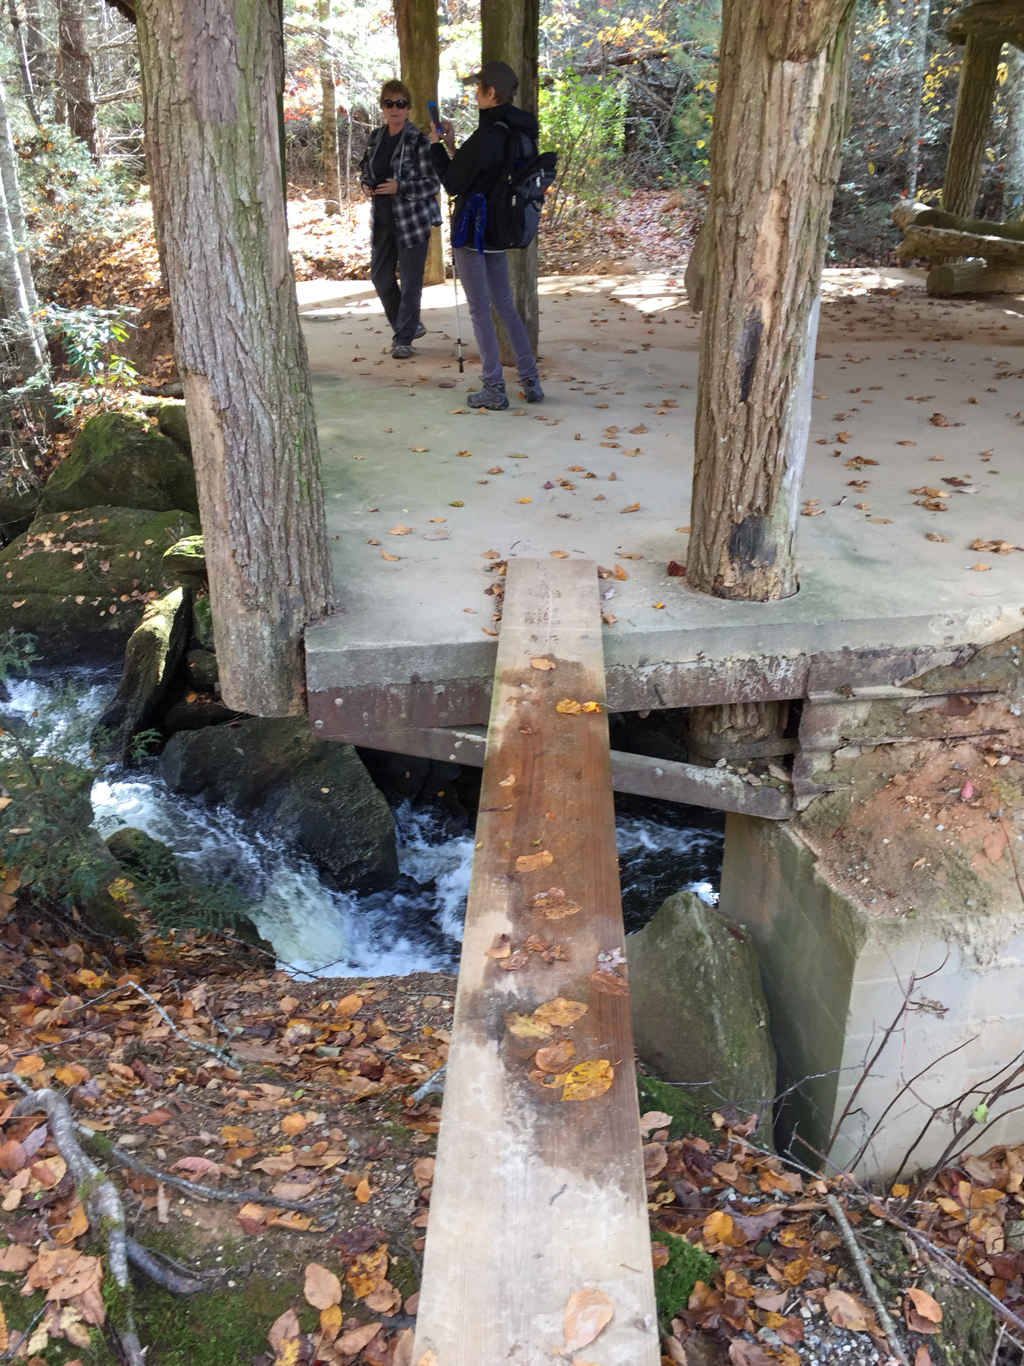
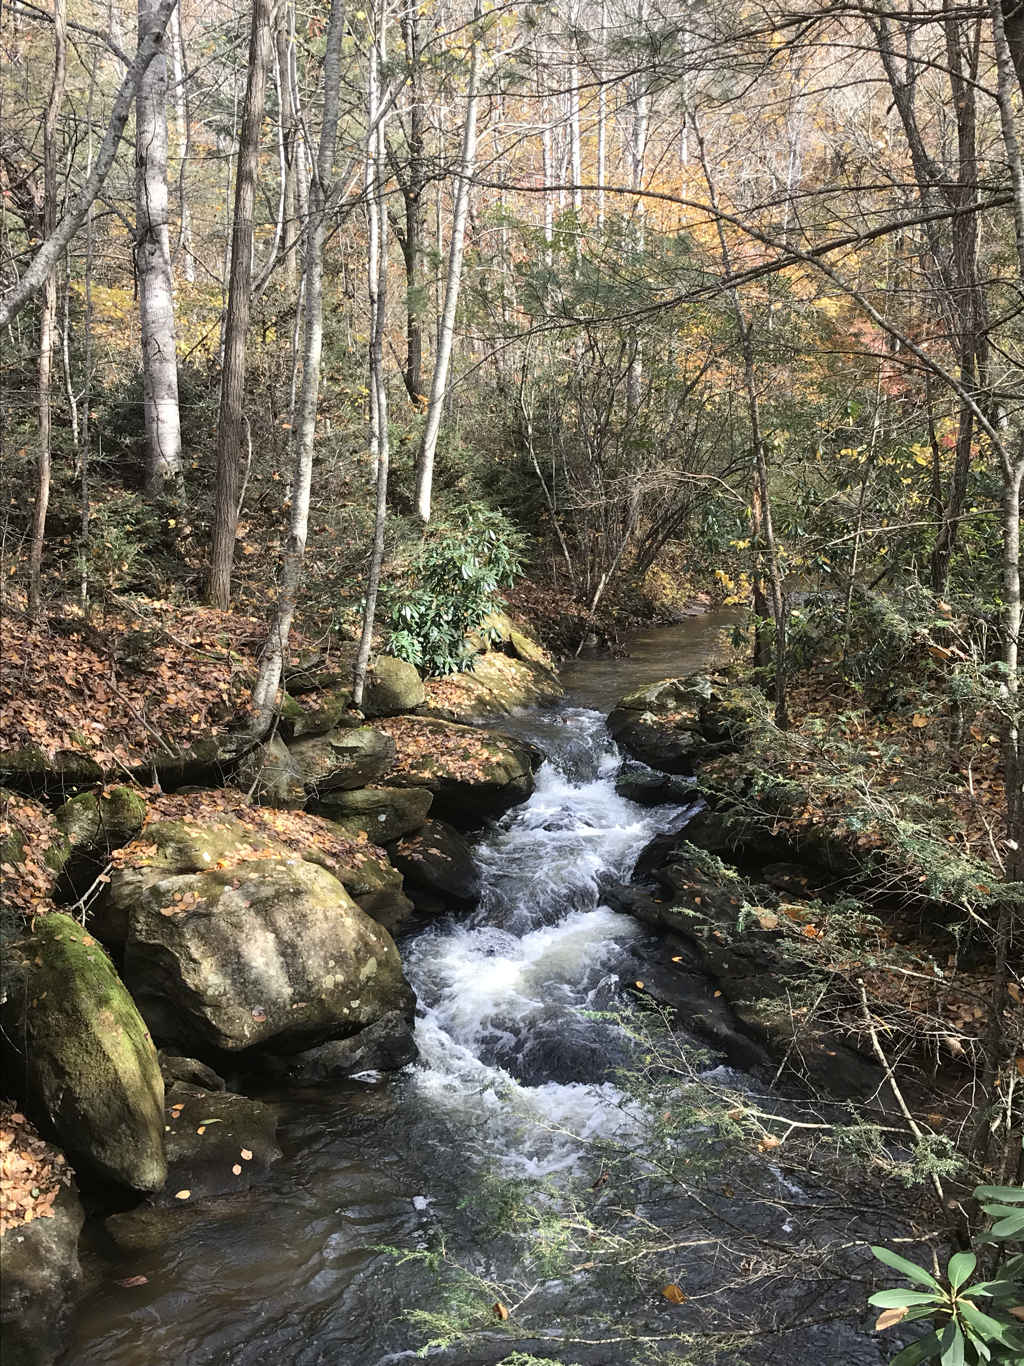
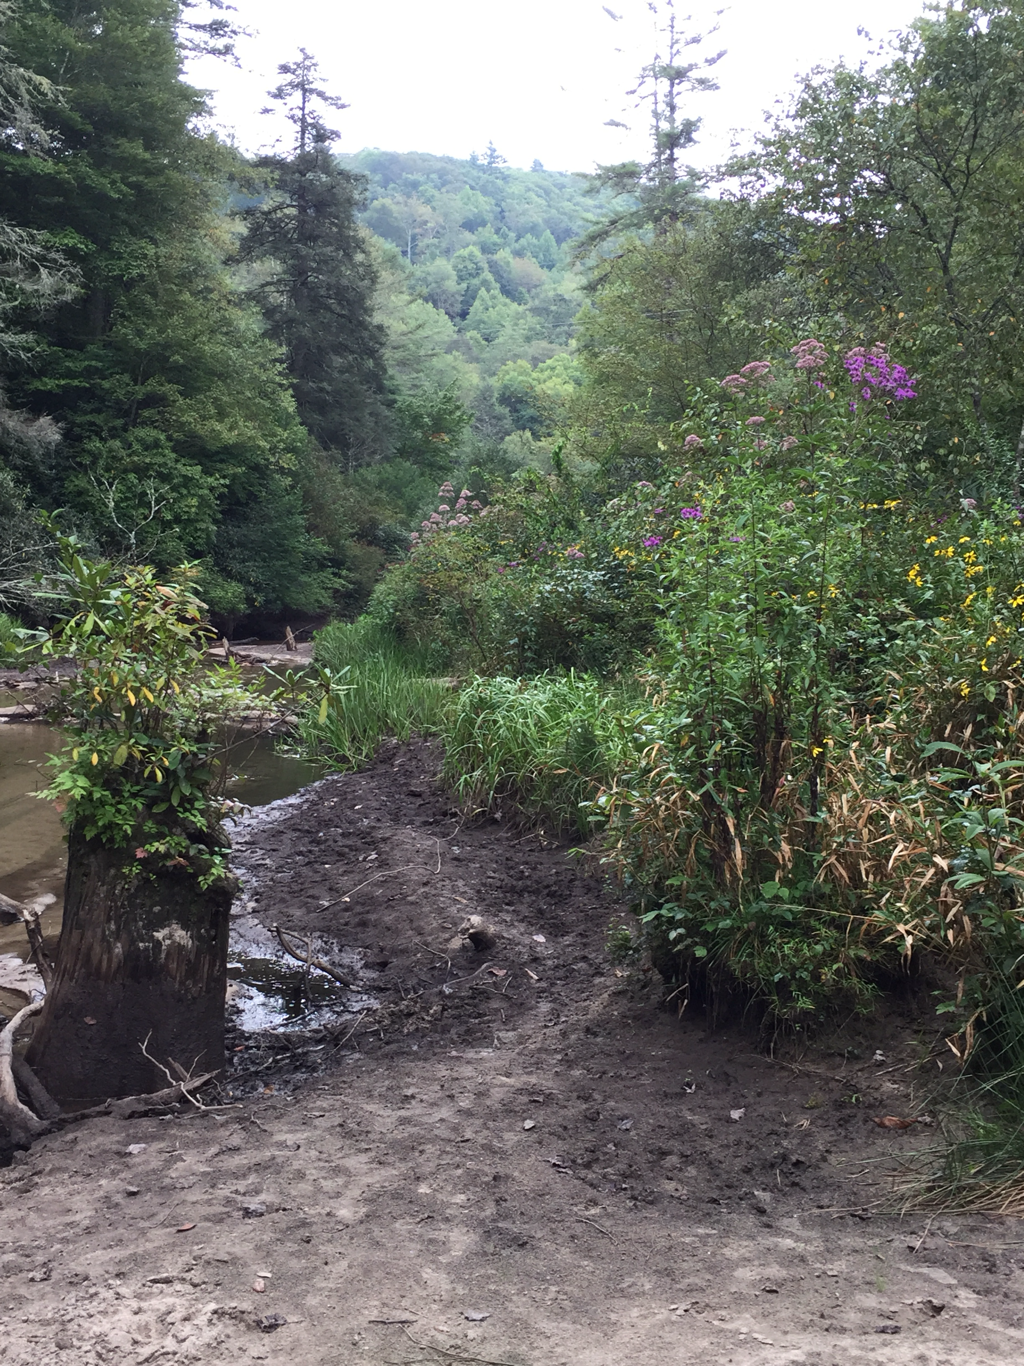
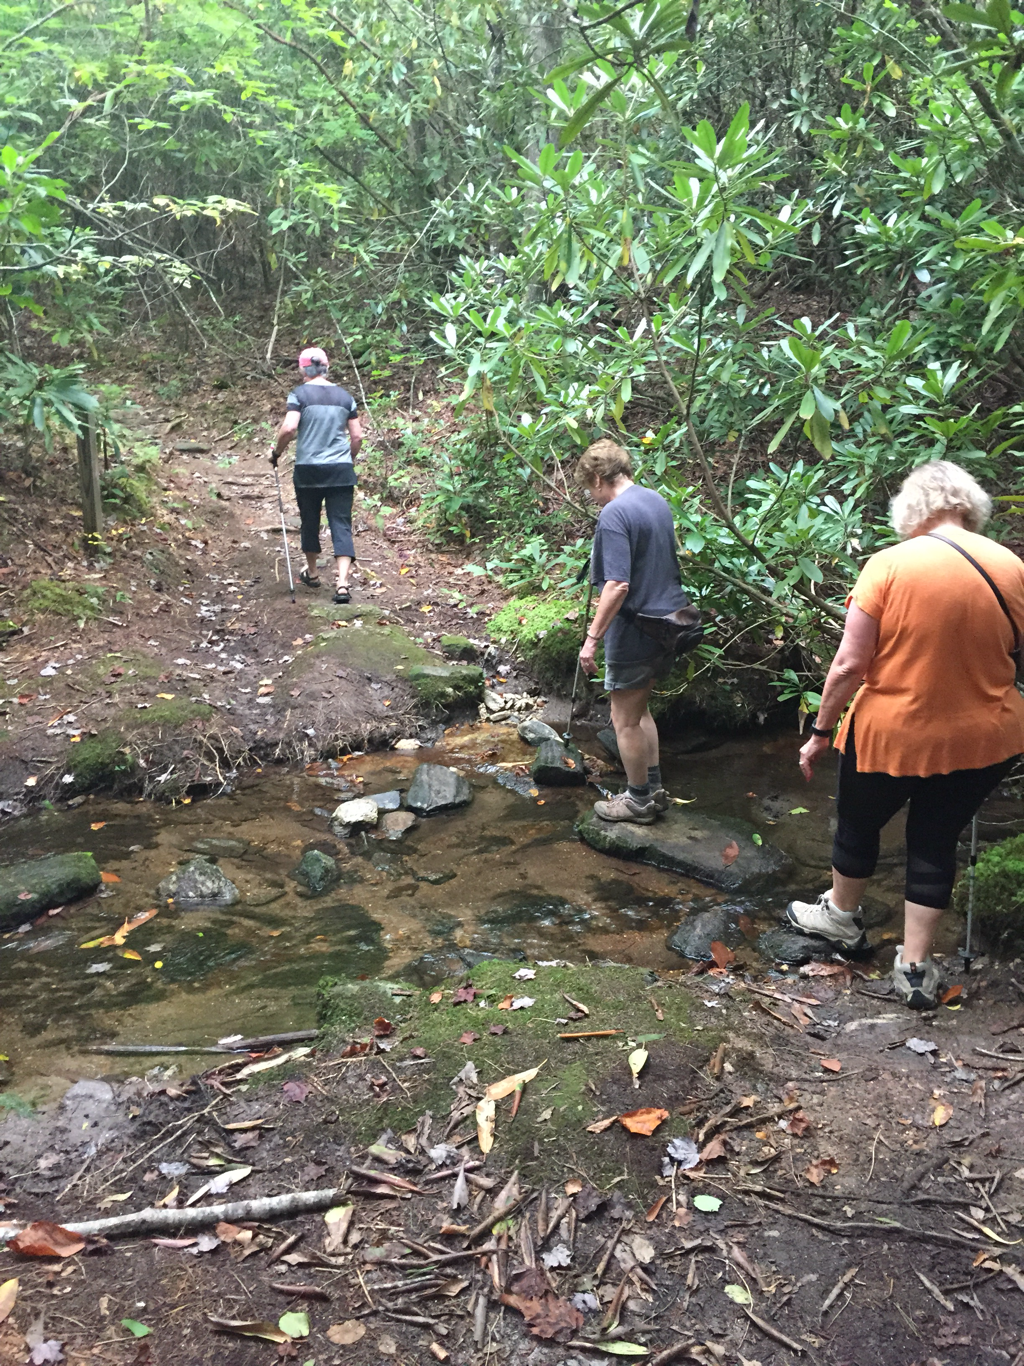
Next it was time to hike further down the trail to Ammons Falls. And of course we had to cross a creek along the way.
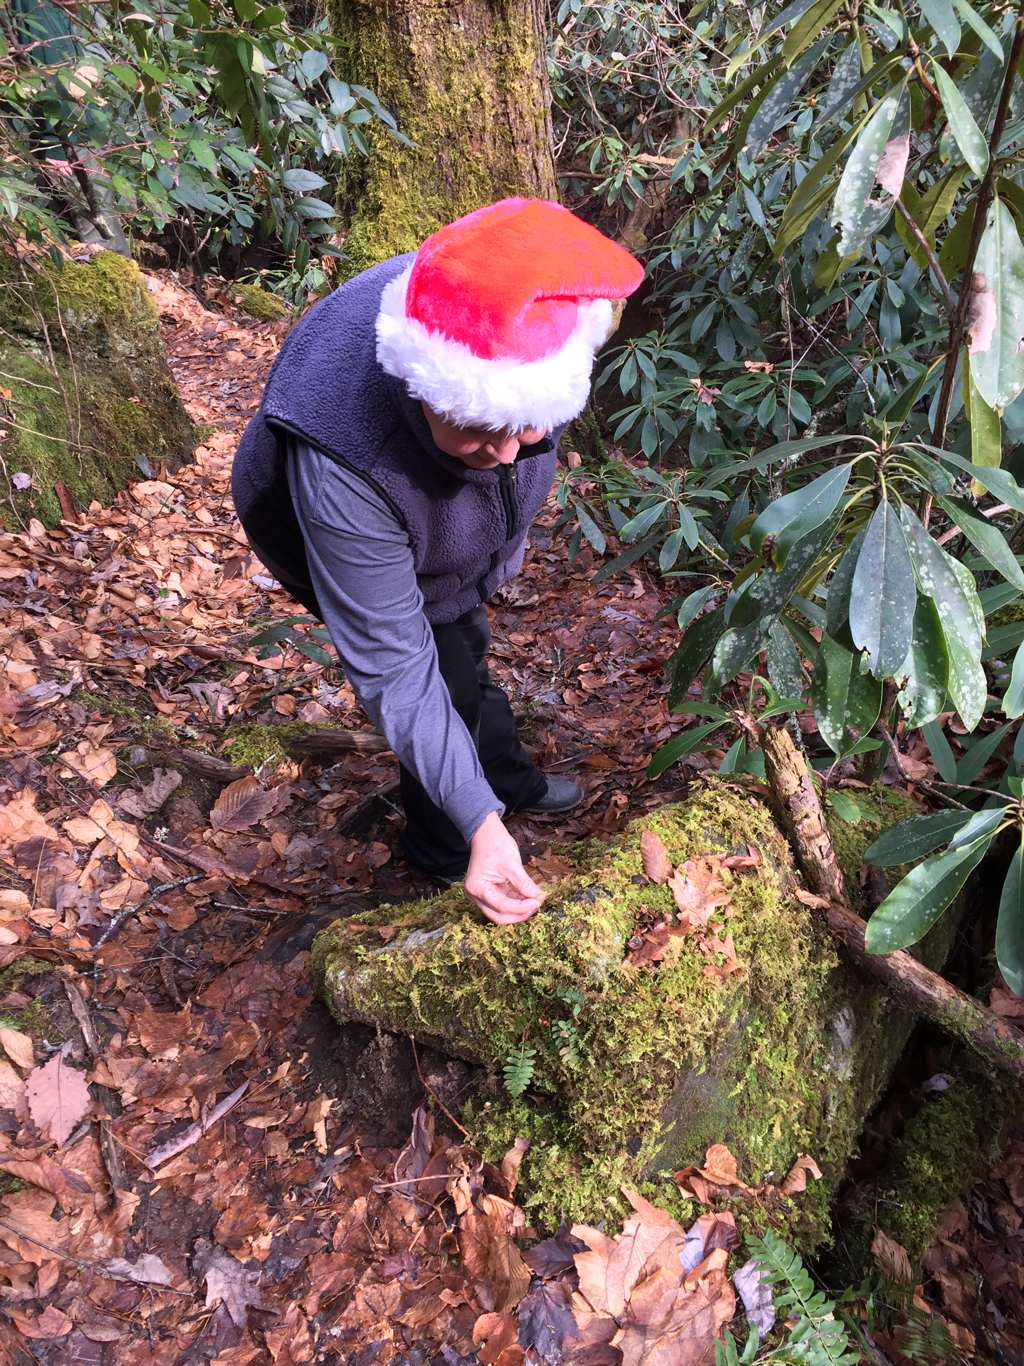
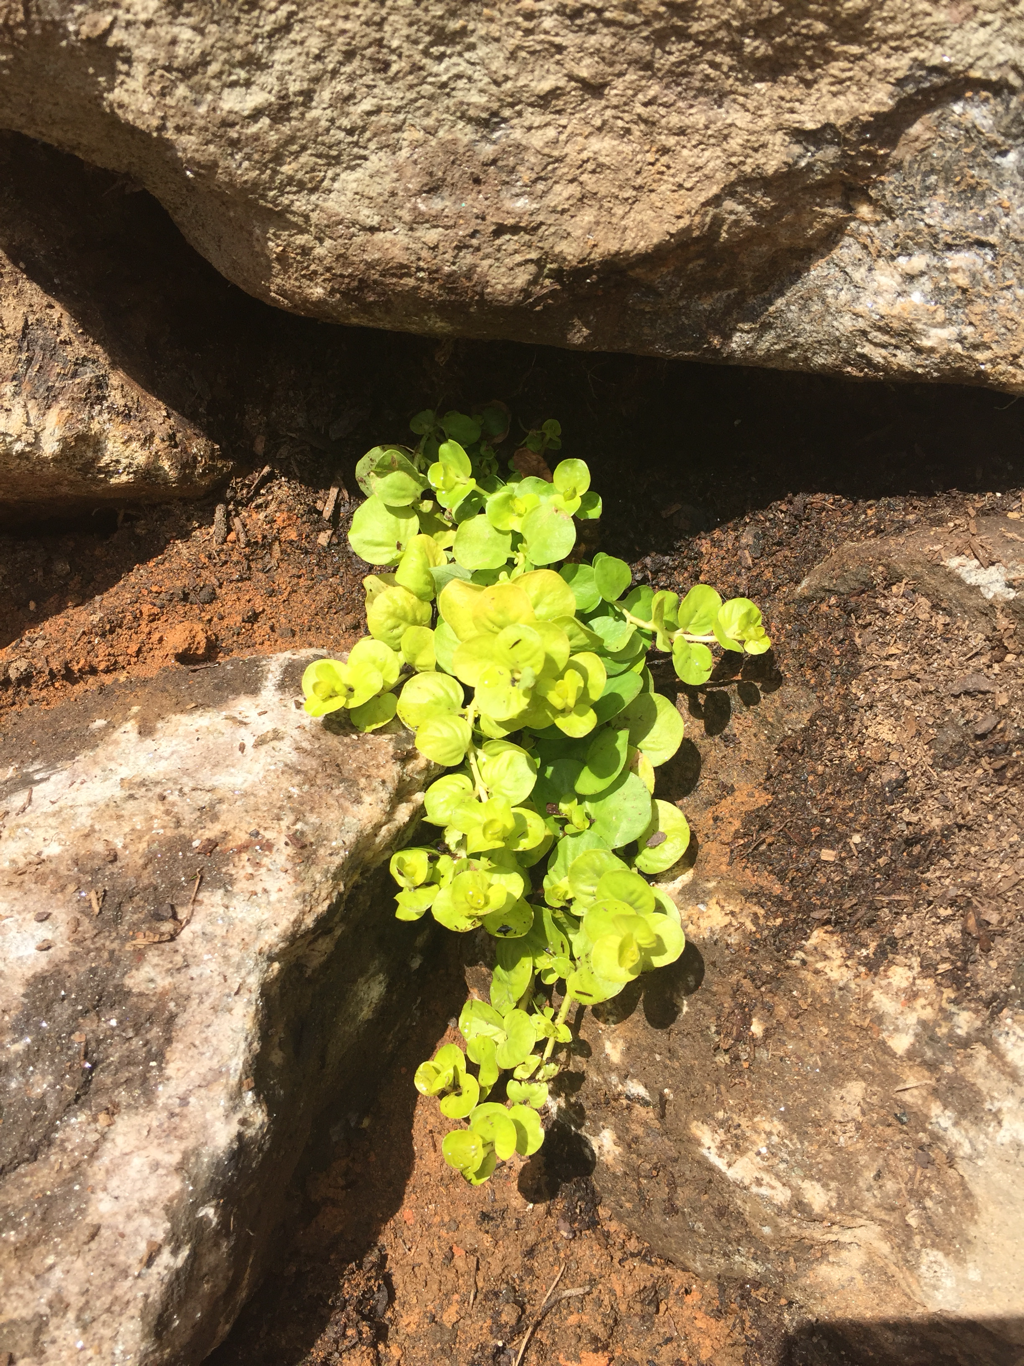
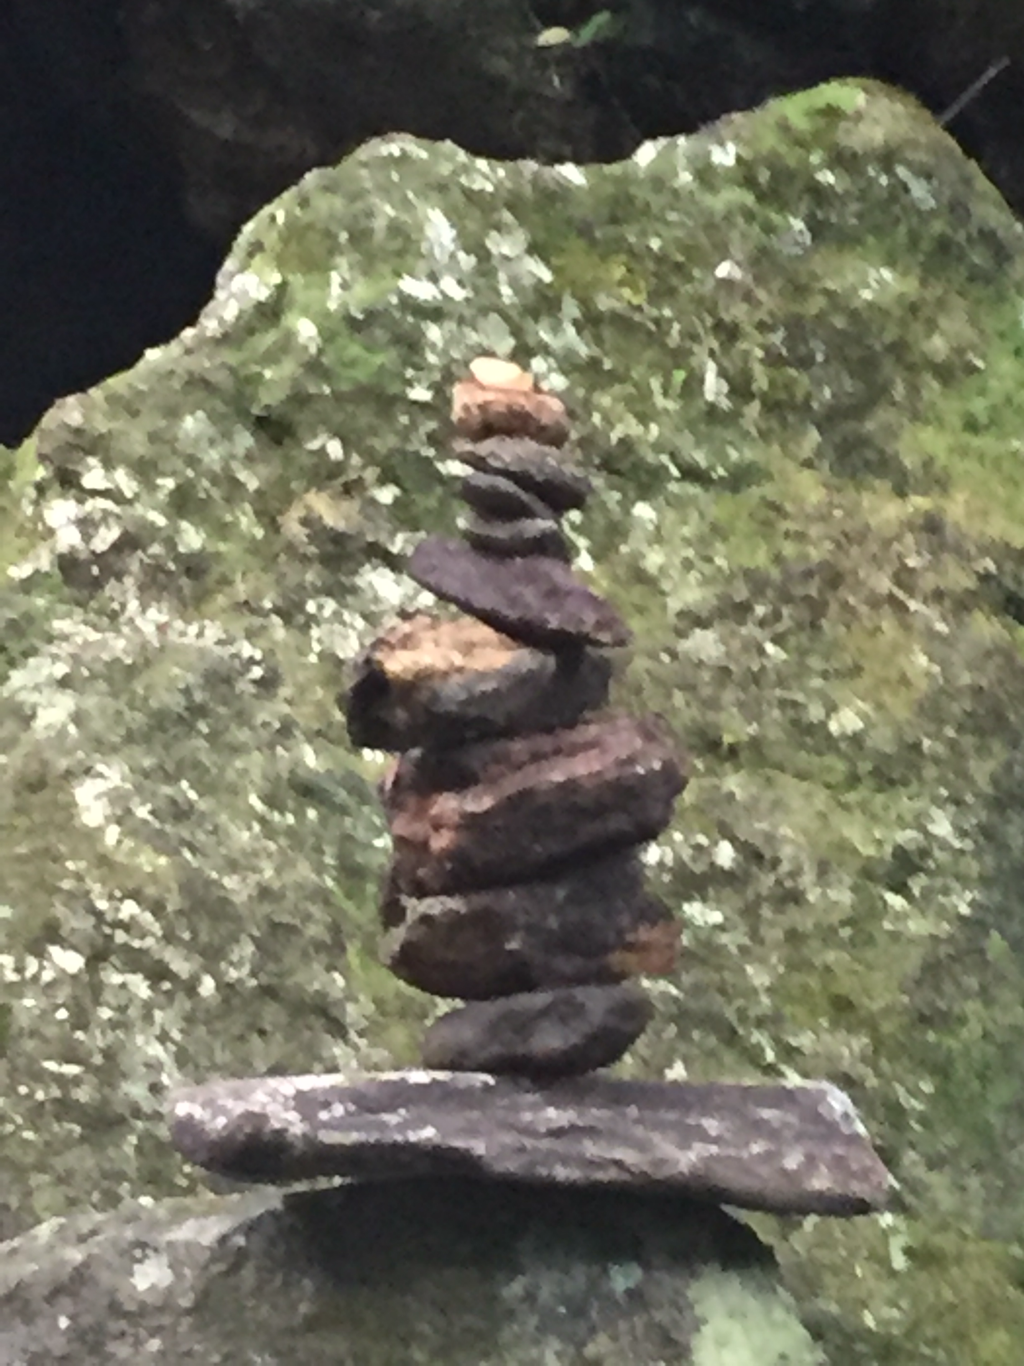
We paused to check out interesting lichen along the way.
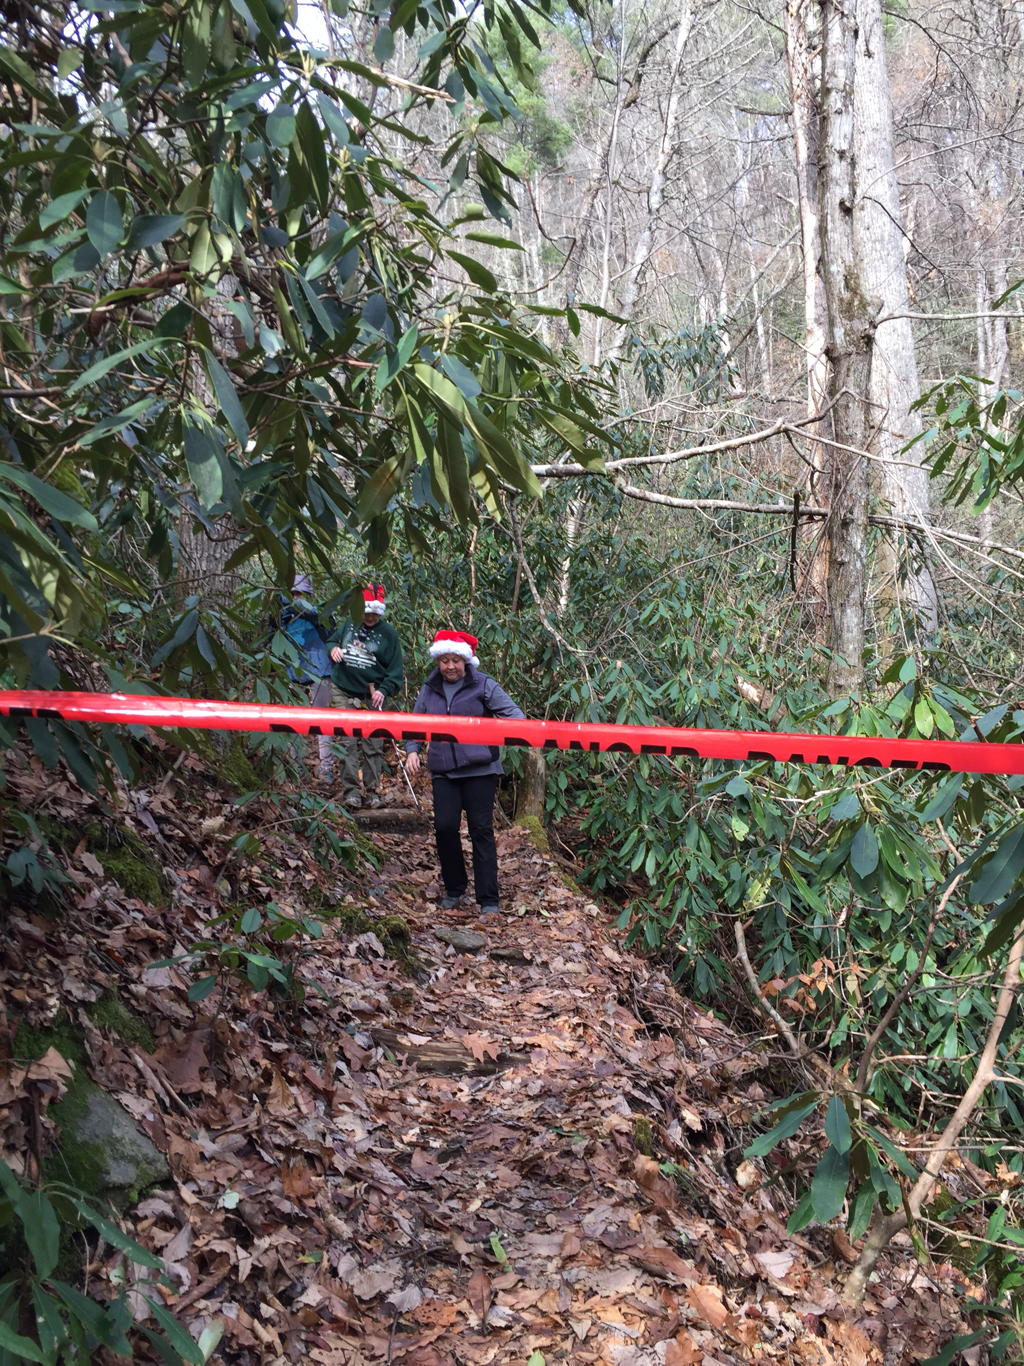
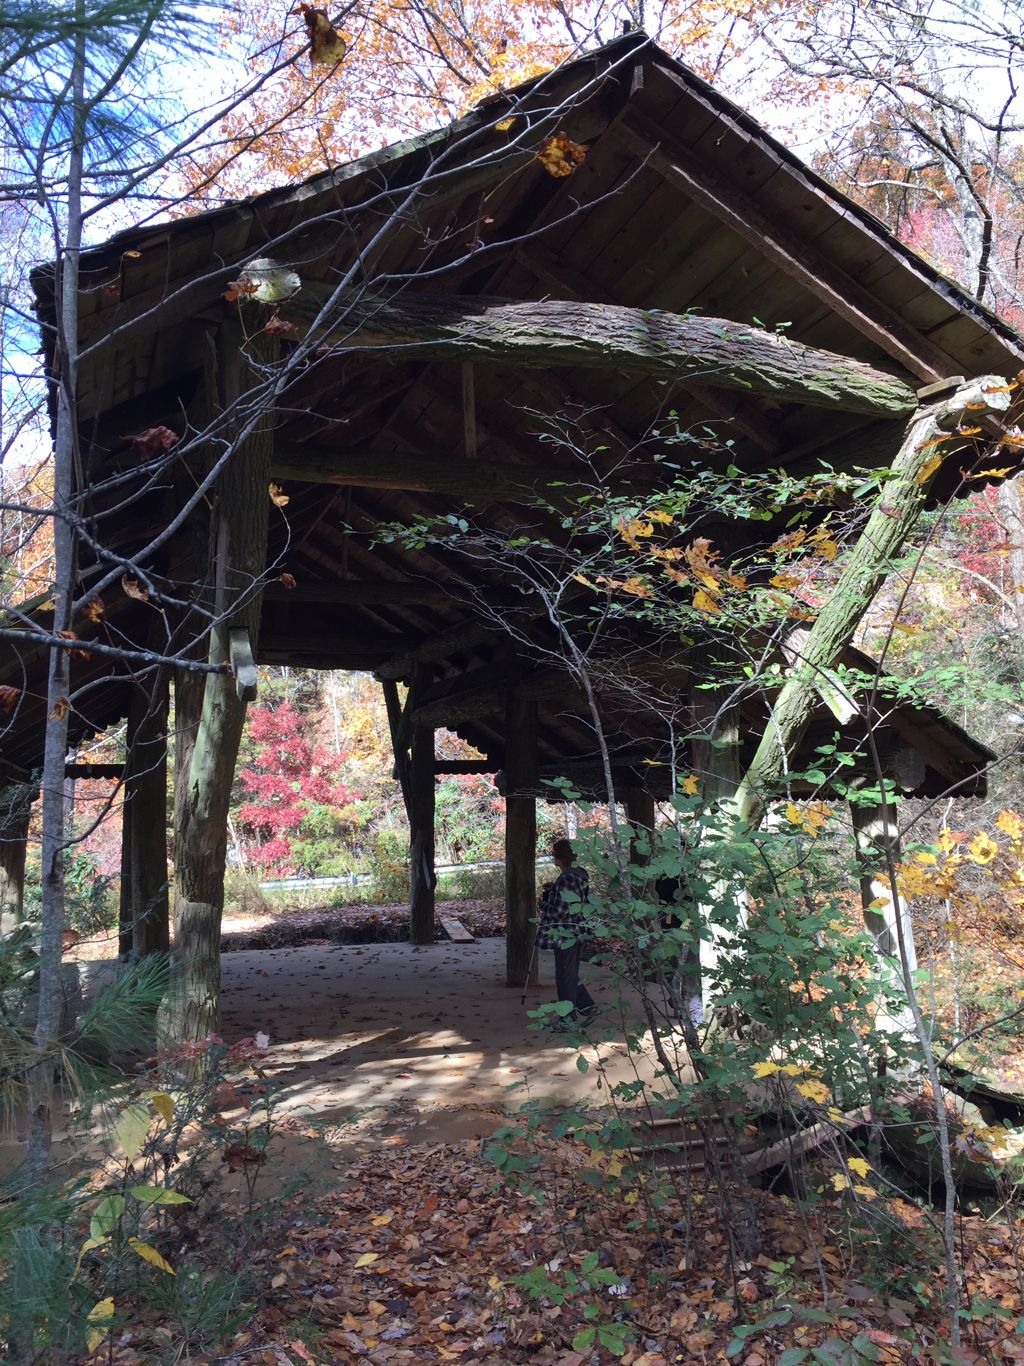
When we arrived at Ammons Falls we discovered red “danger” tape. We decided to go around it and proceed cautiously.
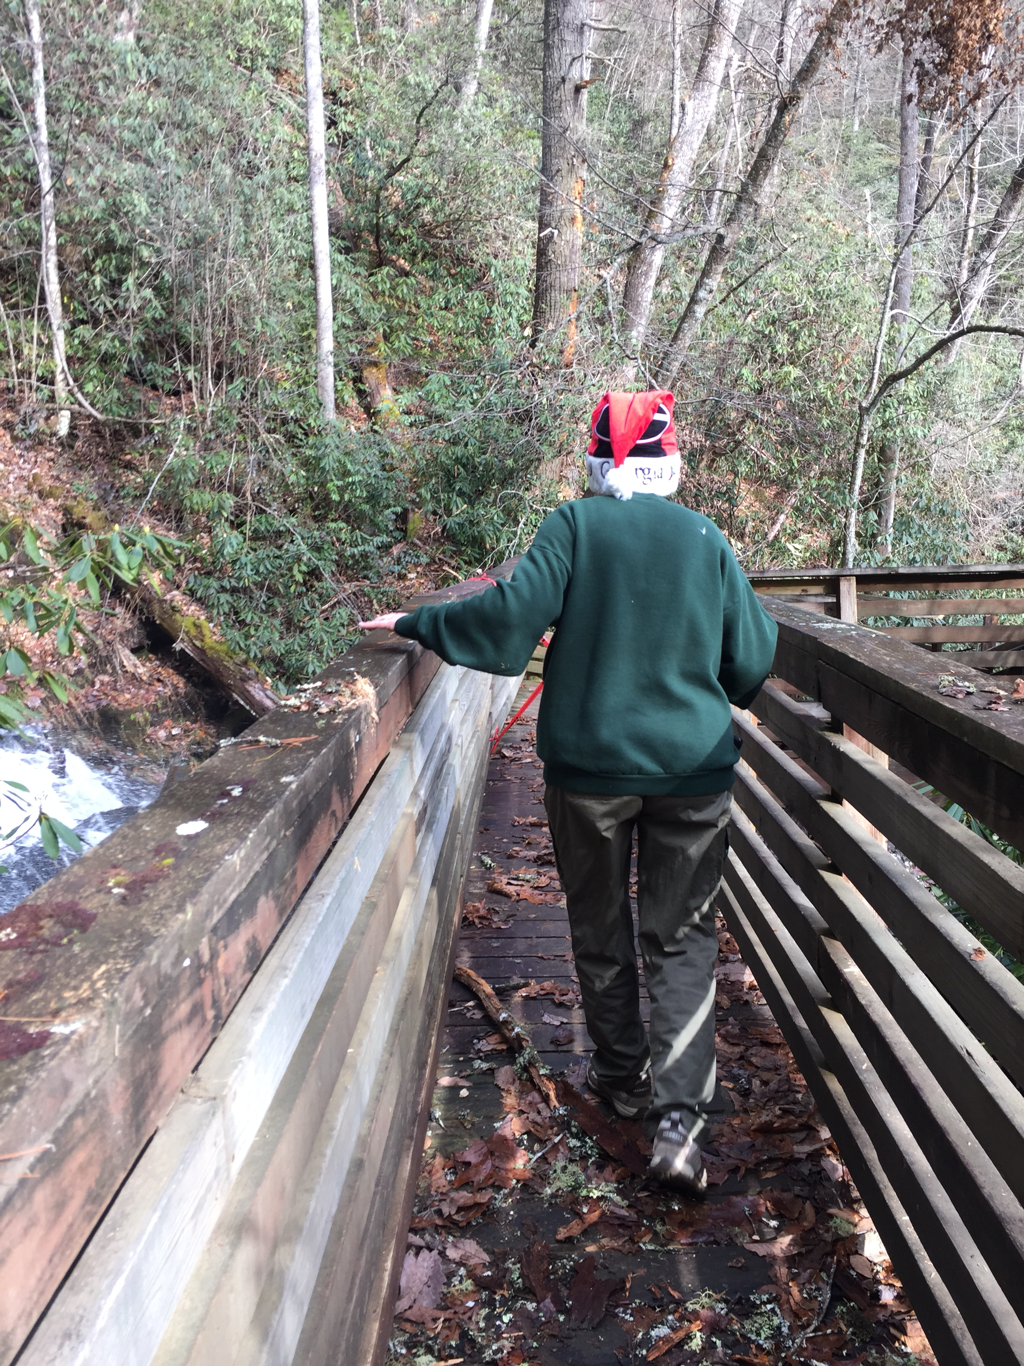
We discovered that a tree had fallen on an observation deck. The bridge to the observation deck had not been hit so we inched out along the bridge and snapped a few pictures.
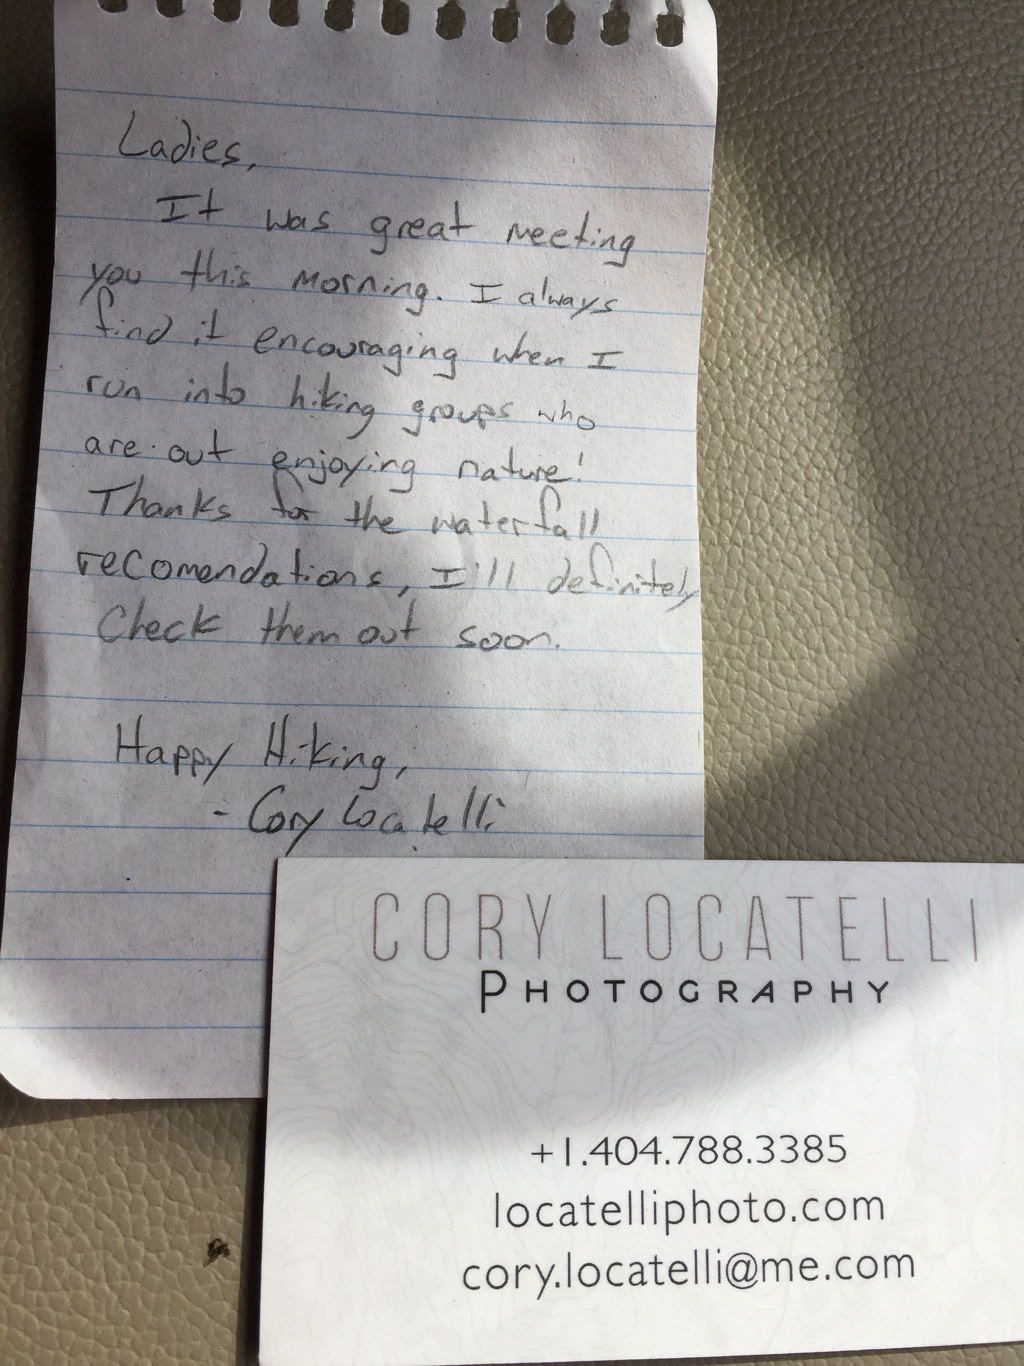
As we turned to leave, Pam’s hiking boot slid across the wet leaves and down she went! Hard! On her knee! After checking to make sure she was ok, we very carefully made our way out of the woods to our car. And look what we found on the car— a note from our new friend, Cory! Maybe we’ll make him an honorary member of the Girls Only Hiking group!


 RSS Feed
